How to Stop a Leaking Shower Head With Chapstick

Today, we're excited to share a quick and effective DIY fix.
We are going to demonstrate how to stop a leaking shower head using Chapstick!
This beauty product can work wonders for sealing those annoying drips.
Hometalk Recommends!
Tools and Materials:
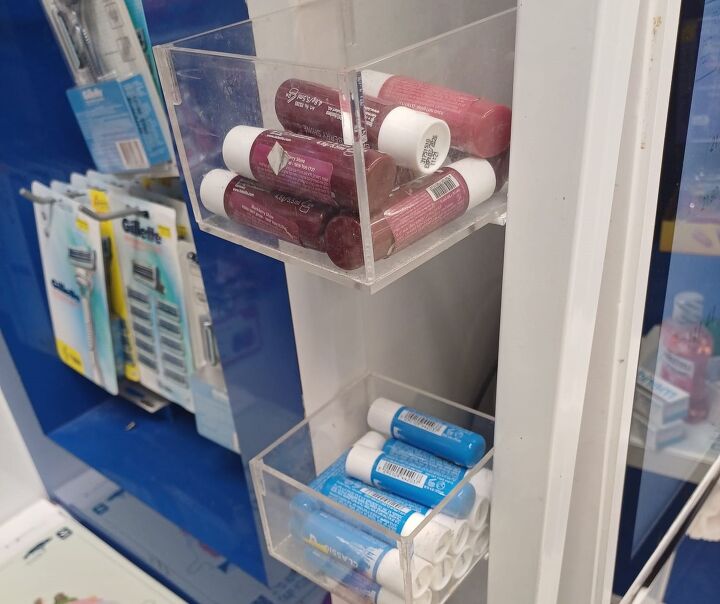
- Chapstick
- Adjustable wrench
- Teflon tape (optional)
- Cleaning cloth
Hometalk may receive a small affiliate commission from purchases made via Amazon links in this article but at no cost to you.
1.Remove the Shower Head
Start by using the adjustable wrench to gently loosen and remove the shower head. Wrap the cloth around the head to avoid scratches.
Once removed, inspect the threads for any debris or mineral buildup. Clean thoroughly to ensure a smooth application.
2. Apply Chapstick to the Threads
Here’s where the magic happens. Generously apply Chapstick to the threads of the shower arm. This will act as a sealant, preventing leaks when you reattach the shower head.
For an extra secure fit, you can also wrap Teflon tape over the Chapstick.
3. Reattach the Shower Head
Carefully screw the shower head back onto the shower arm. Tighten it with the wrench, but don’t overdo it – snug is sufficient.
Turn on the water to test.
If the shower head leaking persists, add more Chapstick and re-tighten.
Shower Head Maintenance Tips
How to Stop a Leaking Shower Head
By following these simple steps, you now know how to fix a leaking shower head using an everyday item. This method is not only effective but also cost-efficient.
Remember, a shower head leaking can lead to higher water bills and potential water damage if left untreated.
Do you have any clever tricks for leaky shower heads?













Frequently asked questions
Have a question about this project?