Stenciled Front Porch

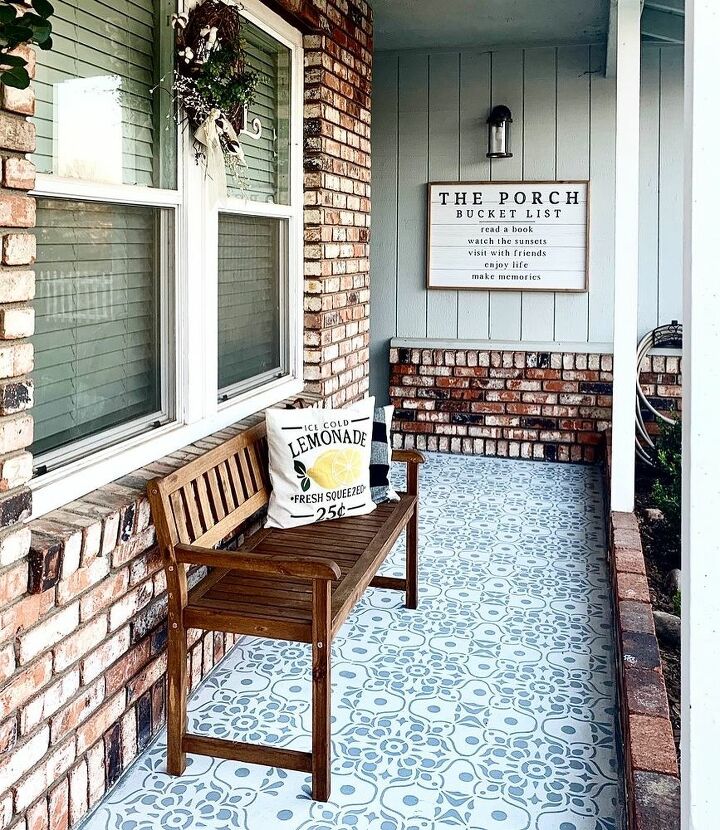
I’ve been seeing these stenciled tile projects all over the internet and always love how they turned out, I would always say I wished I had tile to stencil just to do this project. However, our tile is fairly new and is a neutral gray which I like since it matches. So I came up with the idea to stencil my front porch instead. I’m so happy I did because it’s brought so much more character to my porch. I felt this was a easy project anyone could accomplish in a weekend. Follow me on Instagram to see more of my DIY
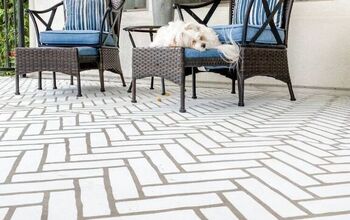
Up close view of the stencil design
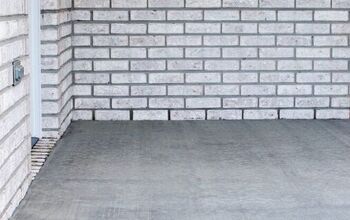
I used 4 coats total of Valspar porch and floor paint in white, allow each layer to dry completely before adding another
I used a 16x16 stencil from Stencil Revolution and started in the center. I used the valspar paint in flannel gray and a skinny roller to apply the paint to the stencil. When working with stencils the saying less is more is best. If you over saturate your roller the paint will bleed through
After I finished the center stencil, I went back and forth on each side to finish.
Once I finished I sealed it with polycrylic
Enjoyed the project?
Resources for this project:
See all materialsComments
Join the conversation
-
-
 NWDL traveller
on Apr 15, 2021
Love the results. What prep did you do? Do you think that would work on a covered porch in the northeast where it snows?
-

















Frequently asked questions
Have a question about this project?
How do you keep the stencil from moving?
Did you buy or make the porch bucket list sign?
Are you working on a wood porch or cement?