


Our (About) $100 Walkway Update
Do you ever have those little projects in your landscape where what you have just isn't working for you? Yeah, us too and here it was!
Hometalk Recommends!
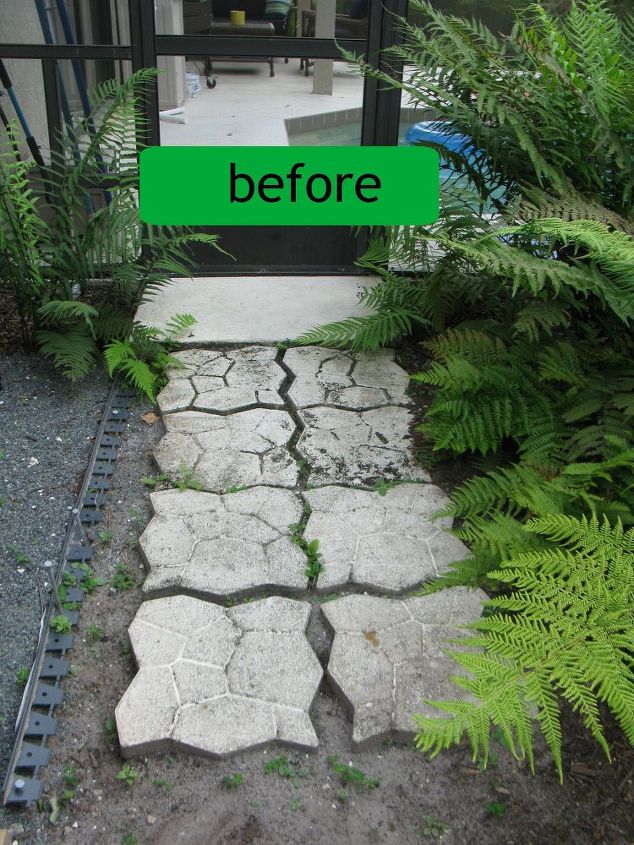
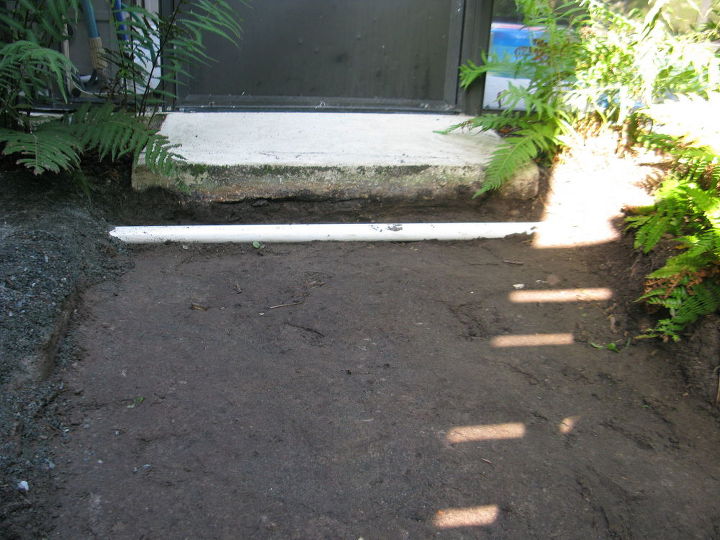
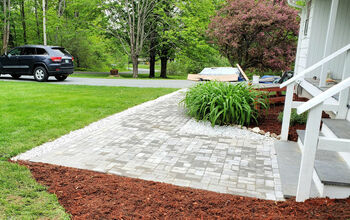
We have two screen doors coming off the screened in pool and the existing paver walkway just wasn't what I had ultimately envisioned for the area. When it rained the dirt and mud would come through the cracks and the weeds were annoying as well.
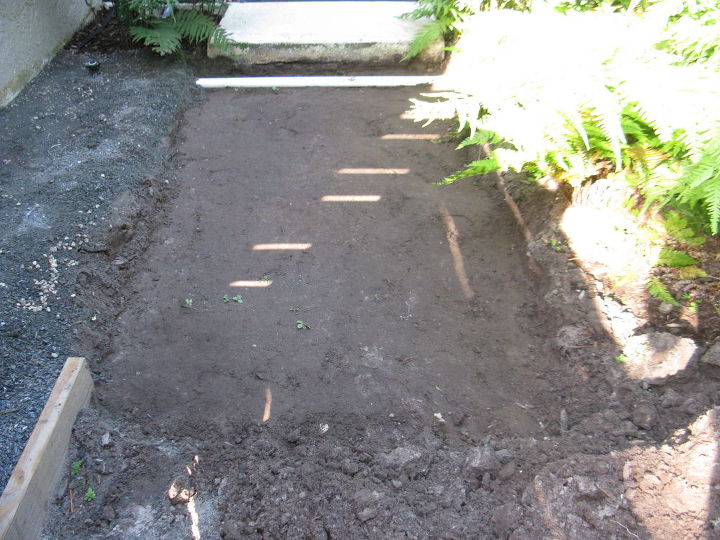
Tip #1 Base Preparation
Any paver installation is only as good as the base preparation, so don’t skimp here! Taking the time to do this right will insure that your pavers won’t settle or move once they are installed. To get this right you need to have a solid gravel base. Dig out the existing soil to accommodate 6” of gravel base, 1” of leveling sand/small crushed gravel fines and the paver thickness. Yep, that is about 10” of digging!

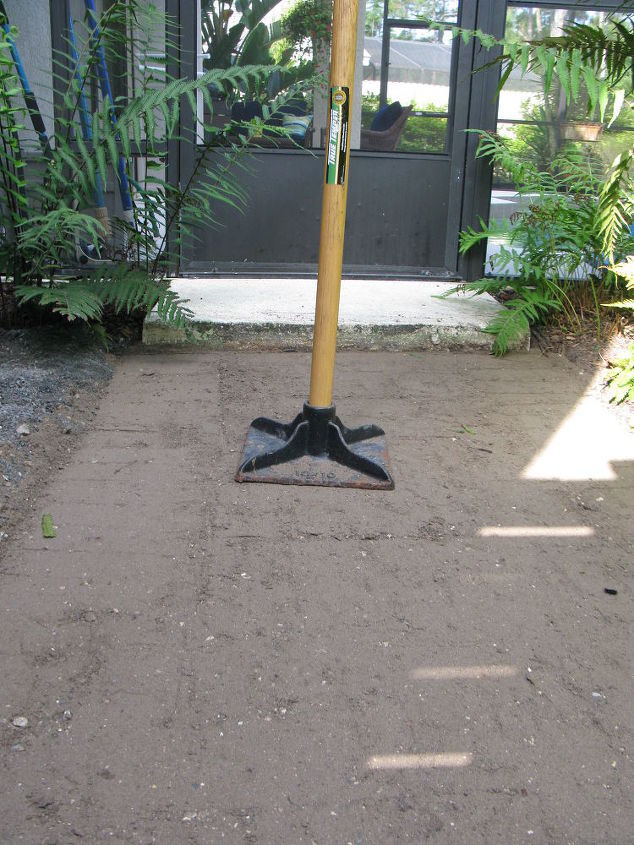
After you have placed the gravel, go ahead and compact it. For this little project, we chose not to use the leveling sand and are using the recycled gravel fines as a leveling course.
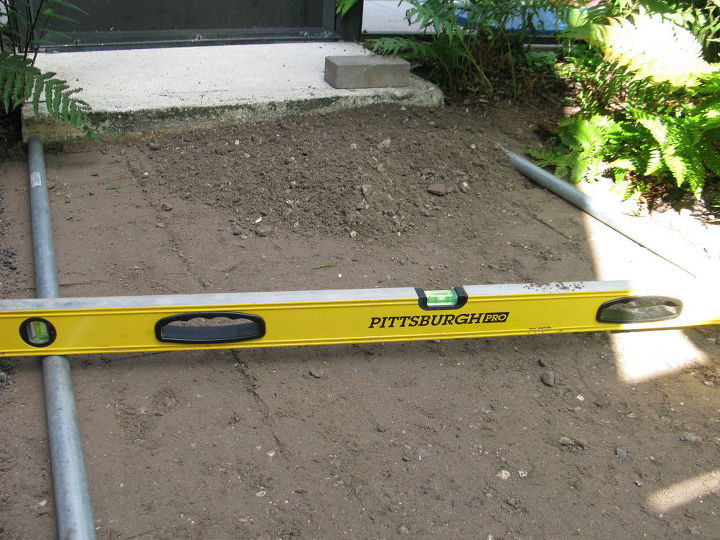
Once the 6” base is set, lay two 1” diameter metal poles on top of the base and make sure that there is a little bit of pitch to help with the drainage.
Tip #2 Sleeve It!
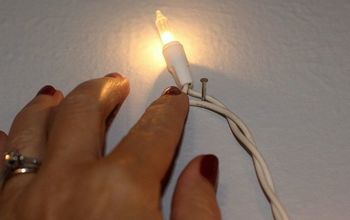
Anytime that you are putting in a new walkway, put a sleeve in! What is a sleeve? I thought that you would never ask! A “sleeve” is very simply a pipe that will allow you to run any type of future wiring (electrical/landscape lighting) or irrigation pipe through without having to dig up all of your hard work.
Tip #3 Use Quality Materials
If installed correctly, remember the base preparation, paver walks can and should last for decades! Don’t get all frugal on us and use cheap materials that won’t last or hold up to more foot traffic!
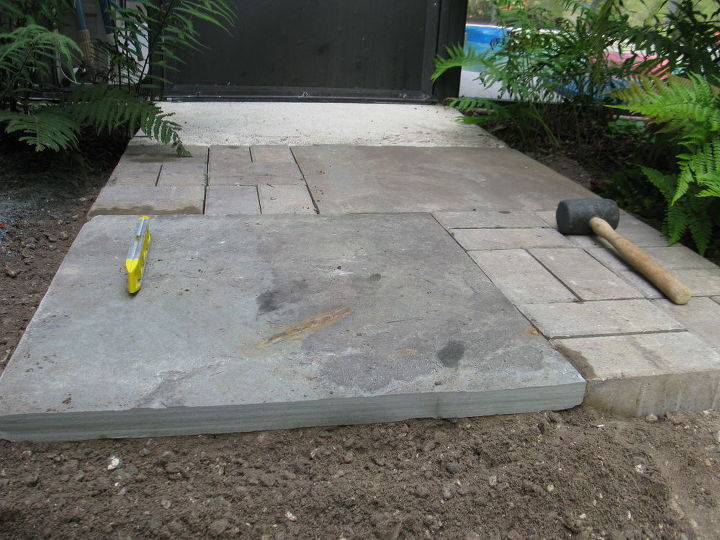
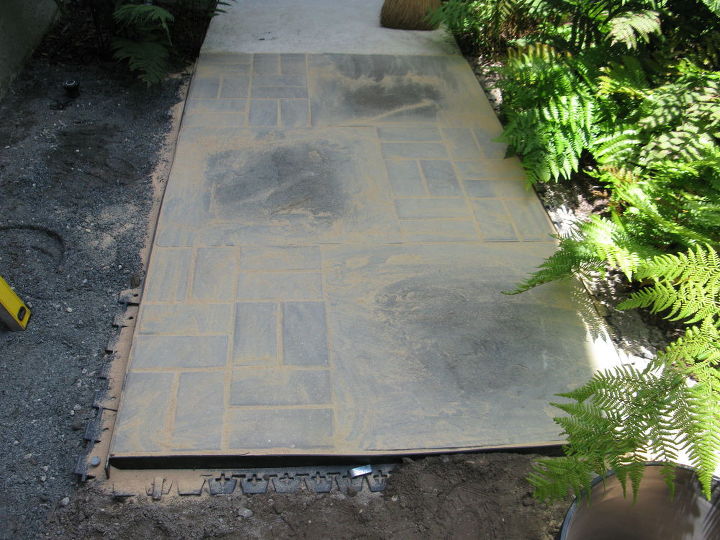
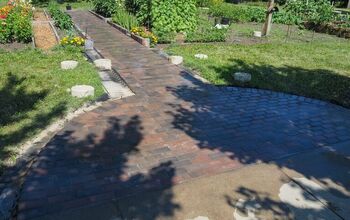
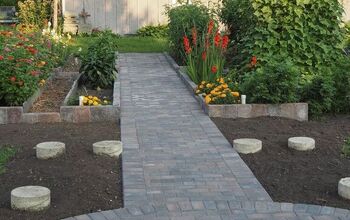
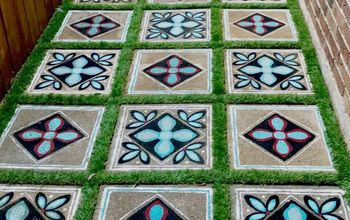
We used an alternating combination of 24”x24” dimensional bluestone and concrete pavers laid in a basket weave pattern. The only consideration here was that we would have to add extra leveling gravel since the Bluestone wasn’t as thick as the concrete paver. No big deal!
Here are some tips on how to cut concrete pavers!
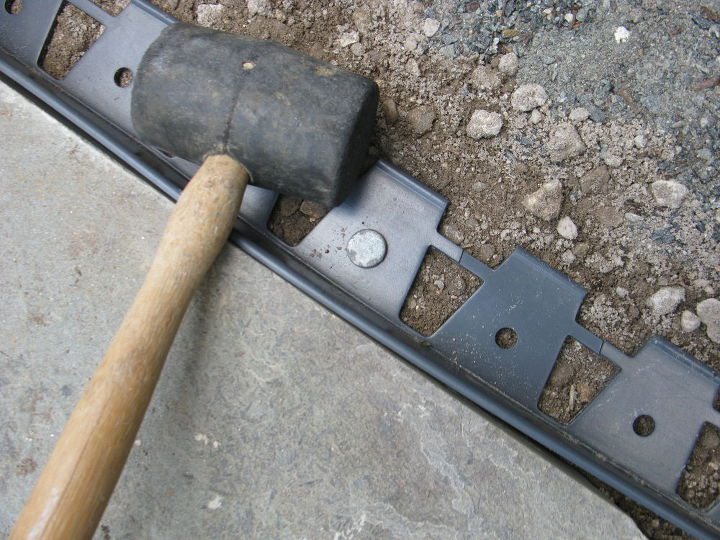
Tip #4 Get Edgy!
After the pavers have been set, make sure to install a paver restraint (fancy word for edging) to hold everything in place.
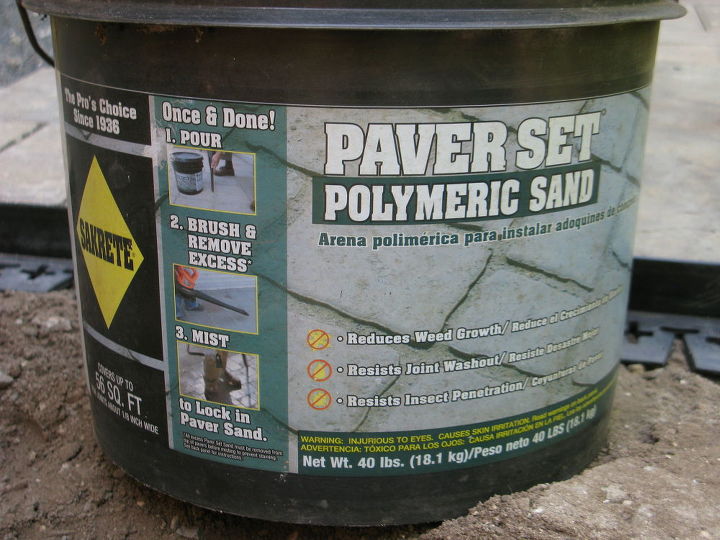
Tip #5 Poly What?
Don’t use play sand to fill the joints of the pavers! While play sand may be less expensive, look for and get Polymeric Sand.
Once the pavers are all laid, spread Polymeric Sand across the top of the pavers and work the sand into the joints.
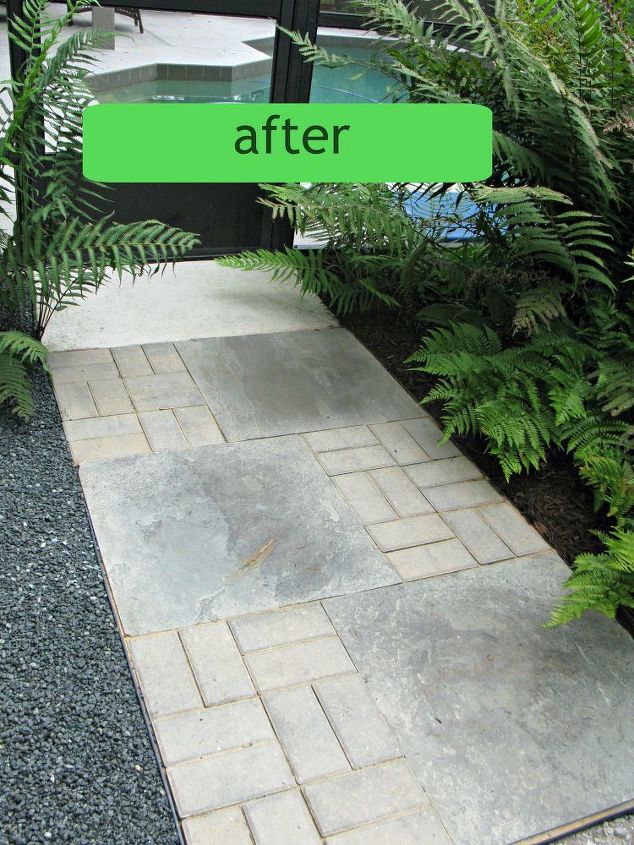
Bonus Tip #6 Enjoy!
Seriously, for a small investment (we spent about $100) and a couple of hours of work, you can change small things that will give you greater enjoyment of your landscape. Don’t try to tackle everything at once, but nibble away at it and it will add up!

Comments
Join the conversation
-
Gorgeous
-
This looks nice, easy installation and inexpensive. Is okay to lay this over existing concrete? I'm wanting to update our front walkway leading up to our porch.


Frequently asked questions
Have a question about this project?
I don't know anything about this sort of project but I need one sooo, will the Polymeric Sand wash out with rains?
WHERE did you get your Pittsburgh Pro level? I MUST have one.
p.s. walkway looks great!