Garden Globes

by
Vickie G
(IC: homeowner)
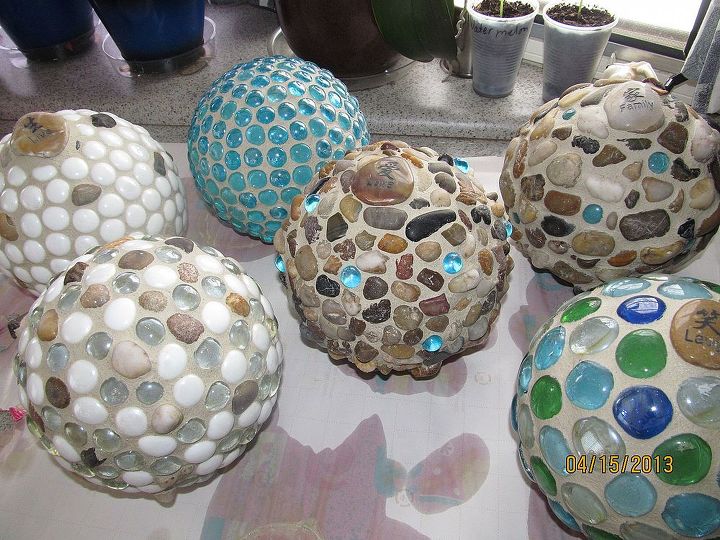
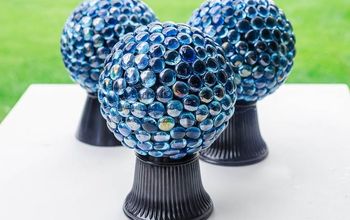
After seeing so many posts on diy garden globes, I just had to try it. I started searching for old bowling balls but all I found were priced too high. Then little by little, it all came together and and I now have six garden globes that I just love. Hope you do too.
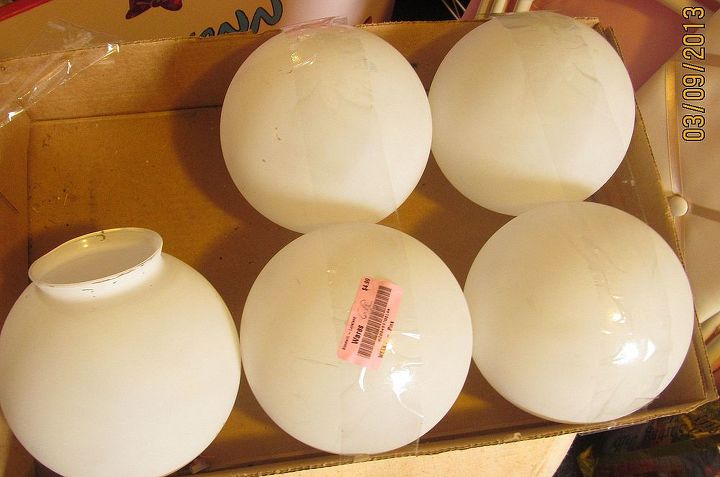
I found these lighting globes at the Goodwill for half off.
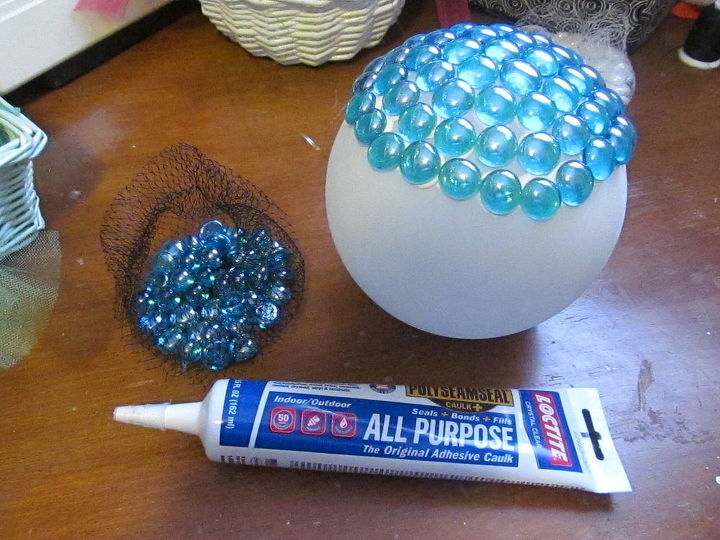
I started applying glass flat sided marbles(Dollar Tree) with this adhesive but they started sliding and I got impatient, so I went to hot glue. Worked great and no slipping.
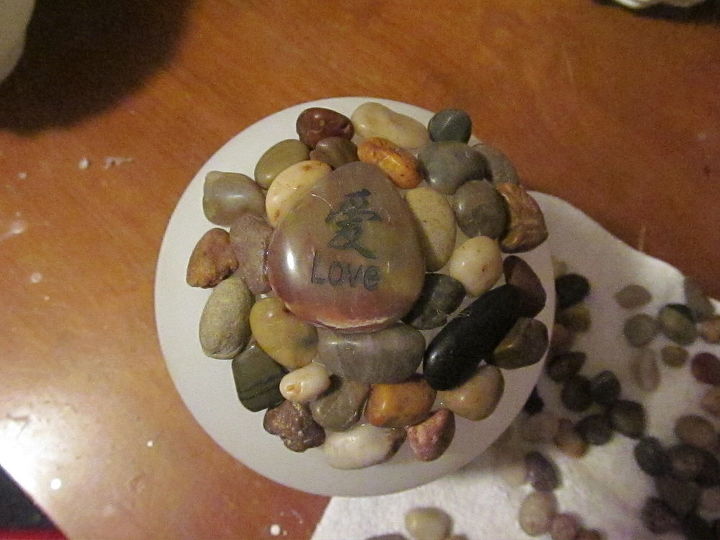
Stones from Dollar Tree and a few engraved stones left over from my daughter's wedding.
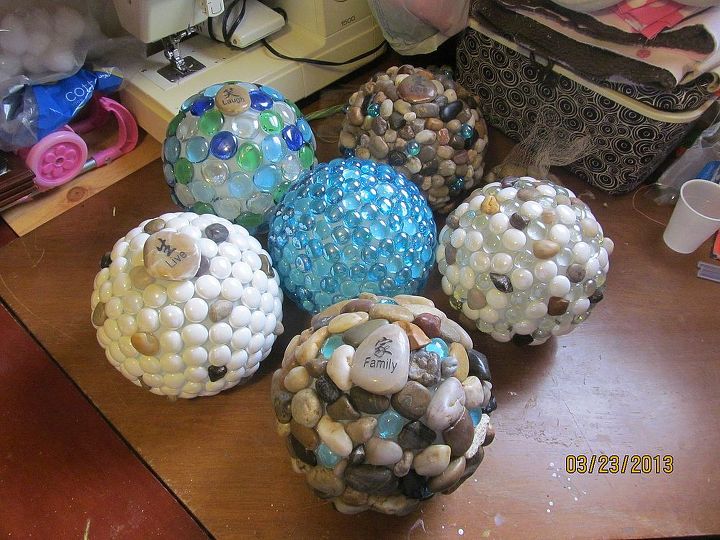
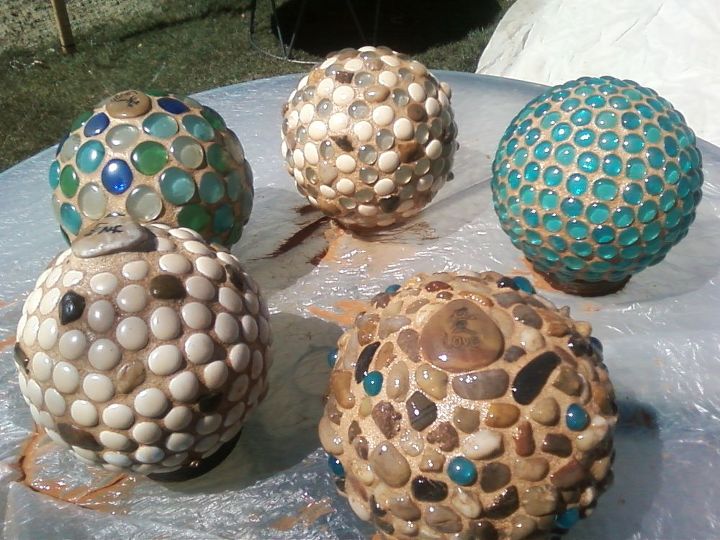
Fast forward, six different globes.
After a few weeks of researching and shopping for the cheapest and best choice of grout, I found a bag for $2 at the Habitat Restore. Messy job for indoors but snow outside made me do it in a large tub on my kitchen table.
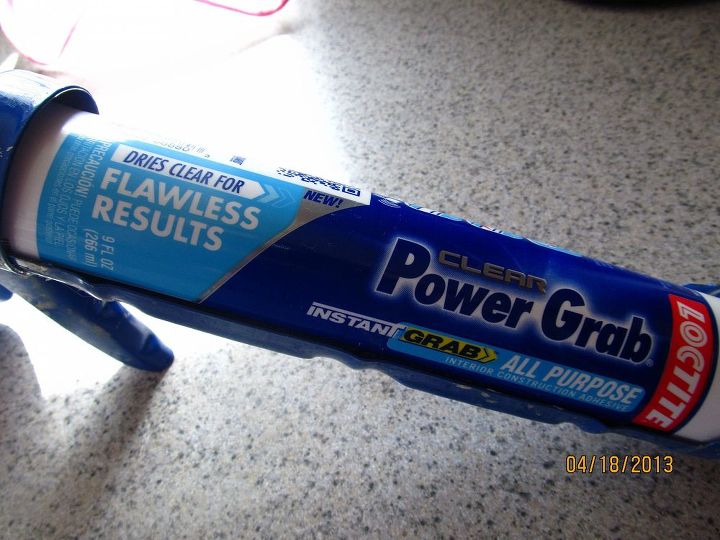
This is the adhesive I used (always on hand, great stuff) to put a base on my globes since they are open on the bottom.I has silicone so it will be water tight. I wanted to make them as outdoor friendly as possible.
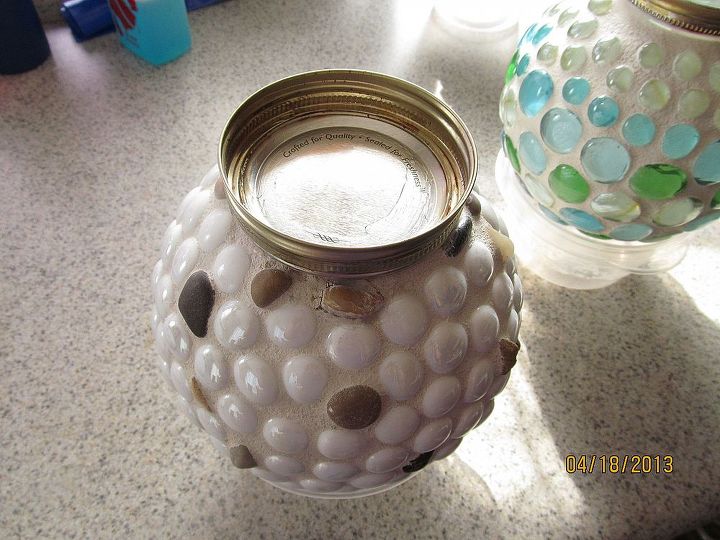
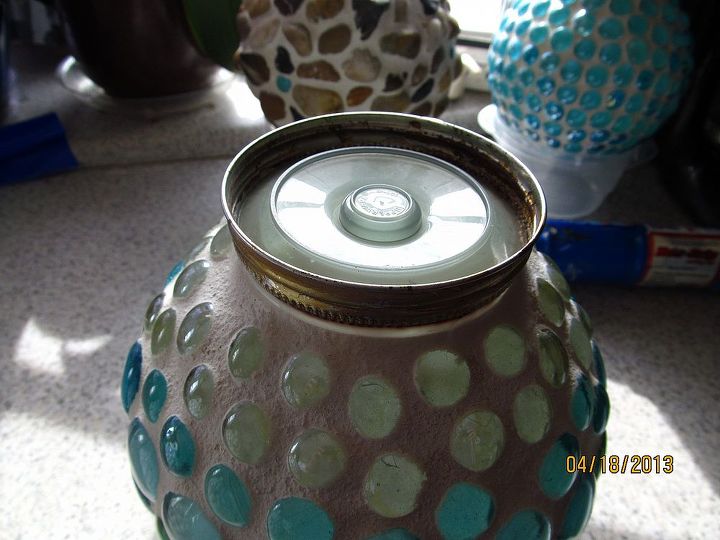
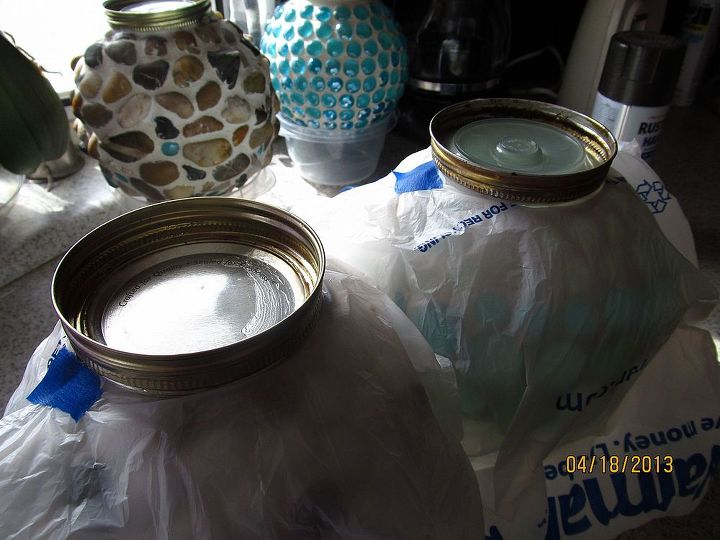
Again, being the cheap-skate I am, I found lg. mason jar lids at the Habitat Restore. They fit over the opening perfectly. I used plenty of adhesive around the ring and inside the ring sealing it completely.
Some only had the ring so I used some bottom pieces from old Tupperware parfait glasses.
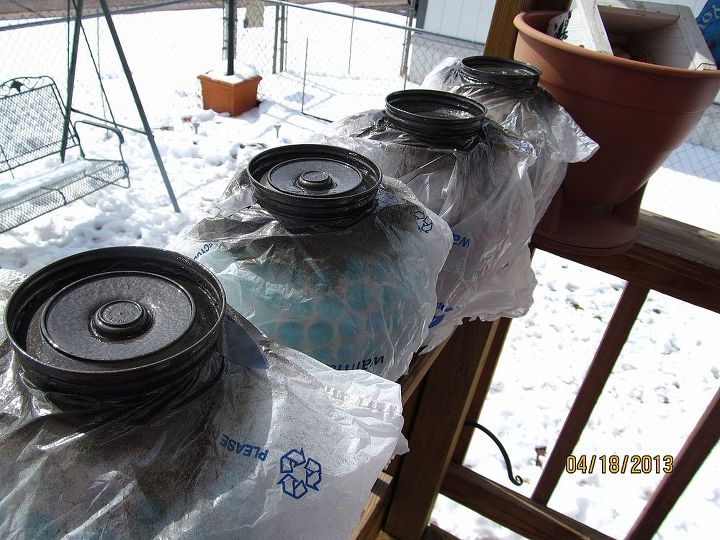
After letting the bases dry over night(resting on plastic bowls,in the background), time for a paint job. To protect the globes, I cut circles in the bottom of grocery bags and taped them tight around the globes.
I had just enough left over paint from other projects to do the bases.
It was a bit colder outside than the paint recommends, but it dried fast.
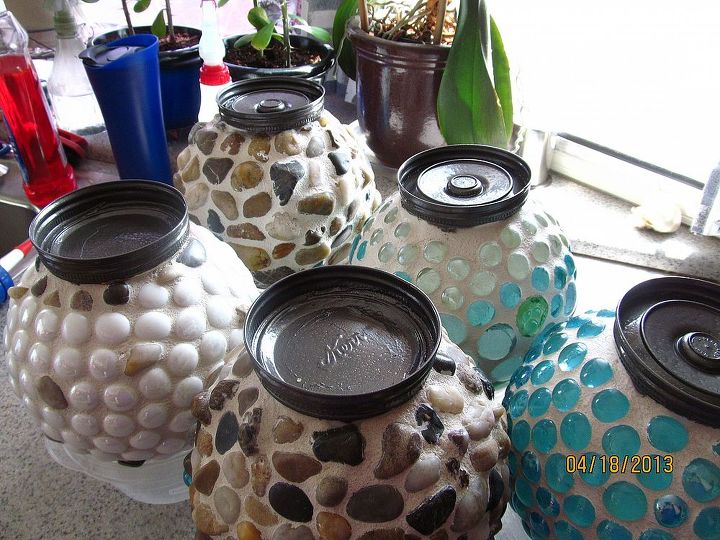
Finished drying inside.
Now they sit upright and are water tight and weather protected. I think they are so cute.
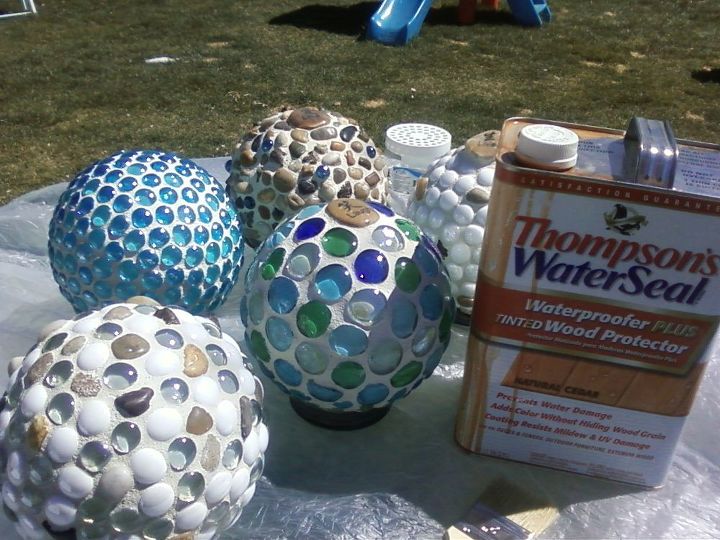
After about 2 1/2 weeks and countless inches of snow, I can finally get outside to seal the grout. I used Thompsons water seal (had cedar colored on hand).
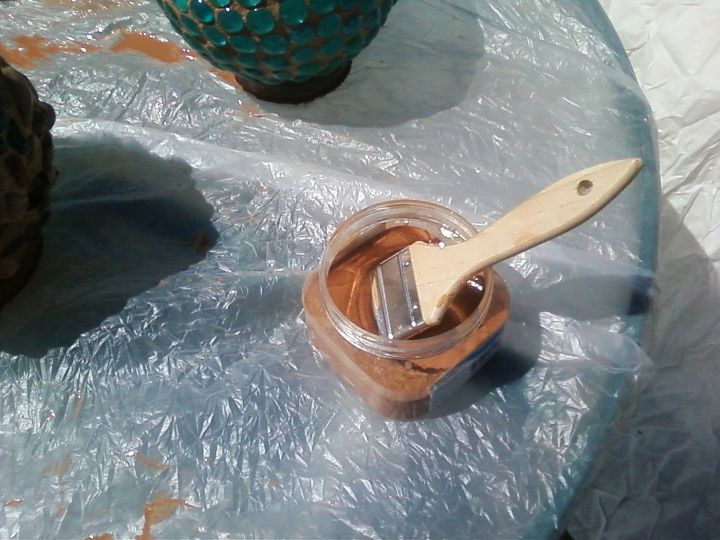
I poured some in a plastic container and used a cheat chip brush to slather it on. Make sure you cover your table, this is messy.
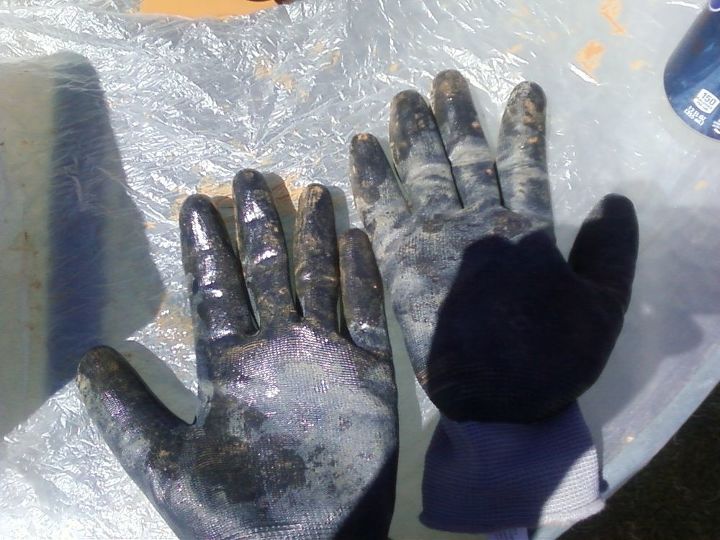
And wear gloves.
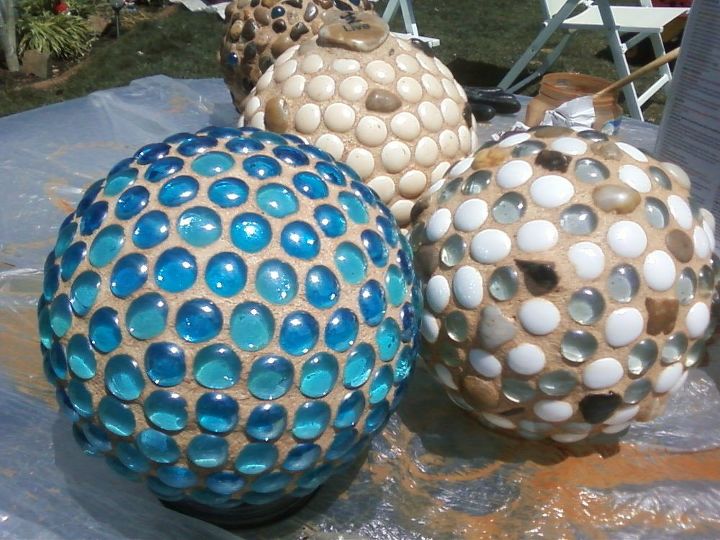
Don't worry about the cloudy way the marbles look. Let them dry for a couple hours and wipe off the stones and marbles with an old cloth.
After a bit of elbow grease, they shine like new.
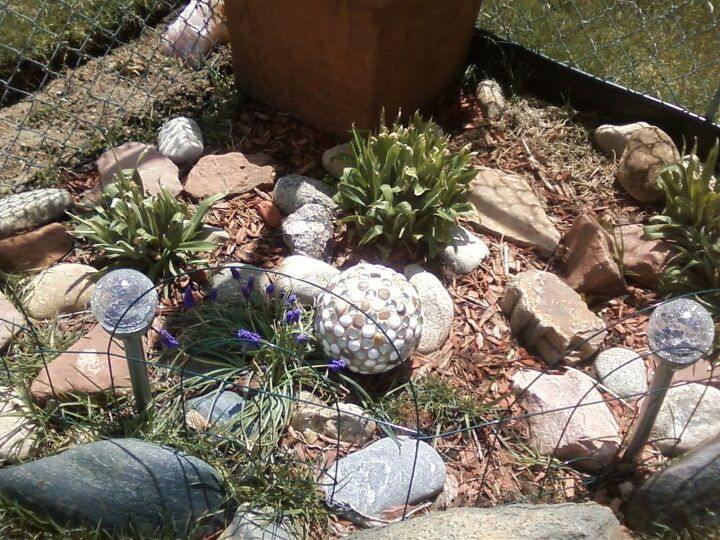
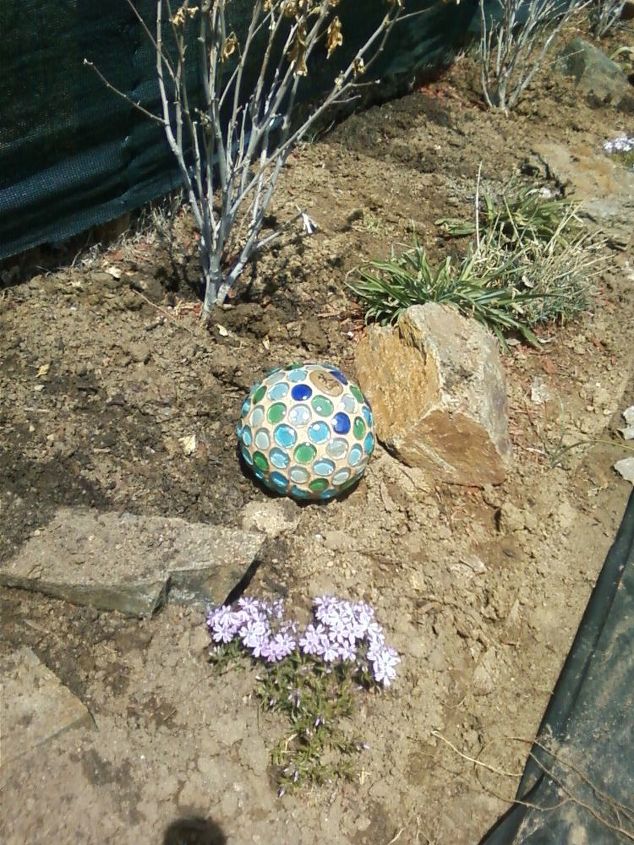
Now, find the perfect place for them in the garden.
Now if only my gardens recoup from the long, cold winter we've had. Happy Spring, everyone.
Enjoyed the project?
Published May 3rd, 2013 11:45 PM
Comments
Join the conversation
2 of 387 comments
-
 Sco82438540
on May 15, 2023
Ye looking good, I have just purchased 3 old light shade going to do the same,
-
-
 Joanne Giddings Pittman
on Oct 01, 2023
These are so cute and look lovely in your garden!!
-
















Frequently asked questions
Have a question about this project?
Wouldn't the stones move around when the hot glue softened in the heat of the sun?
do the stones fall off once the grout is on? Also, does the glue you are using dry quickly?
Why not spray paint the bottom can lids before gluing on? I have used the same method with cement with great results as well. The glass / rock stick better with the cement method. The glue melts in hot sun leaving the glass globe vulnerable to breaking & animals or myself getting cut when gardening. Love the concept! Thank you.