


How to Turn Tomato Cages Into Tables For an Outdoor Party

My twin nephews are graduating from high school this year and my sister is throwing them a party in her backyard. With the amount of people that are attending, she wanted enough tables but didn't want to use banquet tables which take up a lot of room.
So, we decided to make some tomato cage tables! Here's how we did it:
Hometalk Recommends!
Tools and materials:
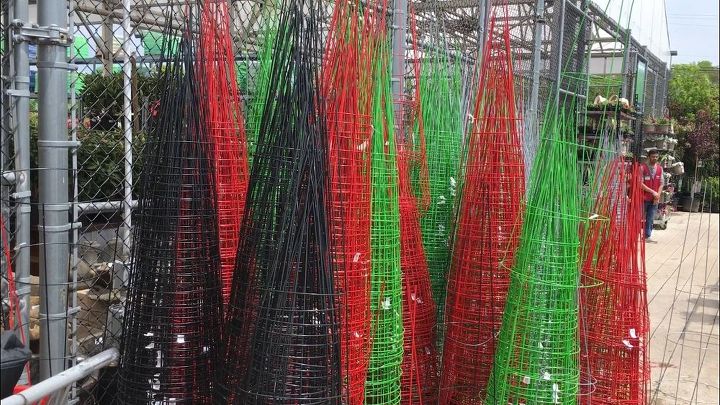
First, I went to Lowe's and I purchased four black cages that were 54".
More DIY Tomato Cage Ideas
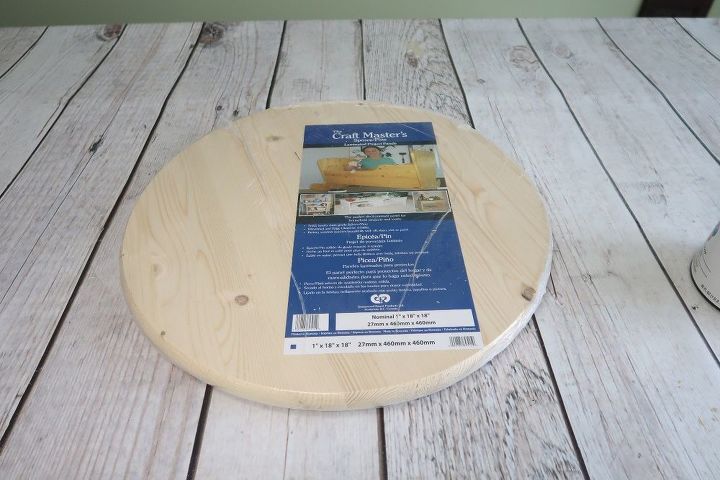
I also purchased four 1"x 18"x 18" round pine boards. Yes, I could have cut them myself but why when I can save time and just buy them already cut.
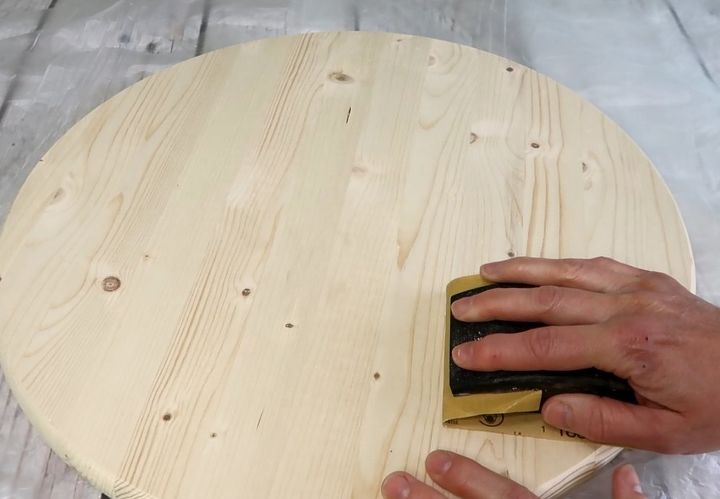
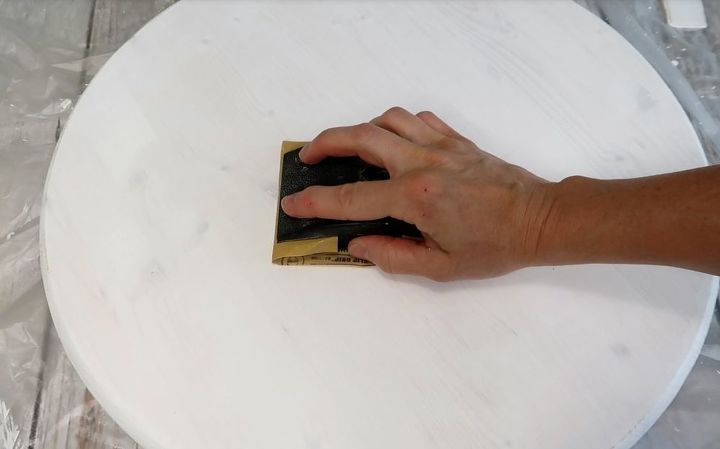
1. Sand
I began by covering my work surface with plastic then I sanded the sides, top and bottom of the pine circles with 180 grit sandpaper. I wiped away the dust with a tack cloth.
Tip: if you are painting the sides of something, place it onto a plastic plate or bowl that raises it. By doing this, your piece won't stick to your work surface and you'll be able to see underneath the edges.
2. Paint
I applied one coat of Krylon Colormaxx acrylic latex paint in white. Once it was dry, I sanded the sides, top, and bottom with 180 grit sandpaper again. After wiping away the dust, I applied a second coat of white paint.
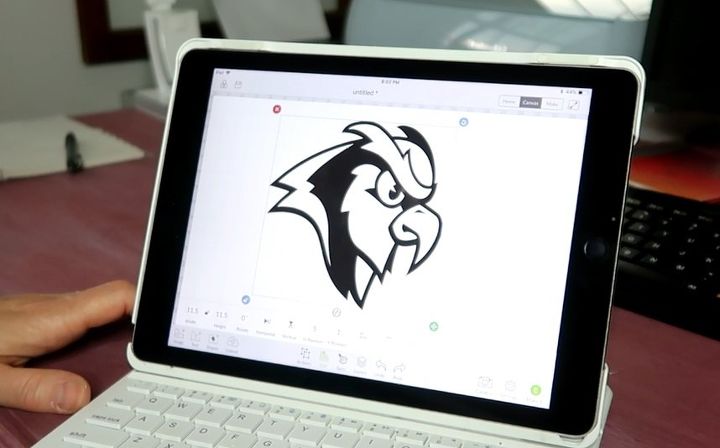
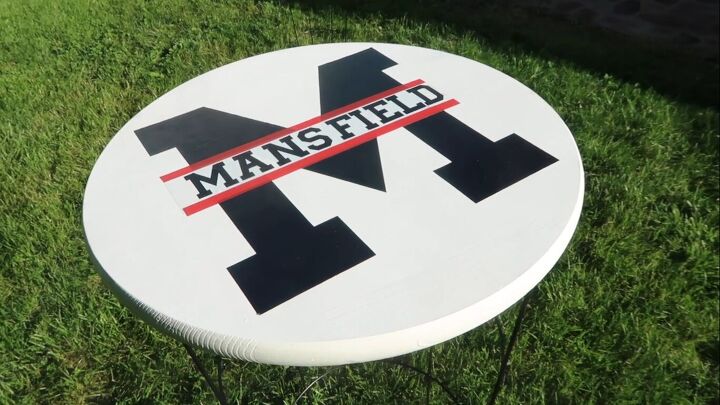
3. Create a design
While the paint was drying, I started to work on the design for the tabletops. One nephew is attending Temple University and the other nephew is attending Mansfield University.
While I am a crafty person, I'm not an artist so I found a picture of an angry owl (Temple's mascot) on my Cricut and cut it out onto black vinyl.
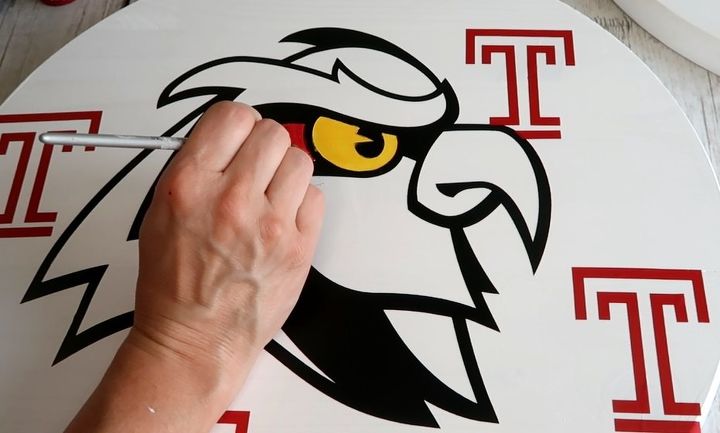
I applied the black vinyl outline to the tabletop and then used craft paint to add color to the owl. For all of the other "logos"* I cut them out of vinyl and attached them to the tabletops.
If you don't have access to a dye cut machine, you could use stencils, transfer designs from paper, or just freehand designs. You could also purchase vinyl logos in stores or on-line.
*As for copyright infringement, I'm not selling the tables and a few of the logos are my adaptation.
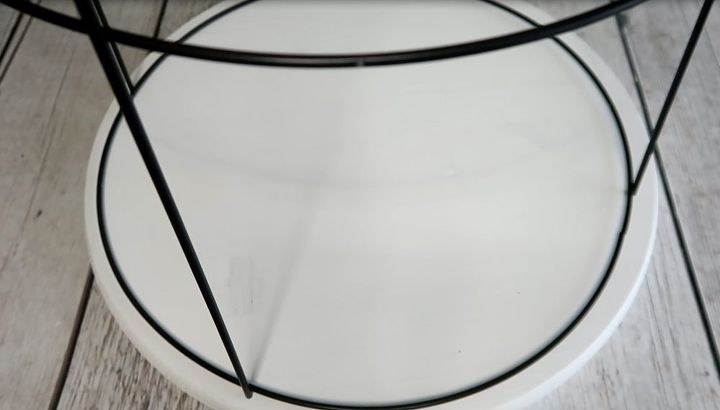
4. Attach the tomato cages
Once all of the tops were dry, I flipped them over so the back was facing up.
I centered the top of the tomato cage on the back of the wooden circle.
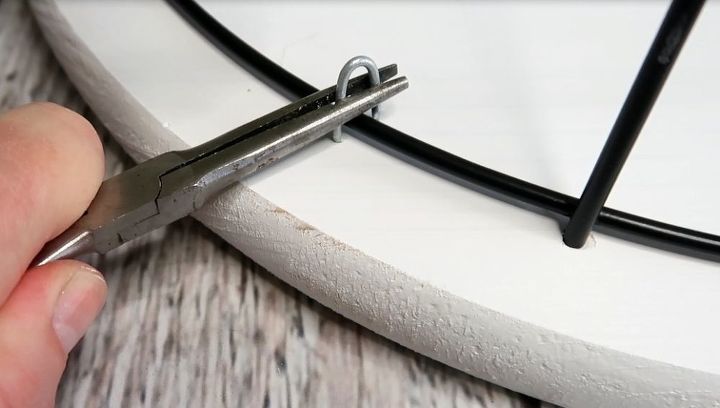
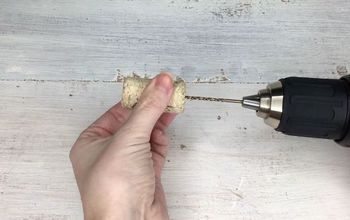
I used 3/4" poultry net staples to attach the tomato cages to the wooden circles hammering them into place.
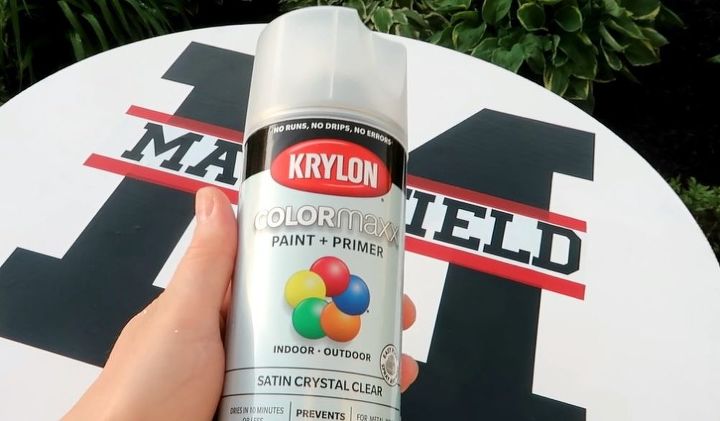
5. Seal
Once the tomato cages were attached, I took the tables outside and sprayed them with a clear sealer. I gave each table two coats.
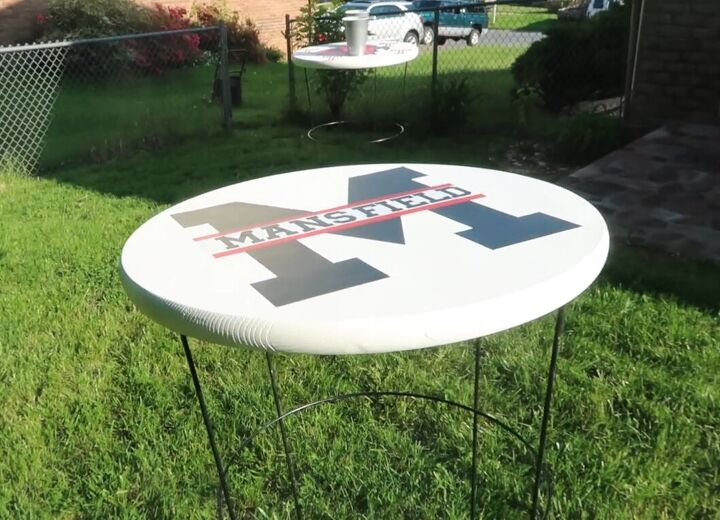
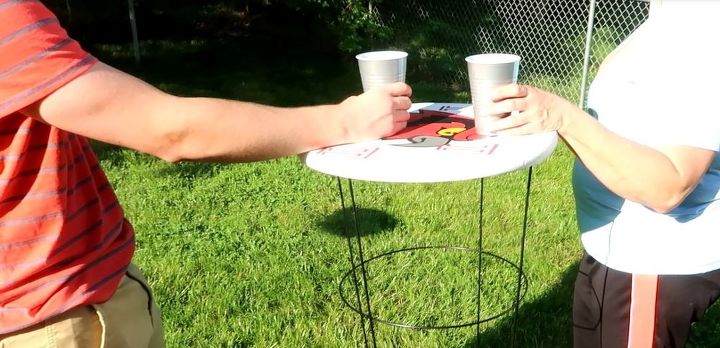
DIY tomato cage tables
The tables were the perfect size for the party. Once the legs of the tomato cages were placed firmly in the ground, they were very sturdy. When spills happened, the tables wiped clean and no stains were left behind.
Resources for this project:
See all materials


Comments
Join the conversation
-
So cute!! Thanks for sharing!
-
Great for simple party table next to corn hole but for everyday use I don’t know. As shown can’t be on deck or patio for parties and such. Those tomato cages aren’t cheap anymore nor is wood (2025). So might be better to get tables that have some weight and not to tip easily. I found mine at Amazon for not much but light enough to put in yard and sturdy enough to do the job


Frequently asked questions
Have a question about this project?
I wish I could do things like the table, but I live in an apartment. Any suggestions?
What would be a good base for the tables. I would love to use them indoors?
Where did you buy the round wood piece and what was the cost?