Faux Stone Tub (Bathroom Makeover Phase 2)

I must admit that I was SUPER intimidated to do this project. I've seen it around online and had to try it, but I felt like I was going to royally mess it up. With some logistical help and elbow grease from my dear sweet husband, we got this project done, and it wasn't near as painful as I thought it would be. I feel like this tub makeover screams,"Welcome to the spa! (minus my horrible floor--haha!)"
We want to help you DIY, so some of the materials in this post are linked to sellers. Just so you know, Hometalk may collect a small share of sales from the links on this page.
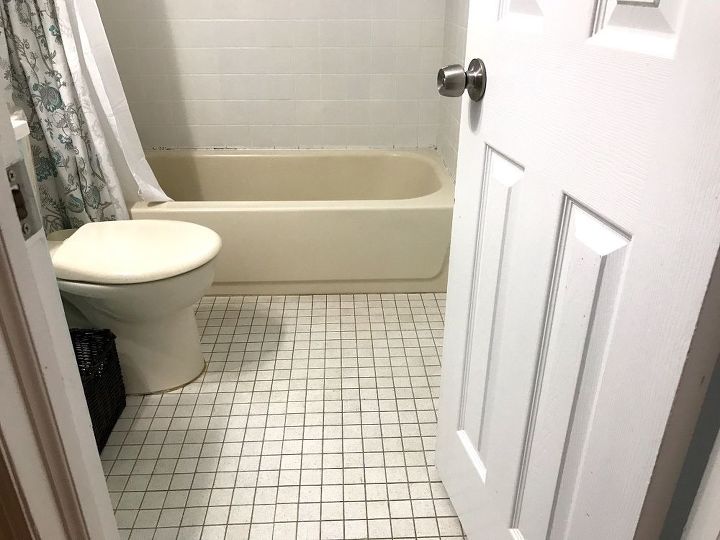
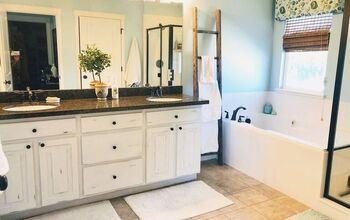
BEFORE: We just have a plain jane tub that is in serious need of re-caulking on the inside by the walls. I always have my shower curtain closed but I figure now that my tub looks so spa-like, it will get me motivated to re-caulk, so I'm not so anal about the shower curtain being closed all the time. And yes, I know my floor looks disgusting -- no amount of scrubbing or bleach will make my bathroom tile look clean, so we have decided to gut it next summer (hallelujah!!!).
SUPPLIES:
- Box of Airstone (IMPORTANT NOTE: Please do not make the mistake I made and grab a random box of Airstone in the color you want. I initially picked up a box, brought it home, opened it and realized it was all corner pieces! Needless to say I had to return the heavy box the next day for the correct box. There are 2 colors available: Autumn Mountain which is a palette of browns and creams, and Spring Creek, which is the grey palette I decided on. You can also choose between a natural edge stone or the flat edge stone. I chose the flat edge stone.)
- Airstone adhesive (ALSO VERY IMPORTANT! The tube comes in interior or exterior. Since I used it in a high-moisture area, they recommended I use exterior adhesive.)The adhesive only comes in a 28 oz. tube
You can buy some of the tools I used at Home Depot:
*Additional note about Airstone products: You can find these products at Lowe's. Home Depot does NOT carry them.
STEP 1 (optional but highly recommended):
Lay out the pattern First, Rob helped me figure out how the stones were going to be placed on the side of the tub. He arranged the different shades and sizes, and I okay'd or nay'd his arrangement. I highly recommend doing this to save yourself stress and a headache. We measured our tub and taped off my work table to lay them out. Keep in mind that you will most likely have to cut some stones, so it's okay if your end stones go past your mark.
STEP 2:
Apply adhesive Next, using a 29 oz. caulk gun, I applied the Airstone adhesive to the back of the stones. This was a pain for me because I have no upper body strength, so Rob took over once he came home from work and the rest of the project was a breeze after that!
STEP 3:
Spread adhesive and attach stones After I applied the adhesive to the back of the stones, I spread it with a putty knife. *Note: if you have a curve on the side of your tub like I do, don't fret--just add extra adhesive to the part of the stone that will be laid over the gaps.
Next, I firmly pressed the stones on to the side of the tub. I made sure to put them as close as possible together and stayed with the pattern Rob and I had mapped out in the beginning. I literally did one row at a time, taking them from my work desk to the bathroom as a set so that I wouldn't mess the pattern up.
STEP 4:
Cut excess You can do this step as you go, or you can wait and cut all of your end pieces once the rest of your tub is covered with stone. I measured the empty space on each row of stone on the side of my tub just to double check of the length the stone needed to be, then I had Rob cut them with a hack saw.
Make sure to cut in a straight line (it's not hard to cut the stones but the trick is cutting straight).
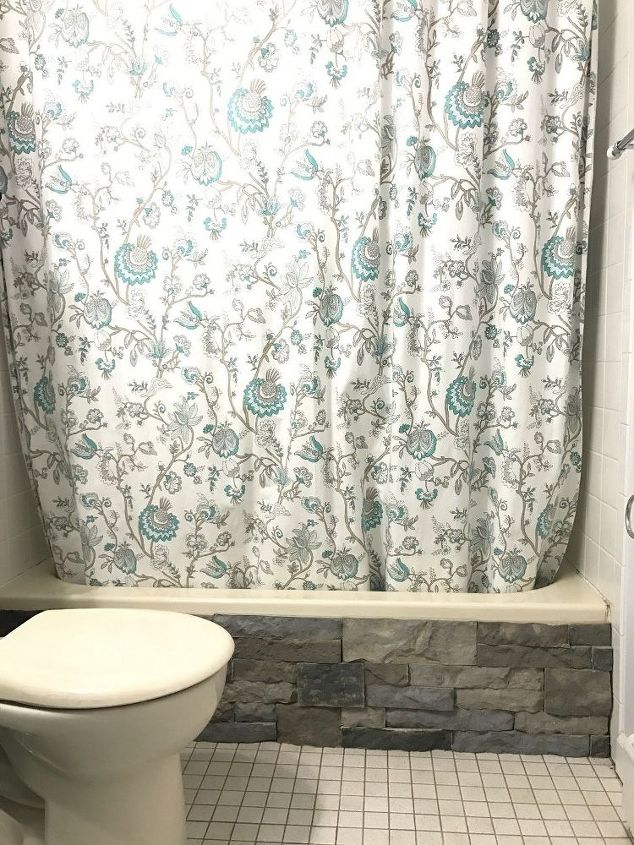
Here is the final result! I'm really pleased with how this project came out and what a difference it makes in my tiny bathroom. I may go back and finish off the top of the stone with a piece of PVC trim but haven't decided 100% on that yet; another option would be to buy a tube of caulk the same shade as your tub and caulk the top of your stone. Now to re-caulk the inside of the tub so I can have my shower curtain open! *Note: the stones should cure for 24-48 hours according to the adhesive tube.
Enjoyed the project?
Resources for this project:
See all materialsComments
Join the conversation
-
 Sharron Christie
on Jan 18, 2024
Beautifully done. I’m going to try this as well on our very old tub. Thank you for the inspiration!
-
-











Frequently asked questions
Have a question about this project?
Looks nice, any plans on painting the tiles inside the shower to match? I think I would have done the floor first because it will be tricky to break out the tiles under the stone at the floor edge. But instead of ripping out the floor why not paint it and stencils. Tons of how to's on this site. Also I would paint the shower tiles a medium grey and light grey to blend with the stone. You can also use the stone as a back splash by the sink and/or trim around the mirror. White, yellow, or light grey walls. I have a couple of photos to rev you up!
You could also use peel and stick stone like planks for flooring and or walls. Soooo many possibilities. The last photo shows where someone finished the top of the stone with a 1/4 round trim. Have fun.
Shalom and greetings. Great idea. Beautiful result. You're the only other person I've seen with the name Tikva. I'm Tikvah-Teresa Reeves.
What can I do to camouflage how extremely ugly my old iron bathtub is. I want to paint it or do something but the white where someone else painted it is peeling off really bad showing the old pink bathtub…..and it’s too hard to try to scrape off too. What can I do????