An Unusual Way to Hide a Garden Hose

Have a hose making your garden messy? Here’s an unusual way to hide a garden hose without spending money on a hose reel.
Why am I talking about garden hoses when I normally upcycle furniture?
Because I had a problem and upcycling found a way to solve it. Success!
Hometalk Recommends!
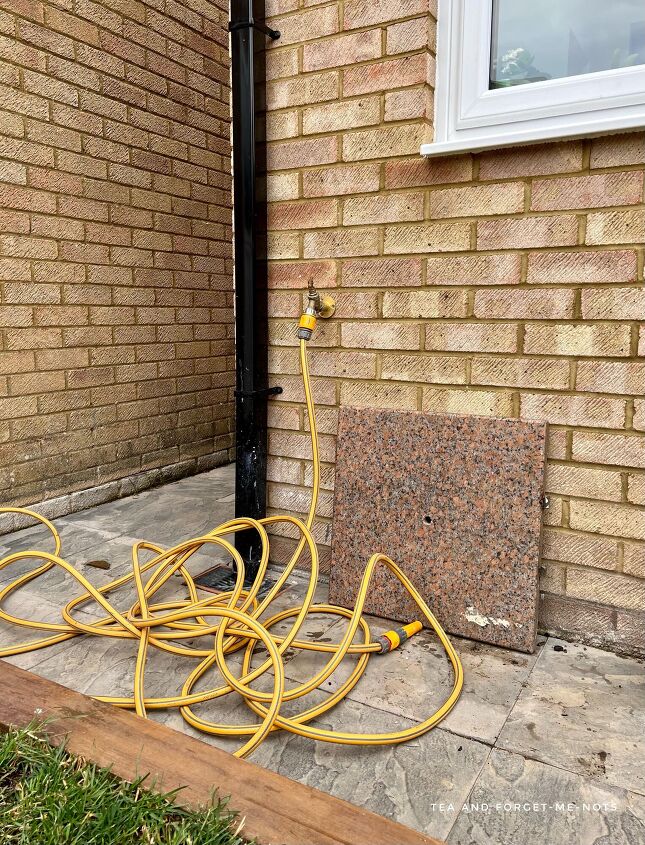
You might think that this is an exaggerated photo. In fact, it was the reality of my garden hose situation.
When I looked into buying a hose reel, they were upwards of £60. With many recommended reels costing £150. That’s serious money.
So, the hosepipe trip hazard just sort of existed.
And then along came a solution. That ticked many more boxes than just hiding the hose.
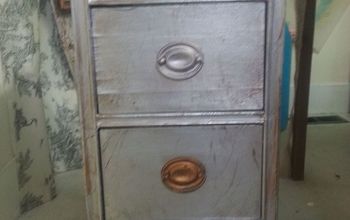
I got this cabinet from friends when they were throwing it away. I love the colour and the rustic feel of it. It had been living in my shed for a few years by this point.
So, what has this got to do with my hose situation?
When shuffling furniture around, I discovered that the green cabinet had quite the insect problem.
Not currently, but the damage had been done.
It wasn’t just holes, they’d had a good feast on the legs too. So, what I expected would at some point be a makeover project, got a change of plans.
With some work, I probably could have rebuilt the legs, but frankly, it wasn’t worth it.
Then I had the thought. What if I put the cabinet in the garden to hide the hose? It was already a lovely grassy colour so it would fit in. It wouldn’t matter if the sun and rain distressed it a bit more.
So, I had a plan.
I started by using a brush to get rid of the cobwebs. Due to the nature of the project, I didn’t wash or sand as I normally would have.
I used two products to get this ready for hose storage.
First of all, I treated it with a wood-boring beetle spray. This would remove any that were there, but there wasn’t any evidence of them. And also prevent new beetles from moving in.
I sprayed the piece all over and used a foam brush to make sure that it got to every part of the surface. I gave the treatment a day to fully do its work.
Secondly, I used a yacht varnish to protect it from the elements. This was my first time using yacht varnish but it’s often recommended for outdoor projects. Time will tell if it does a good job.
I couldn’t find a matte version. So, I chose satin for a lesser sheen than gloss.
Then it was time to make it fit for its purpose as a hose holder.
I cut a hole in the back of the cabinet, just big enough so that the hose would fit through it.
I mapped out a square of about 5cm in size. Then I drilled four holes in each corner. By having the holes, I was able to insert a jigsaw and easily cut out the square.
Then I sanded the rough edges around the hole.
And a hint if you want to try something like this. Detach the hose first and feed just the end through the hole. No need to thread all of the hose through the hole.
Enjoying the post? Please consider subscribing to my blog for best-of tools, products and tips!
And that’s as complicated as this project got. Phew. Why aren’t they all so easy?
I accept that hose reels do a good job of keeping kinks and tangles out of the hose.
But considering where my hose started, this is a vast improvement.
And also free. And the cabinet is useful as storage and a potting bench. It also adds character to the garden.
So, quite a few advantages over spending a lot of money on a hose reel.
Now, if I really wanted both the hose and tap to be hidden? I could have found a taller cabinet and cut out a space for the tap also.
It’s an unusual idea but I think works brilliantly.
Fortunately, this cabinet is the perfect size for the space. It doubles as a little potting station. It can also store both the hose and a few gardening supplies.
Doesn’t it have so much more character than having a hose reel attached to the wall?
It didn’t need much of a makeover to become fit for purpose. Just some preventative efforts to keep it healthy in the elements.
Enjoyed the project?
Resources for this project:
See all materials
Comments
Join the conversation
-
 Steven
on Jul 19, 2022
Here’s another idea buy a bucket and store the hose in it just under the spiket
-
-
 Joyce Lucas Counts
on Jul 12, 2023
I use a big flower pot…. I just curl it around inside.
-









Frequently asked questions
Have a question about this project?
Love it… It’s perfect. Your idea gave me a great inspiration!!!!!!!!!
how much did your materials cost?
you cured one of my pet peeves, but curious: how do you access the tap which seems to remain behind the cabinet?