Old Dated Coffee Table Makeover

If you have been following along with my projects you will know how much I love to DIY as much of my home decor as I can. I think there are so many beautiful pieces out there that can be given a second chance with a little work and TLC.
I have been on the hunt for the perfect coffee table for months now. It was the missing piece to completing our living room.
A few weeks ago I was pleasantly surprised when a neighbor offered to give me a coffee table that she no longer needed… for free! It was the ideal shape and size that I was looking for, and I knew it would be perfect for our space.
Hometalk Recommends!
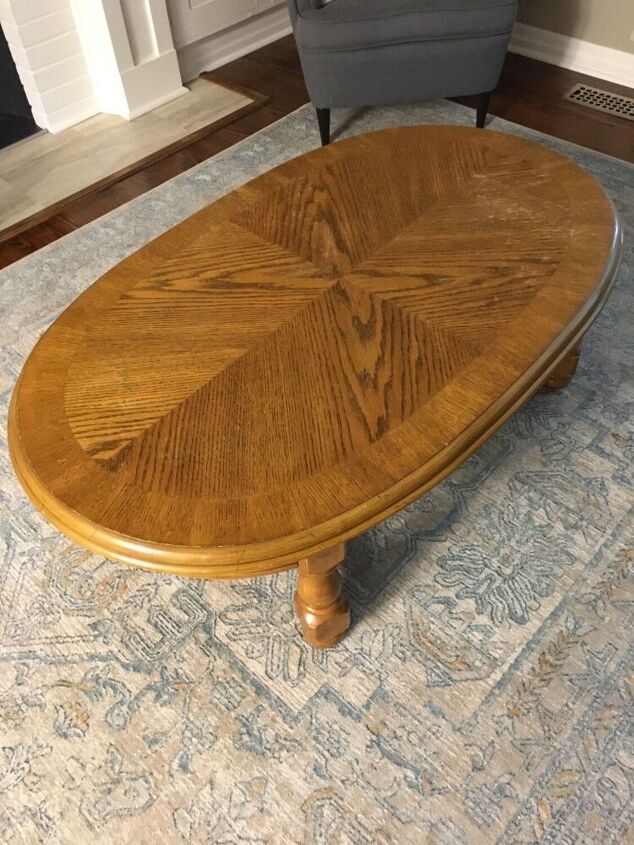
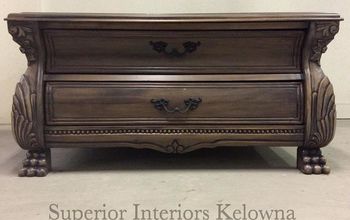
This is what the table looked like when we first brought it home. I loved the shape and style of it, it was a sturdy piece with good bones.
Unfortunately it was not a solid wood table and the one side of it had some substantial bubbling and warped wood veneer.
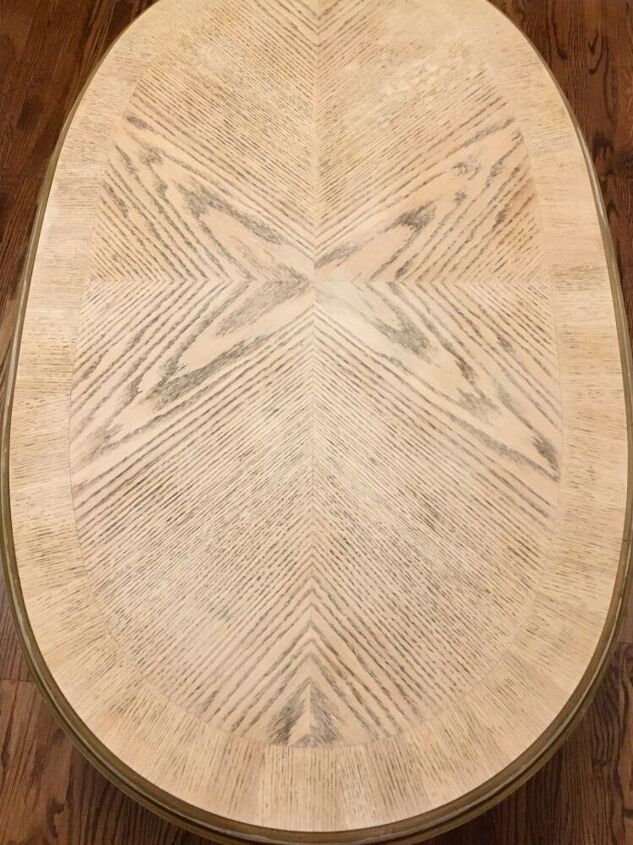
The first thing we did was to give the top a good sanding in order to smooth out any warping or bubbling in the veneer. I actually really loved how the table was looking at this point and considered staining it instead of painting it. I thought for sure we would need to completely sand through the veneer in order to get it smooth, but as you can see the wood grain was still completely in tact.
However we quickly discovered that the sides of the table were not made of wood therefore impossible to stain. So for all of you wood furniture lovers, don’t worry I am not painting over beautiful wood!
Since this is a coffee table in our main living area I am anticipating it getting a lot of wear and tear. I wanted to give this table as durable of a finish as possible. I began by applying two coats of a good stain blocking primer.
Once the primer was dried I used regular flat latex paint on the rest of the table. I love buying the sample size jars of paint as they are so cost effective and are usually the perfect amount of paint for small projects like this.
For this table I planned to paint the bottom and legs of it white, and do a faux wood effect on the top of it. This is how it was looking after I finished painting the top.
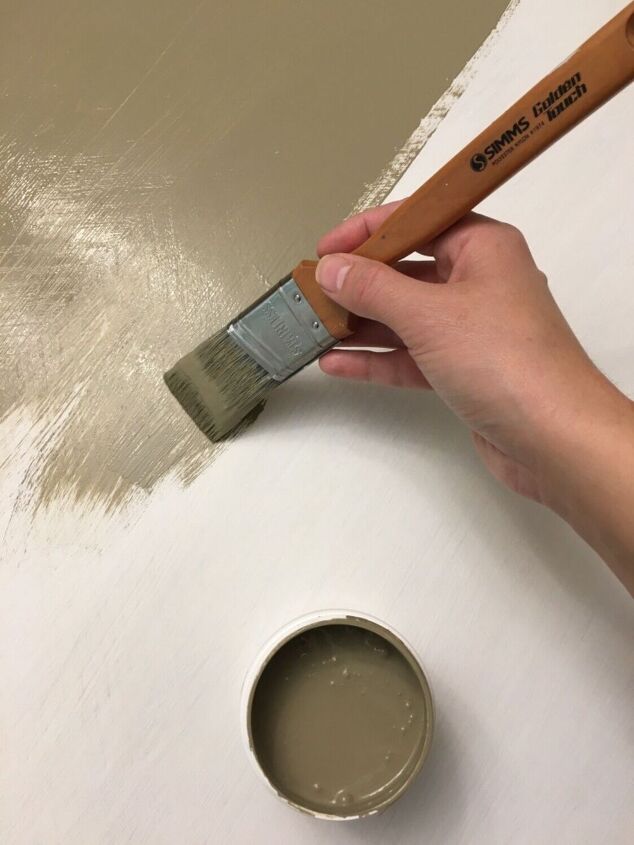
To create the faux wood look, I used a very light paint colour that I had on hand and watered it down 1 part paint to 1 part water. Then I took the watered down paint and roughly painted it on the table.
Using a very slightly damp cloth you want to wipe off the watered down paint, almost immediately. If you want to get the wood grain effect it’s important to wipe in the same direction only. Don’t worry if you end up wiping off too much of the paint you can always reapply some and play around with it, until you have a nice uniform appearance.
Once the paint had dried I wanted to add in a bit more definition to the table and give it a more realistic wood look. Using a dry brush with barely any paint on it I ever so lightly brushed over the entire table with the lighter of the two paint colours. Again it’s important to use long strokes in the same direction to get an authentic look.
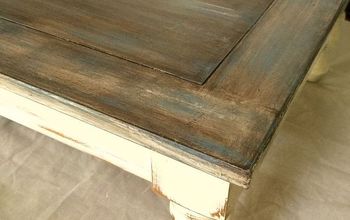
Here is a close up of what the table top looks like. Once that was dry I painted the legs white and gave everything 2 coats of a Polycrylic sealer.
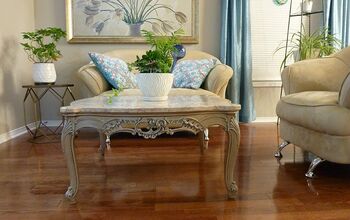
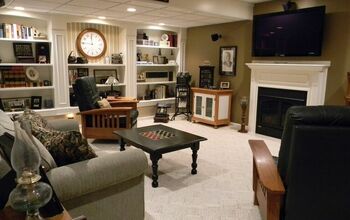
And here is how the finished table turned out. I am so pleased with it, and sometimes can’t believe it’s the same table I started out with.
With a little time and patience I found my dream coffee table and our living room is now complete. It’s amazing what a difference paint can make, and is such an affordable option to achieving the look you want without breaking the bank.
Enjoyed the project?
Resources for this project:
See all materialsComments
Join the conversation
-
 Wendy Terrill
on Aug 14, 2025
Well done. It looks wonderful.
-
-
 Gilmer Gal
on Aug 18, 2025
This is not my style of furniture for my home, but it is AMAZING in the setting shown. I give it 👋
-











Frequently asked questions
Have a question about this project?
It looks beautiful, but why didn’t you just use a gel stain instead?
what was the color of the paint you use for the top of the table ?
WHAT DID YOU SAND THE TABLE ? SANDING PAPPER OR MACHINE?