French Provincial End Table Makeover

by
Marj MRC Creations
(IC: homeowner)
5 Materials
$50
5 Hours
Easy
I found this lovely end table online that needed some TLC as it was stripped and bare of much character. I knew that it had potential and it was in good shape, so I was very excited about hubby and I picking it up, even though it was -40 (C or F!) with the windchill that day! I know ... we're crazy!
Have a look at how I transformed this into a charming table that will make someone very happy, I'm sure.
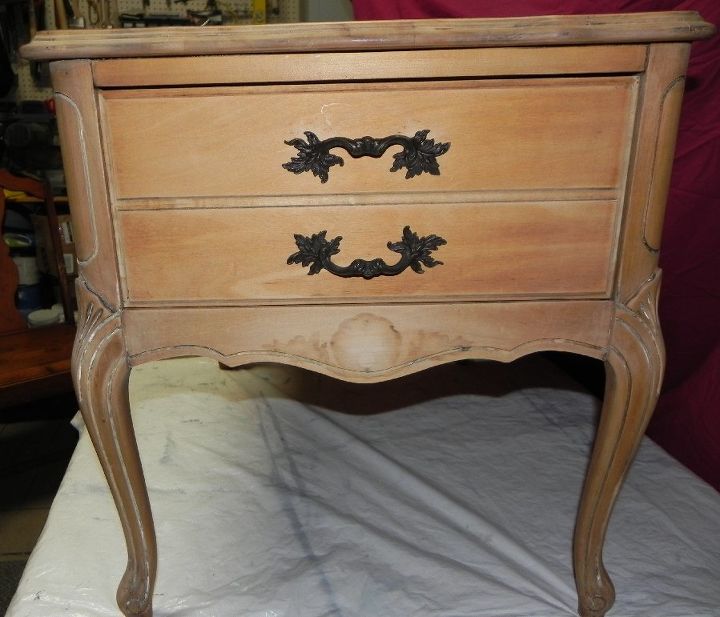
This is the original table, already sanded down by the previous owner. How lucky is that?
Those legs. Aaaahhh, those sexy table legs that I have a very hard time saying 'no' to! I couldn't wait to get started in highlighting those details.
This is often a scary step, where I 'splotch' a base colour here and there, knowing that when I distress at the end, it will appear and be highlighted to bring character to the piece. I chose to paint a black chalk paint first.
I then covered the whole table and drawer with Fusion Mineral paint, in Lamp White, which is a very pale grey. This is after the first coat.
See how the details of the leg work is starting to be defined? I ended up painting three coats of FMP in Lamp White for a uniform finish, distressed along the edges, where natural wear and tear might occur, and then gave it a coat of beeswax that I buffed.
I wanted to cover the outside and inside of the drawer with a fabric, so I used Mod Podge to do that.
This is the first time I tried this technique, where you apply Mod Podge (a decoupage medium), let it dry, then apply the fabric with a low heat iron. I then covered the fabric with two coats of Mod Podge, with a light sanding in between to soften things.
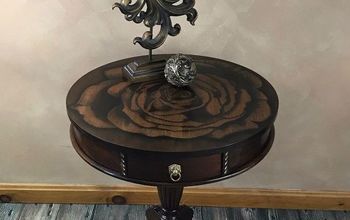
There she is, completely transformed! It was a relatively easy project to do and I was very motivated as I just love this piece. Give a piece of furniture new life with some paint, some character and a whole new look!
I kept the original hardware, giving it a good cleaning and a coat of varnish. I think the added peek of fabric on the side is pretty cool.
Enjoyed the project?
Resources for this project:
See all materials
Any price and availability information displayed on [relevant Amazon Site(s), as applicable] at the time of purchase will apply to the purchase of this product.
Hometalk may collect a small share of sales from the links on this page.More info
Published January 16th, 2018 9:34 AM
Comments
Join the conversation
2 of 23 comments
-
 Naomie Moore aka baileyanddaisey, Castaic CA
on Jan 29, 2018
Great save! Know someone with similar tables. Love what you did with this piece, the fabric makes it pop! 💕
-
-













Frequently asked questions
Have a question about this project?
You mentioned this was the first time using an iron for applying the fabric. What do you think of using this method?