Painting Furniture With General Finishes Milk Paint

Sometimes I wonder if my house is more of a storage unit than a home. So in an effort to resuscitate my home, I’ve decided to declutter, donate, and sell most of what I deem unnecessary for everyday living and enjoyment. One of these items that has been stored in my home is an old, wooden sewing table. My husband and I found it on the side of the road with a “free” sign on it...three years ago! Since then, it has been sitting in various homes and places in my home waiting to be loved or reintroduced back into society.
Finally, this week in a moment of pure motivation, I decided to give this worn out piece a facelift so I can ultimately get it out of my house and get a little cash. Although, you may not have a piece quite like this in your home, the process for painting whatever furniture piece you may have is essentially the same. So whether your painting for keeps or for your side hustle, here are some basic steps for how to paint furniture specifically using General Finishes Milk Paint.
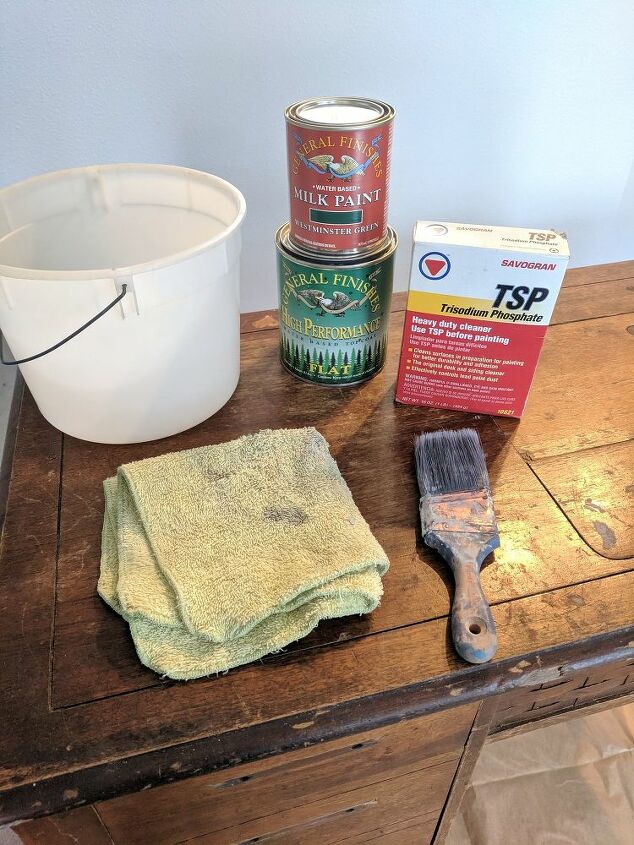
Materials needed:
-Wood filler
-TSP (Trisodium Phosphate)
-Gloves
-220 grit sandpaper
-Rag
-Bucket with warm water
-Paint Brush
-General Finishes Milk Paint in Color of Choice
-General Finishes Top Coat
Here's the before.
You would think that after three years of owning this sewing table I would have given it a thorough cleaning, especially since it has been sitting inside my home for so long. However, I had not. Regardless of the time it’s been in your home, it’s always a good idea to clean your project before painting in order to get rid of any dirt and debris that may be lying in the nooks and crannies. I used TSP or trisodium phosphate which is the preferred cleaner for these types of jobs since it also degreases and does not leave a residue. Following the instructions on the box, I dissolved the TSP into the bucket of warm water. Using my rag (and wearing gloves!) I wiped down the entire piece and tried to get in the hard-to-reach places. Let me tell you, my cloth was filthy! Good thing I let that dirty thing sit in my house all these years.
After letting it air dry, I filled in any holes with my wood filler that seemed too deep to be cute or add character. After applying it with my finger, I let it dry and then used 220 grit sandpaper to smooth it down to the surrounding surfaces. Then it was on to the fun part, the painting!
One of the benefits of using this specific milk paint is that there is no need to sand your wood pieces. The adhesion in this paint is great! However, if you would like a little more security, you can use your 220 grit sandpaper to do a light sanding.
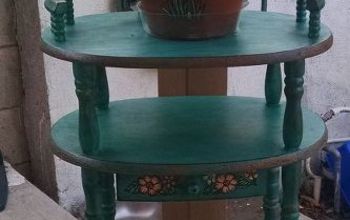
For this project I used GF Milk Paint in the color Westminster Green. This is one of their newer colors and I love that it’s a mix between teal and forest green. It definitely lends itself to more of a midcentury vibe in my opinion.
Using my 2” Purdy Cub brush, I applied a thin, first coat of paint to the sewing table. Initially I intended to paint the entire piece in the green, but once I started applying the paint I thought a two-toned look would be fitting. This meant that I left the drawers and side panels untouched by paint.
Once the first coat of paint was dry to the touch, I applied a second coat. This paint dries quickly so don’t be surprised if you don’t get a huge paint break in between coats.
Since my daylight was coming to an end on these short Alaskan winter days, I decided to let the paint fully sit overnight and put the top coat on the following day.
Applying the topcoat follows the same steps as the paint. I used my paint brush and GF High Performance Top Coat in a flat sheen and applied two light coats with only a short amount of dry time in between.
Finally, once both coats were completely dry, I put new pulls on the drawers and the faux drawer with the basket weave pattern. While this project took me a few hours, it was very easy to accomplish. Now I have no excuse to let my projects sit for three years. So good luck and start enjoying your home too!
Here's the after!









Frequently asked questions
Have a question about this project?
did you put any type of finish on the top after painting it to resist water or anything else they may spill on it?
Beautiful
This is what I did to mine but I used car wax instead topcoat. I’m keeping mine to use in my farmhouse sewing room. I love yours! Did you sell it?