How to Stencil a Powder Room Wall With Stencil Revolution

Our half bathroom was one of those “I started to give it a makeover and quit a year ago” projects. Have you ever done that before!? It was still in dire need of one!Well I’m going to share with you how you can give your bathroom some new life with a beautiful accent wall using Stencil Revolutions wall stencils!!
Their palm leaf wall stencils is one of my favorites!! It is PERFECT for a bathroom! It’s also great for beginners. The palm leaf pattern is so whimsical and fun! You can move the stencil in any pattern you would like. This stencil is great because you can play around and have fun with it! Move the stencil in the way that you would imagine palm leafs blowing in the wind!
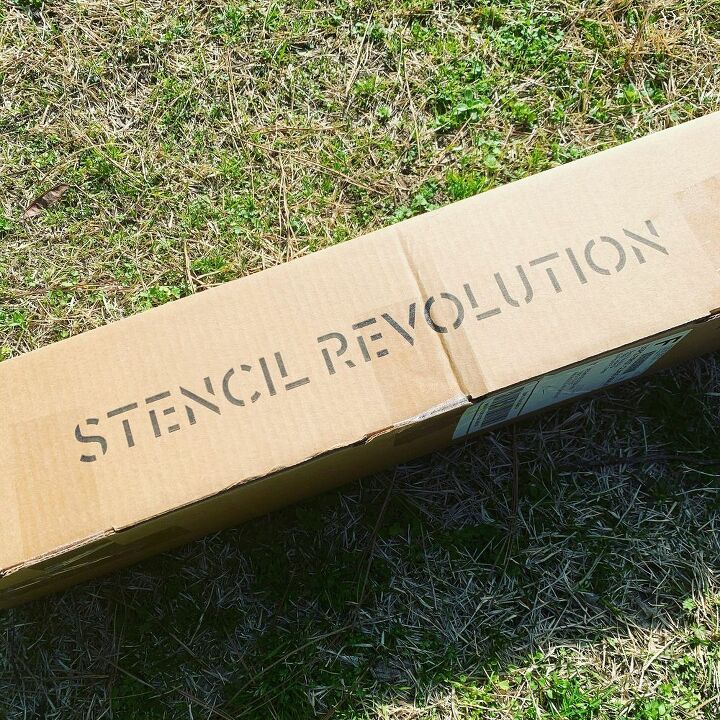
When our Stencil Revolution stencil came in the mail we were all so excited! Their packaging was perfect!
Below are photos of our bathroom before. As you can see it was in need of some new life!
Supplies for stenciling an accent wall
- Stencil Revolution Palm Leaf Stencil
- Valspars Sample Pot Green Paint
- Jolie Paint Noir (any black paint will work!)
- Stencil Brush
- Painters Tape
- Sherwin Williams white paint
- Shop towels
- Paint Roller
- Trim paint brush
To begin this project my husband and I repainted the bathroom walls white. We used a white paint from Sherwin Williams that was leftover from a couple years ago. My husband used a paint roller and I used a trim brush to paint around the edges. :)
Once the wall paint is dry, you are ready to stencil! Please make sure wall paint is fully dry before beginning to stencil or you will take off your wall paint. Once it’s dry you’re good to go!I learned this tip from a pro, and that’s why I can recommend it with such confidence! Here is the tip Me and Mrs. Jones (the pro, with a shop out of Memphis,) shared with me: use the painters tape that has an orange ring on the inside!! The orange ring indicates lower stickiness! So it WILL NOT pull off your existing wall paint.
Tape Stencil to wall. Above is a photo for the Palm Leaf stencil by Stencil Revolution. I put the painters tape on the edges of the wall stencil. Just enough tape to hold it in place. I started in the middle of our wall.
To begin stenciling, dip just the tips of your paint brush into the paint. Off load excess paint onto a shop towel or paper towel. Off loading is super important! Without off loading, excess paint will go underneath your stencil and you won’t get those crisp clear lines for your palm leaf that you want. After you have off loaded your paint brush you are ready to stencil! Begin with dabbing motions. Move the brush up and down until you have completely filled in the palm leaf.
After you have stenciled in one palm leaf you are ready to move to the next! You can move the stencil in any pattern you would like; that is what makes the palm leaf so much fun! You do not have to be perfect and precise with the layout of this stencil! The pattern is whatever you decide to make it! I chose to move the stencil down and I stenciled the next palm leaf green. TIP: If you would like a faux affect on your palm leafs do not clean your brush in between colors! This will help create a little more depth to your wall stenciling. :)
Continue to move the wall stencil in any pattern you would like! Repeat the same method as listed above to stencil each palm leaf.
After you have stenciled all of your palm leafs you can sit back and enjoy what you just created!
Add some cute decor to your accent wall and you are good to go! I picked up a few things from a flea market and Hobby Lobby to add to the accent wall. :)
What do you think of our half bathroom accent wall? I’d love to hear your comments below! To learn more about Stencil Revolutions Palm Leaf wall stencil CLICK HERE
Enjoyed the project?
Resources for this project:
See all materials
Comments
Join the conversation
-
 River
on Apr 01, 2022
Awesome! Absolutely beautiful, you did a great job, thanks so much for sharing!
-
-








Frequently asked questions
Have a question about this project?
Where did you find that mirror--I love it!
What kind of paint would you use to stencil on white subway tile behind your tub?
Hi. I've been searching for a mirror like the baroque (I think it's called ) style in the before picture of your bathroom? Is that an antique or is it from Walmart Better Homes and Gardens as someone referred to in one of the posts? Or was she referring to your new mirror?