How to Paint Brushed Faux Suede Walls

Faux suede has become a popular wall finish because of its soft, elegant texture.
If you want a wall finish that is easy to apply and gives your space a warm and elegant decorative finish, Faux Suede may be just what you’re looking for. It’s a simple finish to achieve, even for a beginner.
Although you can buy suede paint in a can, the colors are limited. You can make your own to save money and create your own custom colors.
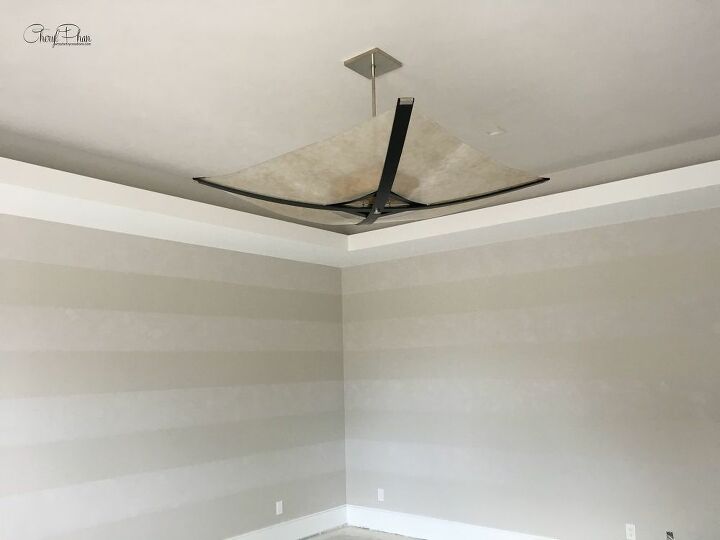
I’m all about saving money whenever I can. I’m going to show you how I made my own suede finish to create this beautiful wall and ceiling.
I love the soft appearance and simple elegance of this tone on tone horizontal stripe.
The ceiling was also done to give the room a finished and cohesive look.
The most time-consuming part of creating this finish is taping off the wall. Here is the easiest way to determine the width of the stripes. Measure the wall from top to bottom. Then divide how many stripes you want on your wall. I did 12 ½” stripes on this wall so that they would all be the same size. You may need about 3 rolls of tape depending on the size of your room.
Step 1:
Apply 2 coats of flat paint on the walls. Let it dry. Use whatever color like. I used a light gray on these walls.
Step 2:
Using a piece of white chalk, I measured from the molding to 12 ½” down all the way around the room and marked a dot with the chalk. Then I applied the Frog tape.
Important.. use a low-tack blue tape or frog tape to make the stripes. You may want to have someone help you when applying the tape; it’s a little tricky doing it yourself.
Important: For the first tape line, apply tape below the chalk line. The second tape line, apply above the chalk line. This will measure out evenly. If you don’t do that, every other stripe will be smaller than the first.
I like to add a small piece of tape on the stripes that are not going to be painted. This reminds me not to paint that stripe. Believe me, it’s easy to make this mistake.
Step 3:
Make your own chalk paint to create the suede finish.
Watch the video to see how I make my own chalk paint.
I used the same color flat paint, but I had the paint store bump it down 25% (make lighter). Then I added a little water to the magic powder and mixed it into the paint. This is how you make your own chalk paint.
Step 4:
Using a low nap roller, roll the chalk paint in 3-foot sections. While the paint is still wet, use a wide chip brush and make X’s to cover the paint you just put on. Keep doing this until you are done with all the stripes.
Step 5:
When the paint dries go back over the stripes with the same X’s using the chip brush. Drip the brush in the chalk paint and offload some of the paint before you apply it to the wall. This way you will see the texture.
Notice how this brush is not loaded with paint.
Here is what the x’s should look like. Just sporadically applied.
This is a close up of the finish. It’s a very soft effect.
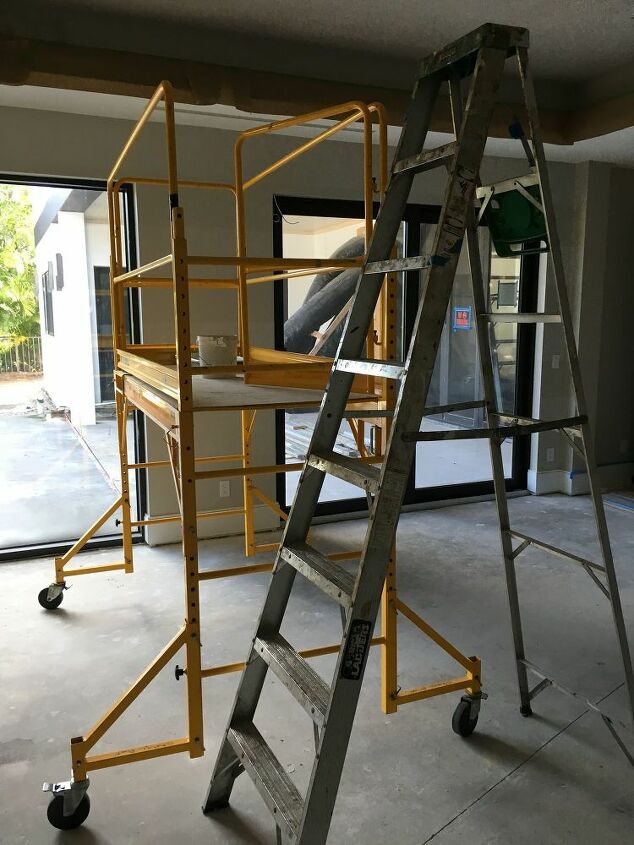
I also created the same finish on the ceiling. I used scaffold so I could work in larger sections at a time. Notice I use a ladder to get up on the scaffold. Just thought I’d share this little tip. No need to climb like a monkey when you don’t have to.
Don’t forget to tape off any high-hats and lighting before you start painting.
One of the things I really love about this finish is, it goes well in any style home. Contemporary, coastal, and modern.
Hope this was helpful. Join Ask Cheryl Phan Facebook group and showcase your projects.
Don’t forget to follow me on Facebook!
Blessings,
Cheryl
Enjoyed the project?
Resources for this project:
See all materials















Frequently asked questions
Have a question about this project?
Very nice. We used suede paint several times from the designer line of paints from Home Depot and used the cross-hatch, X-stroke painting technique you mention above. It is a beautiful paint but as you say, limited in color choices. I would love to make my own so I can choose my own color. I understand that this website adds links to products that you mention in your post. What I am confused about is the process to actually MAKE your own suede texture paint. You called it magic powder. The item linked at the bottom of your post is a shaving powder, an actual depilatory for removing hair. Is that what you used? You also made mention to "chalk paint". Is your "suede" paint simply a "chalk" paint? Thanks for any help you might give.
I love this! It looks terrific and that light fixture really makes a statement. Where did you get the light fixture??
I realize, your post is from, a couple years past, but just curious, did the faux suede walls, hold up well?
Also, did you happen to any FAUX SUEDE, a full wall? It’s very difficult for me to see, with or without my glasses.🤓 You did lovely work on your lines, color coordination and as far as I can see, it looks very SUEDEY.