Faux Brick Wall

by
Amanda C, Hometalk Team
(IC: paid contributor)
5 Materials
$50-135
6 Hours
Advanced
I have wanted an exposed brick wall for quite some time, but don't live in a place where I can do some demo to expose one myself so I went with a fun alternative! This faux brick wall paneling is a quick and cheap option if you are wanting to give a wall a bit of industrial character. With some liquid nails, some grout and of course the panels you get a great brick look-a-like! This is a great option for renters too as you are able to install it with only nails if needed and can remove it when you move!
These panels were a bit intense to install as they are big and awkward, but with a little help from my husband we conquered! Worth the work! Can't wait to decorate it with some great pieces!
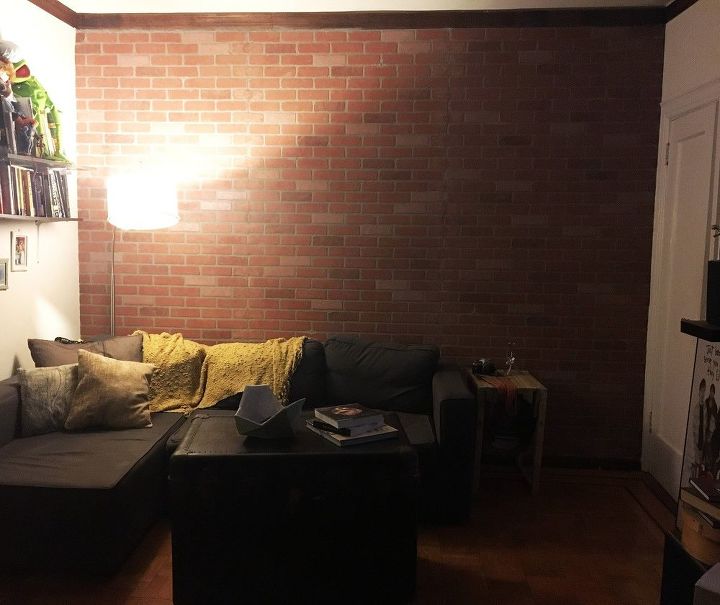
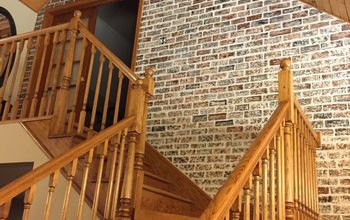
Here is a before and after of the wall! I think it is a definite upgrade! Especially considering the wall had these strange patches on it before from a previous renter.
SUPPLIES:
STEP 1: Place a liberal amount of liquid nails on the back of your first panel. Make sure your wall and the back of the panel are clean and dry before applying the glue.
STEP 2: Place your panel on the wall making sure to align the edges with the trim or ceiling and as far over as possible.
STEP 3: Secure the panel into place with nails. You should place the nails throughout and not just on the edges so as to prevent bubbling.
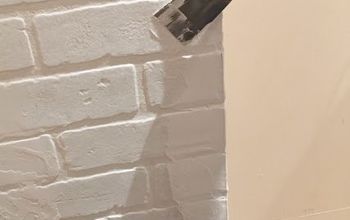
STEP 4: Where your panels meet there will be a visible seam. In order to cover up the line I decided to use some grout to fill in the crack. I also covered up a couple of the nails that were super visible.
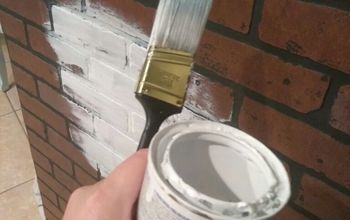
STEP 5: The grout I had on hand was white so I needed to paint it to match the fake mortar on the panels. Grab some craft paints and mix your colors until you have one that matches and paint away all the white grout!
STEP 6: The seam that should be brick panels will also need to be painted to match. Grab a scrap piece of the panel and your craft paints and mix a match to paint over the grout. You will want several colors so you can speckle them over and give a more realistic brick look.
These are pretty great for being fake... I mean real brick is definitely my jam, but if you can't get it this stuff is a pretty awesome!
This thing has changed the entire vibe of my living room! I do need to put some of my art back up, but in the meantime I do feel super cozy!
Enjoyed the project?
Resources for this project:
See all materials
Any price and availability information displayed on [relevant Amazon Site(s), as applicable] at the time of purchase will apply to the purchase of this product.
Hometalk may collect a small share of sales from the links on this page.More info
Published October 31st, 2016 2:42 AM
Comments
Join the conversation
2 of 123 comments











Frequently asked questions
Have a question about this project?