Creating Faux Stained Glass With Acrylic Paint and Glue!

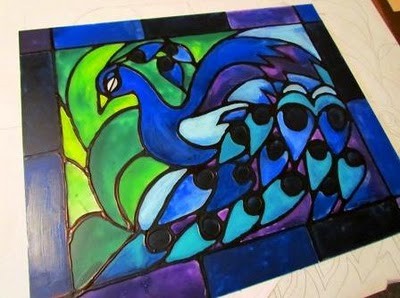
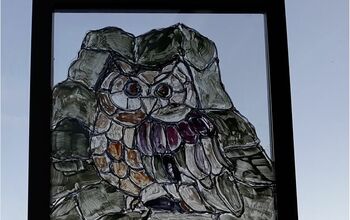
Create beautiful faux stained glass the simple way! I love this method of mixing paint and glue to create something unique. This easy stained glass project is even more fun with a good pattern.
One of my specialties is creating unique patterns like the Majestic Peacock Pattern used in this tutorial. Be sure to click on the link at the bottom of this post for list of supplies and free pattern!
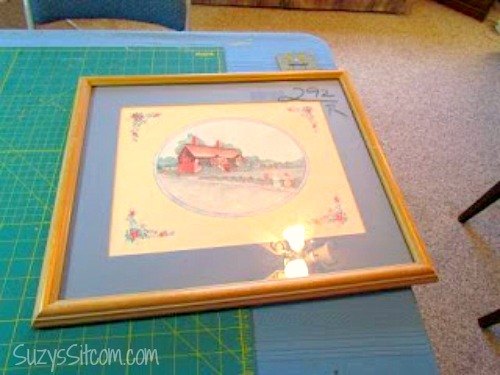
Start with a thrift store framed picture. Remove the picture and frame. You will be working with the glass. Draw out your pattern in the same size as your sheet of glass.
Spray the glass with clear acrylic spray. This is important as it gives the paint and glue something to adhere to. Place the glass over top of your pattern.
Take the bottle of white glue and dump just a small bit out so that there is room to add color to it. Add about a teaspoon of black acrylic paint and stir it with a wooden dowel. Add enough black paint to make a solid color. You will be surprised, but it doesn’t take a ton of paint to change your white glue to black. Then put the glue nozzle back on. The glue is now ready for the next step.
Carefully squeeze the glue onto the glass, following the lines of your pattern. Try not to have shaky hand syndrome like I do, but even if you do, it can be fixed.
Once all of the lines have been drawn in, allow it to sit overnight to dry completely. Once it is dry, you can go over it with a craft blade and correct any shaky lines or errors.
For the next step, use a small muffin tin to mix up your colors. Use about a tablespoon of clear glue to one or two drops of acrylic paint. You will be surprised at how easy it is to add pigment to clear glue.
Use a blunt paintbrush and add your colors where you want them. Put it on thickly and be sure to get your colored glue all the way up to the edges of the black lines. Take your time and if you see any air bubbles in the glue, use a toothpick to pop them.
For a variegated marbled look, add a color to each side of a section and push them together with your brush, mixing them in the middle. Allow the entire project to dry overnight.
The final step is to do some touch-up with the sharpie pen on the leading where paint may be overlapped. Finish it with a coat of clear acrylic spray sealant in order to protect it. Beautiful sitting in your windowsill or hanging on the wall! See the link at the bottom of this post for the full project details and free pattern.
Enjoyed the project?
Resources for this project:
See all materials
Comments
Join the conversation
-
 Amber Keller
on Mar 12, 2021
I have already tried this a few times and love it. I am currently making a lamp for my friends birthday present using four picture frames and this technique. Only peoblem i had was with the outline i find the glue hard to work with and get my lines right so i use dollar tree liquid eyeliner. It dries in seconds and any mistakes can be fixed as you you go with a toothpick or q tip and it looks great.
-
-
 Lar65644654
on May 28, 2022
If I painted a canvas with bright silver acrylic used the black outline would the stain glass do ok on canvas they should glow. When light shines on it silver will reflect color back
-
















Frequently asked questions
Have a question about this project?
On hanging the stained glass to the window, would small suction cups work? Has anyone tried them ?
Also looking for this pattern - how do I get it (Peacock)
Will this hold up to heat! I live in the south and would like to something like this to my sunroom windows.