Make Your Own Dress Form or Mannequin

by
Sarah Brown
(IC: homeowner)
$50-75
10 Hours
Medium
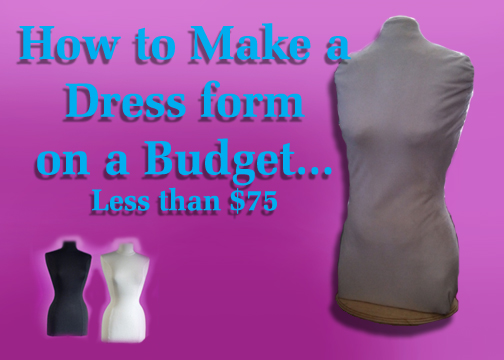
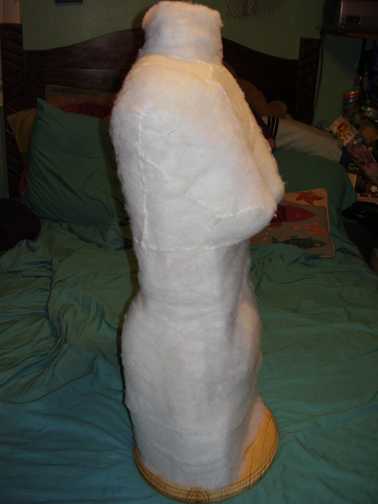
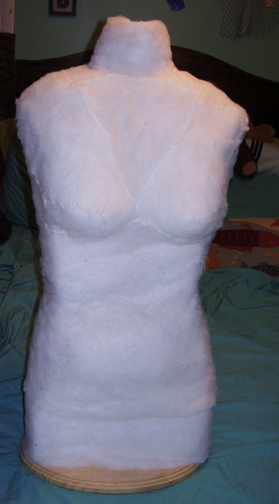
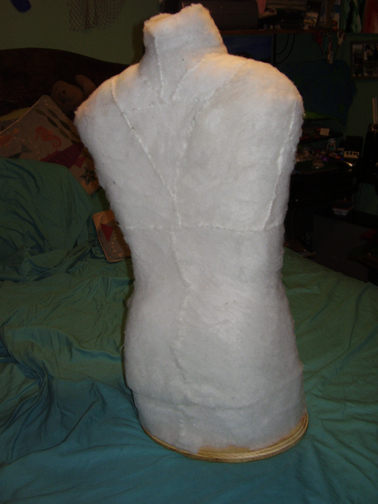
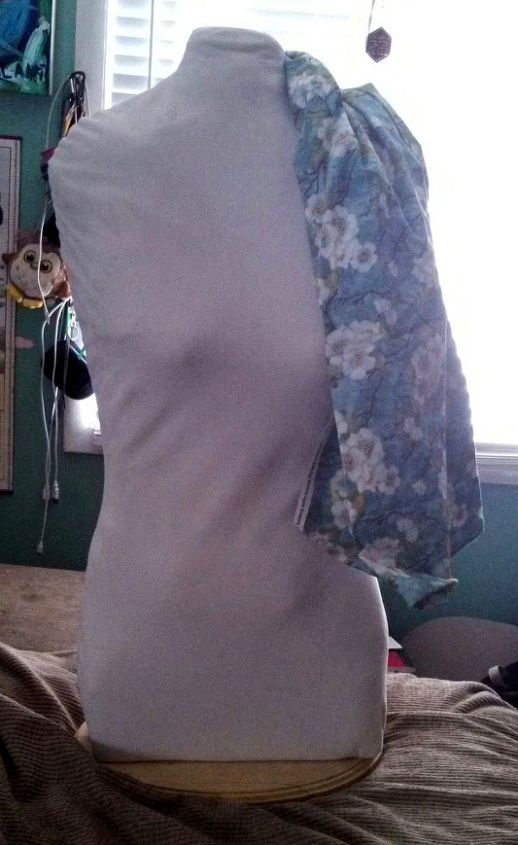
I wanted a dress form for making aprons and other things. It didn't have to be any exact size just average woman's size, so my completed form is about a size 8/10. One can be more exact with this.
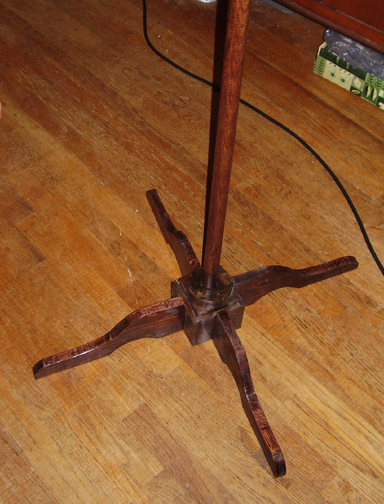
The stand is optional, I made it and found that I prefer standing my form on a table top, since the stand is harder to place in a small room.
For Form You will need:
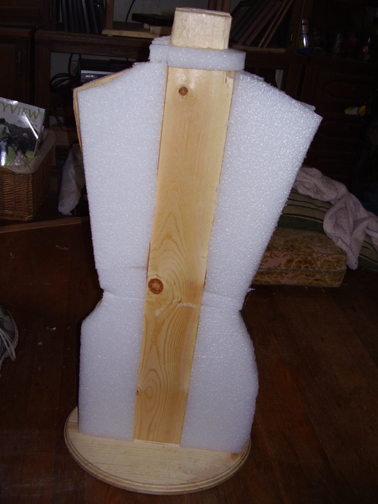
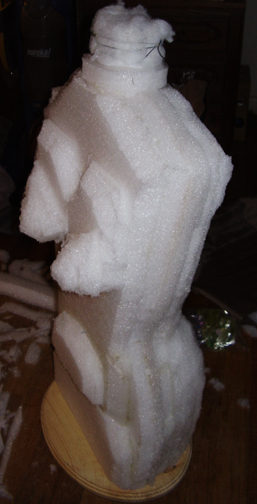
Plywood, a small 2”x4”, wood for base, jigsaw, drill, screw drivers, screws, and glue. Also shipping foam, hot glue gun, scissors, Xacto knife, quilt batting and a stretchy fabric for cover, matching thread.
For Stand:
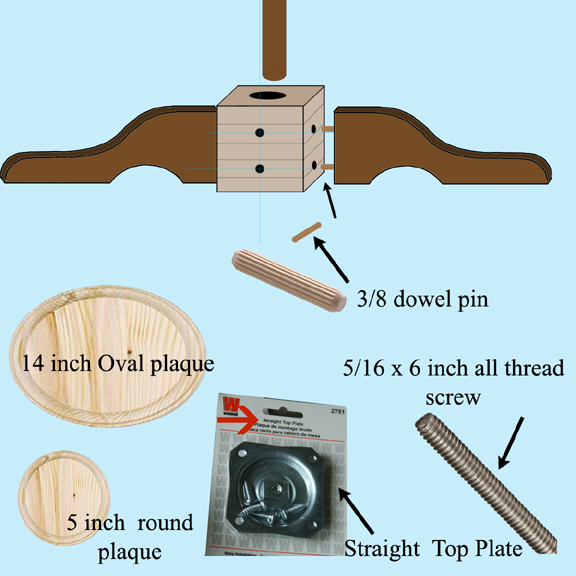
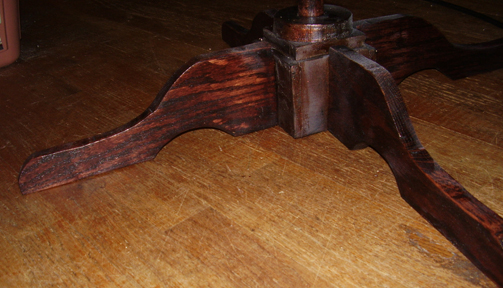
Wood (I suggest solid hardwood like Oak for strength) enough to make feet and box. Thick solid oak dowel.Straight plate, and long screw to match.
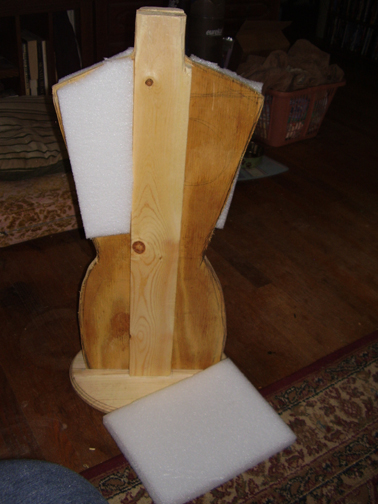
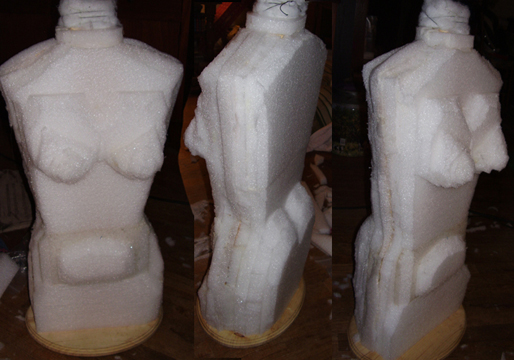
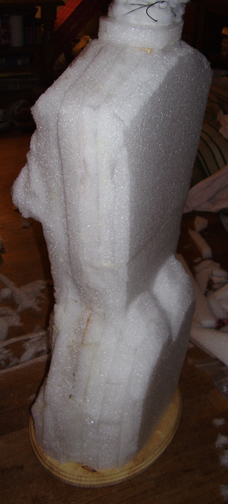
Firstly I purchased a wood Oval plaque from the Craft store large enough in diameter to be the circumference of the hips. This could also be cut out of 1 inch thick MDF or solid wood. I built a “skeleton” template from piece of plywood with a generalized form shape, narrower than the finished form will be and attached it using a 2”x4” to the bottom plate with screws.
Building the stand:
I built mine buy building a solid block of wood 5”x5” and then drilling the holes for my center dowel and the four supporting feet. It is very important to make the holes even and make sure the feet touch the ground flat or your stand will wobble. I used dowels to attach my feet.
Enjoyed the project?
Published February 24th, 2014 4:38 PM
Comments
Join the conversation
3 comments
-
Very cleaver! I've always wanted one, now I can make my own!
 Pamela Knott
on Apr 13, 2014
-
-








Frequently asked questions
Have a question about this project?