Kitchen Lighting Shiplap Makeover

A great way to update that old 1980s kitchen ceiling tubular fluorescent lighting.
I wish I would have taken the first before picture of what the ceiling looked like when we moved into this home. I’m sure you can imagine what it looked like when I tell you this opening used to be filled with the 1980s fluorescent tubing lighting that had that thick plastic covering over it. Prior to this shiplap makeover I had also made an attempt to update it trying to remove any signs of the fluorescent lighting. I will show you what that initial transformation looked like in the next photo.
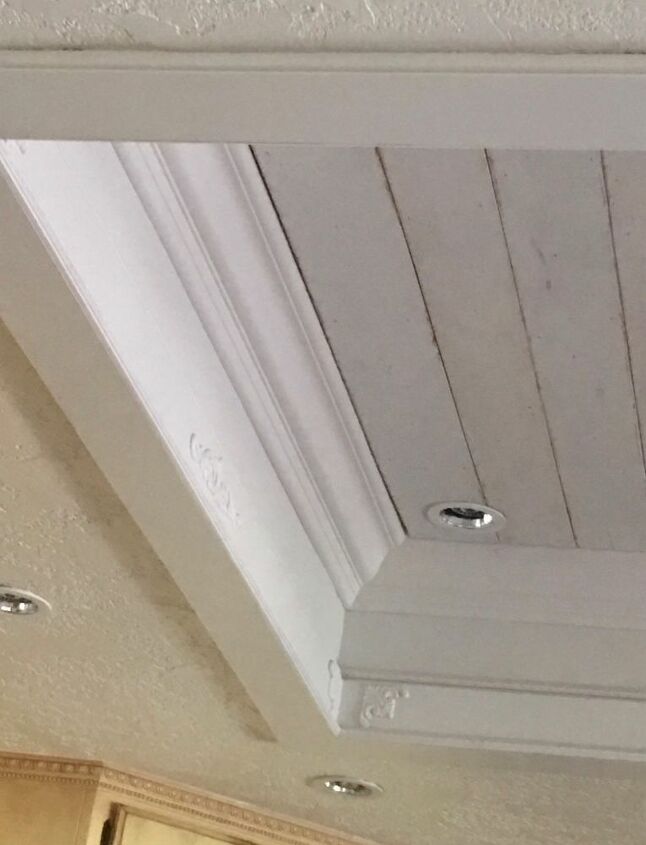
So, this was my first attempt at updating the lighting and it worked for a while but I wasn’t in love with it. We removed the tubular lighting and dry walled the ceiling, added some canned recessed lighting, applied crown molding, wood appliqués, and hung a wrought iron decorative piece. It didn’t look bad but I wasn’t in love with it.
With the help of my husband and a very good friend, we took turns applying the shiplap. We used an air nail gun which made the project go by much faster. Before we nailed the shiplap to the ceiling, I cut the boards to size and painted them, using Annie Sloan white chalk paint. I chose the dry brush method instead of covering the boards completely with paint. This was a quick and easy project because the area I was covering with shiplap wasn’t too big.
I didn’t use actual shiplap, I purchased underlayment boards from Home Depot. The board was 7/32 in x 4ft x 8ft and I had them cut them to the dimensions I needed. The board wasn’t as expensive as shiplap either! 🤗
This is a close-up of the painted boards, using the dry brush method. As you can see from this picture, the boards aren’t completely covered with paint. I wanted a more rustic and farmhouse look. I also chose a board that had knots and character to give it a more farmhouse feel.
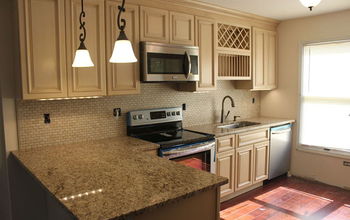
Here it is, the completed project and I really like the way it turned out. As you can see from this picture, I have also painted my kitchen cabinets. That was a huge project in itself LOL but I love the transformation that my kitchen has now. I hope you get inspired from this project and if you want to see more of what I do please visit me on Instagram at https://www.instagram.com/mycreativekneads/
Has this project inspired you to transform your home with a designer touch?
Enjoyed the project?
Resources for this project:
Comments
Join the conversation
-
 Irma | mycreativekneads
on Oct 05, 2020
Thank you so much 💕
-
-
 Kim
on Oct 06, 2020
I'll be thinking of your kitchen when I move and find my next house. It's just beautiful! Thanks for the inspiration!
-
 Irma | mycreativekneads
on Oct 06, 2020
So kind, thank you so much!
-
-













Frequently asked questions
Have a question about this project?
Can You Please come makeover my Kitchen.? A Girl can dream..!!! Lol. I love it.!
I love what you did with the old light box💕. But is that your pantry with the black see-thru door? If so, how did you do it?
I love what you did to the box itself, I just put shiplap on one wall and would love this (I hate the fluorescent light) but I don't have an island and a small kitchen, any ideas on the type of light fixture I could look for