


Custom Look Cornice and Shower Curtain
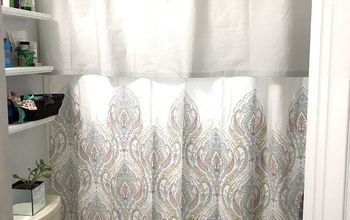
This little condo of ours was going on the market and I wanted a custom look cornice and shower curtain without spending the money for that.
Hometalk Recommends!
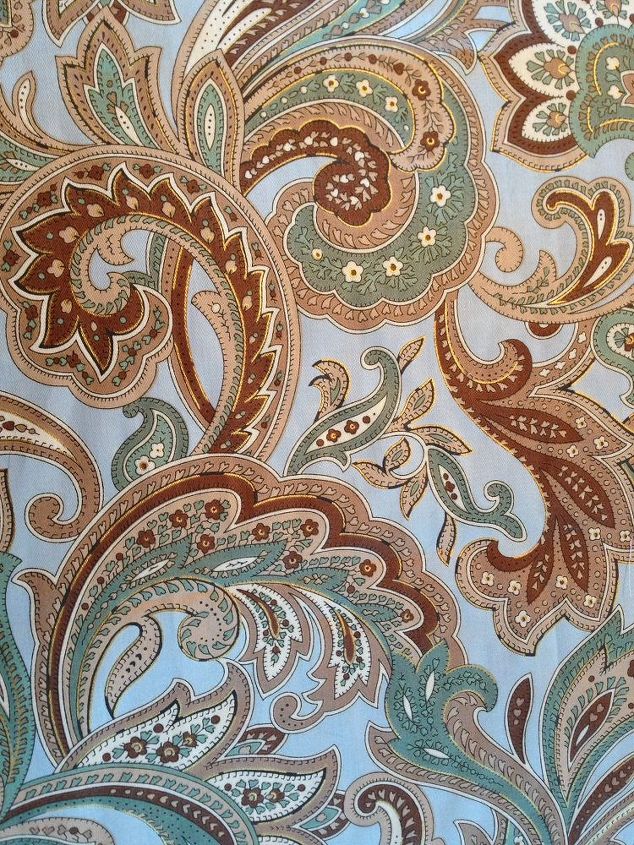
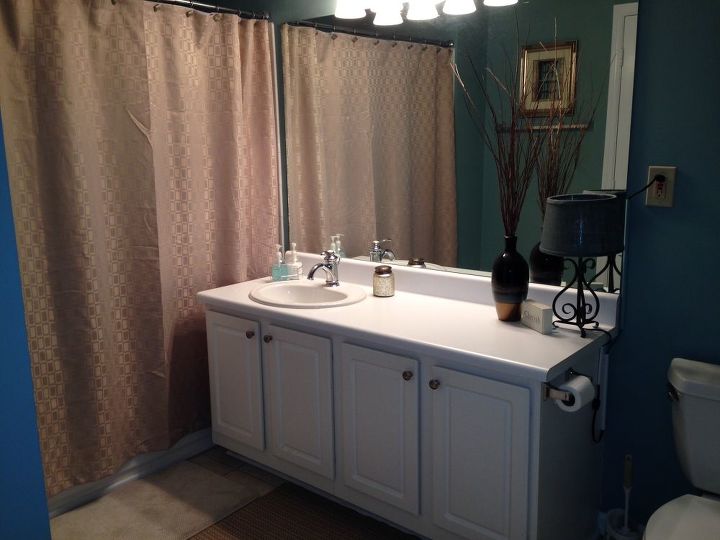
First I made the shower curtain. It was a straightforward sewing project. Since the fabric wasn't wide enough I pieced it together in three pieces so there wasn't a seam down the middle. Buttonholes at the top for the hooks and it was done.
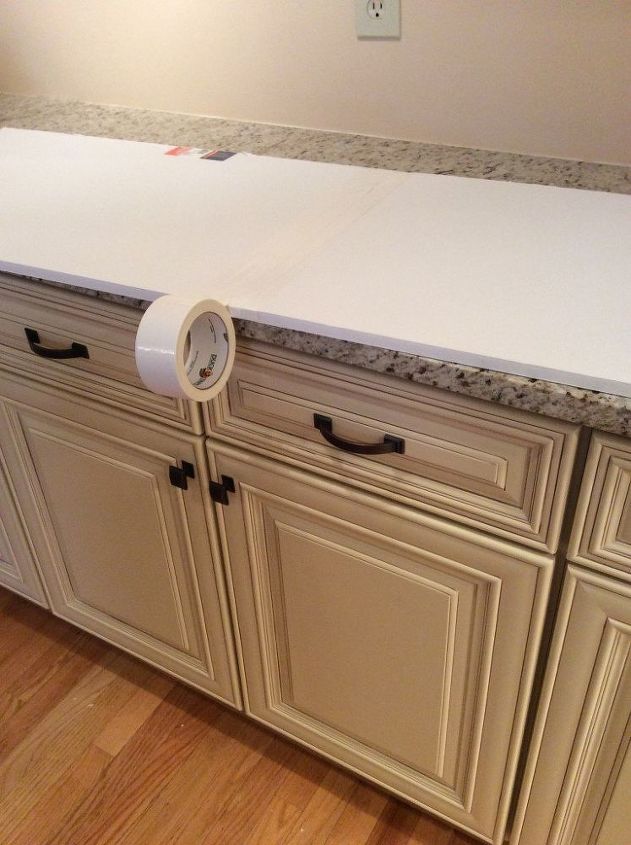
Then the cornice. I used 1/2" foam core board from a hobby shop and cut it to size. I never found the perfect tool. If anyone has suggestions, let me know! I tried a utility knife, an x-acto knife and a kitchen knife. The board wasn't wide enough so I pieced it together and taped with duct tape. I made a big X across the seam to reinforce.
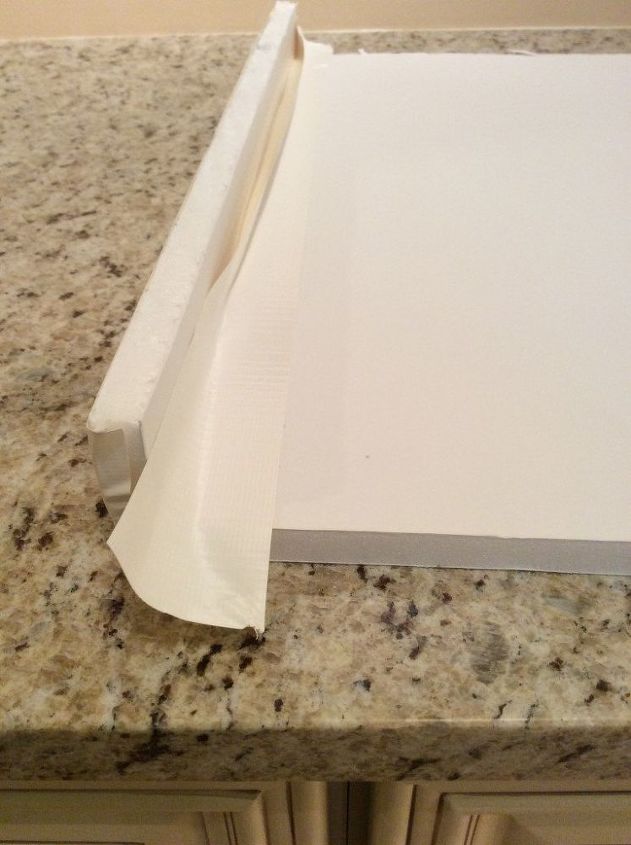
Two, 2" pieces made the sides, which is how I attached the cornice to the walls. I duct taped the sides on
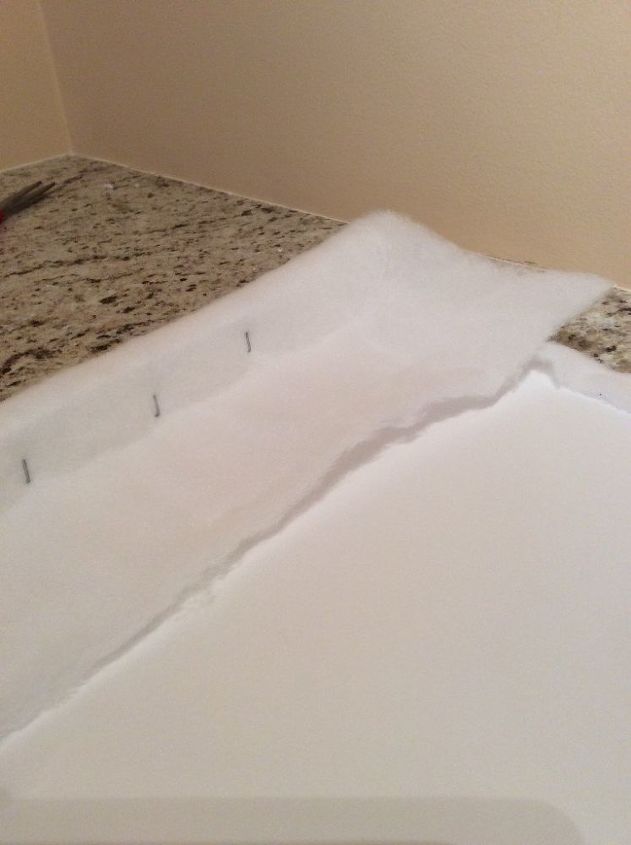
Then I stapled batting over the cornice. I wrapped the ends first and then the top and bottom, but I think you could do it either way.
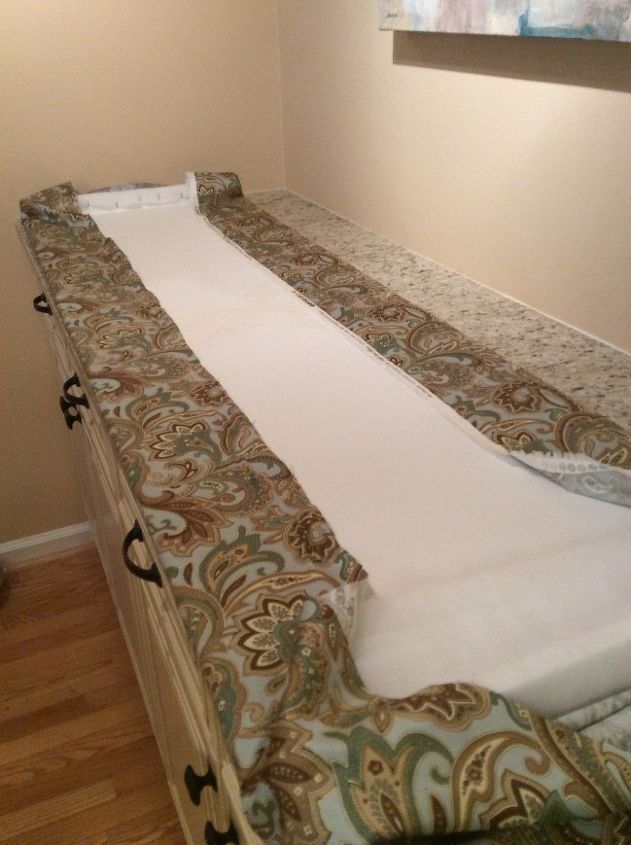
For the fabric I stapled the top and bottom, pulling taut and then the ends. The corners were a little messy from the back, but I couldn't see that being a problem.
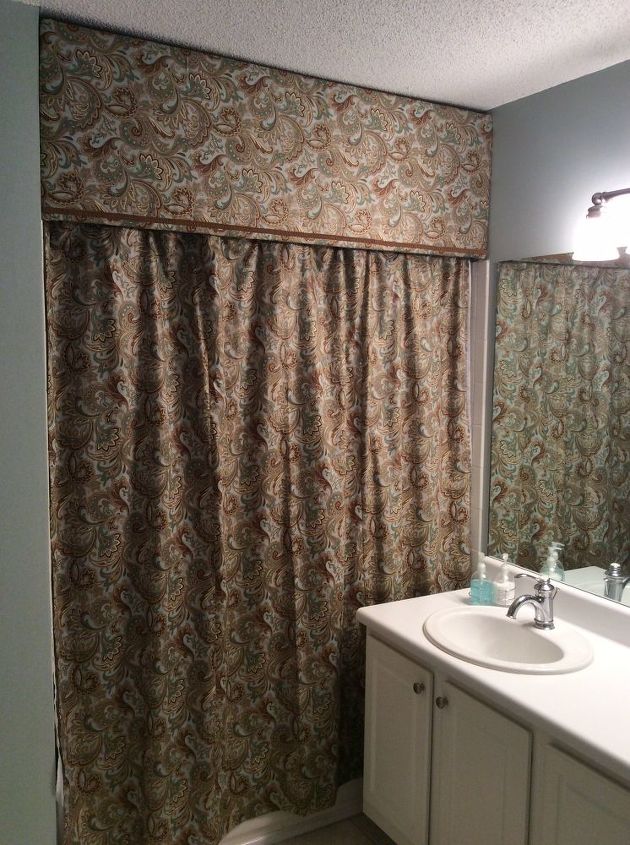
I attached that brown braid with Fabri-Tak and then nailed the ends to the walls. Since it's made from foam it was really lightweight.
That was it! The condo sold quickly. I'm not saying it was because of the awesome shower curtain and cornice, but it certainly didn't hurt.


Comments
Join the conversation
-
An easy fix to all of those comments would be t cut a rectangle in the middle and put in a plastic lattice or something similar to that. It would let the light in and the steam out. Velcro would be best so you could take the cover on and off change it with the seasons and wash it when needed. They have a super nifty tool at hobby lobby called a foam cutter. You simply plug it into a USB and it heats up and slices right through the foam its really amazing you can do diffrent shapes and it makes a clean edge!
-
As a former in home sales person for both Sears and J C Penney, late 1960's thru most of the 1980's, this was a pretty common design request to 'fancy up the bath'. An alternate solution to this solid foam covered model, was to have a similar look with less threat of mildew/mold issues, was to use tension rods to install the valance, at both the ceiling and at the top of the shower rod. Styling could be gathered or straight with a decorative hem. Fancy custom fabrics or pretty sheets were used for both the shower curtain and the valance. The redeeming issue would be the valance and curtain can be removed and laundered or dry cleaned on a regular basis.


















Frequently asked questions
Have a question about this project?
I love this. Couldn't you use velcro on it? That way you can change it out if you want.
How will the steam from a hot shower escape?
Did you have a light inside the shower? My bathroom has a light in the center of the room and one above the sink. It would be hard to see all closed in like that.