Faux Brick Wall

by
Wendy at myfrenchtwist.com
(IC: blogger)
8 Materials
30 Hours
Advanced
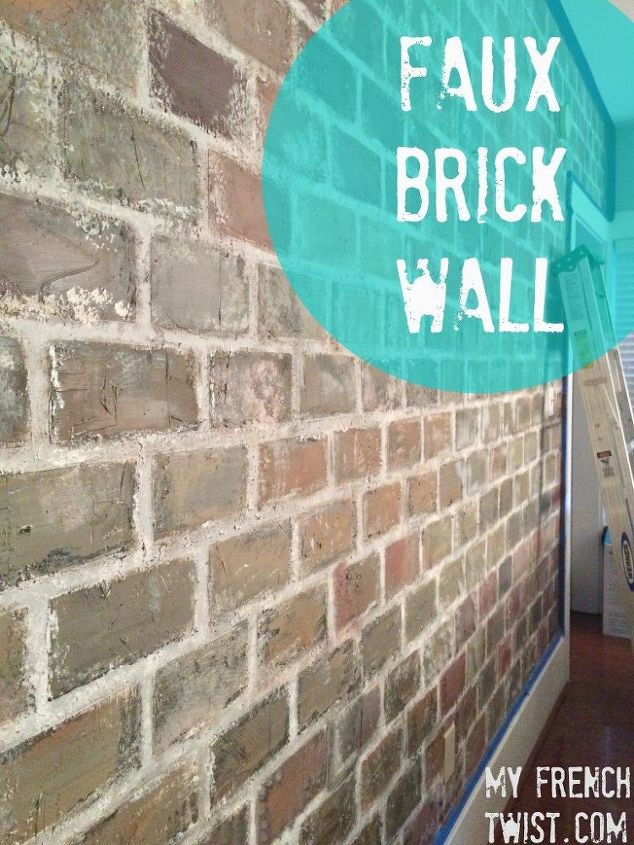
Transform a plain wall into a brick one that will LOOK and FEEL like old brick!
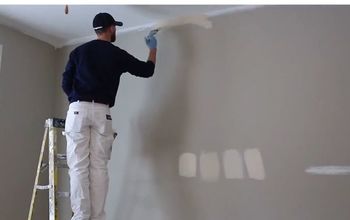
First, I painted the wall with a shade of gray paint. Any sheen is fine, as long as the color is similar to grout. A quick coat of paint is all you need.
First, I painted the wall with a shade of gray paint. Any sheen is fine, as long as the color is similar to grout. A quick coat of paint is all you need.
BASE COAT - First, I painted the wall with a shade of gray paint. Any sheen is fine, as long as the color is similar to grout. A quick coat of paint is all you need.
TAPING - Next, using a level, pencil, and several rolls of painter’s tape, I gridded off a brick design. The “bricks” measured 4 inches x 8 inches. I didn’t worry too much about precision, because old brick walls (especially in historic homes) are quite irregular. I didn’t worry about pencil marks, either, because the finished product is so layered, they won’t show.
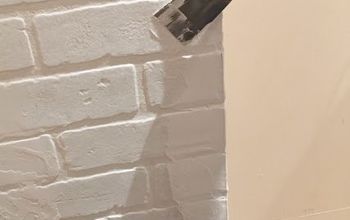
STUCCO - Once I had finished taping, I applied pre-mixed drywall compound to the wall with spreaders. I was going for an old, rustic look, so the messier the better. Some bricks I made thicker than others.
TAPE REMOVAL - As far as tape removal goes, you can wait until the compound is completely dry or you can remove the tape while it is still damp. You’re talking to a person here that opens and re-wraps Christmas presents to myself so no-one will suspect I checked them out, so of course I didn’t let the stucco dry! I removed the tape immediately! This is the point at which you will see how beautiful the wall is becoming.
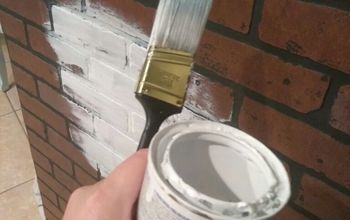
PAINTING THE BRICKS - This is where it gets tricky. I bought small quarts (I didn’t even need this much, but this was the smallest amount I could have mixed) of the cheapest paint available at the paint store in the following colors: orange, cream, white, aqua, black, and a tiny bit of red. I poured a little of each color onto a tray and painted the bricks individually by mixing the colors as I went along. I used a cheap 2-3″ wide paint brush. I first painted color onto a section of bricks quickly, not worrying too much about “going outside the lines.” Then I went back over those bricks with “stipples” and “dabs” and “brushes” of other colors. Some bricks I painted predominantly gray, others brownish-oranges, still others mostly white. You do need an artist’s eye to make sure the bricks look natural and convincing, but have fun with it too! Be cautious about using too much red, as it will make the bricks a saturated wine color. I never would have thought to use aqua and orange, but those colors mixed in with neutrals create much more realistic bricks than typical red or brown.
MORE SPONGING - Once a section of bricks were painted, I used my sea sponge again dipped into my paint colors to add even more texture. I used predominantly whites to soften the brick edges and blacks to add depth to the bricks themselves.
FINE TUNING - This step may seem so minor that you’ll want to skip it, but I believe sometimes the smallest nuances create the most realistic touches. I used a small artist’s brush dipped in white paint to add some very fine straight lines to the brick edges. Especially in some places, where there were lots of “grout” and/or color in the grout lines, I added definition to the brick edge with a fine white line.
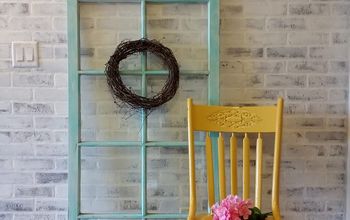
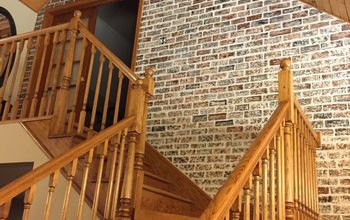
And there you have it! It was a big investment of time, but it turned out beautifully!
Enjoyed the project?
Resources for this project:
See all materials
Any price and availability information displayed on [relevant Amazon Site(s), as applicable] at the time of purchase will apply to the purchase of this product.
Hometalk may collect a small share of sales from the links on this page.More info

Want more details about this and other DIY projects? Check out my blog post!
Published February 11th, 2017 8:00 AM
Comments
Join the conversation
2 of 288 comments









Frequently asked questions
Have a question about this project?
I love this! How long did it take you? I'd love to do this in our entry way.
This is gorgeous!! I love how you painted sections of brick different colors and shades. It looks much more realistic. I am curious, does it 'feel' like a brick wall when you touch it? From the pictures, it truly looks real! Which step do you feel was the most challenging and would you do anything different if you were to do it again? THANKS!
Wow! It must have felt like painting the Forth Bridge (a British term meaning by the time you’ve finished, it’s time to start again google it)!
I’m astounded by your patience. But all worthwhile, it looks amazing and very realistic. You definitely have an artistic eye. Thank you for sharing and for the tutorial. I’m curious though, what did you do with the other three walls please?