DIY Pallet Wood Picture Frame

DIY rustic pallet wood picture frame intended to hold a standard 4" x 6" picture. This simple reclaimed wood project fits the budget, makes a great gift, and can be made in just a few hours!
Materials:
Tools:
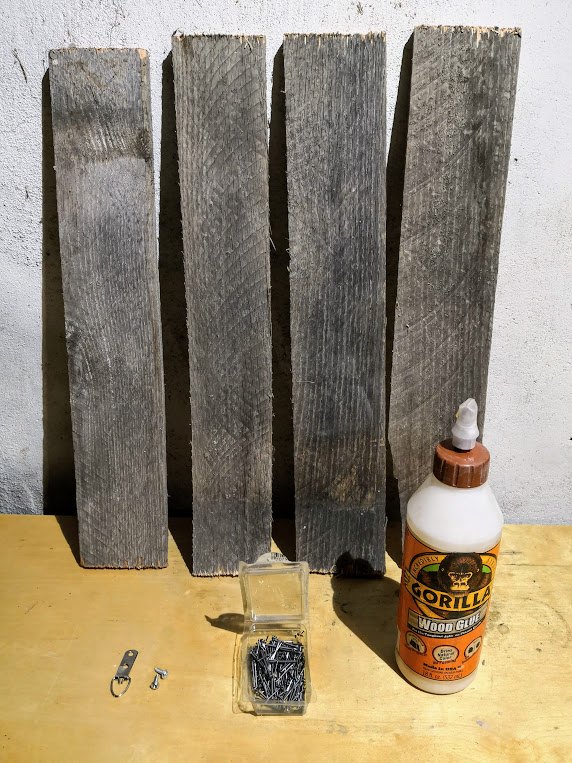
Start by cutting 3 pieces of pallet wood to a length of 12". Then, cut your remaining piece in to two smaller pieces that measure 1 1/2" x 8". Sand each piece.
Arrange your 3 larger pieces of wood together as you please. I like to stagger my pieces a little bit. Next, measure and mark 4 1/8" from the top and bottom of the center piece. This is where you will be placing your smaller pieces of wood.
Glue the back of your small 8" pieces and place the inner edges on the 4 1/8" marks that you made earlier. Nail the horizontal 8" pieces to each 12" vertical piece. Make sure to center your 8" pieces so there is an equal distance between the 8" pieces and the edges of the frame. I like to use wood clamps for this part to help keep everything in place.
Almost done! Flip the frame over and add your picture hanger.
Your frame should now look like this:
Optional step: Add some boiled linseed oil or your favorite finish to give this project a nice shine. Let it dry overnight.
Hang your frame and enjoy!
Enjoyed the project?
Resources for this project:
See all materialsComments
Join the conversation
-
-
 Ashley Letson
on Dec 08, 2018
Just Beautiful!!♥️ wood working craftmenship I can't wait to do this myself. Thanks
-










Frequently asked questions
Have a question about this project?
Can I use any kind of stain? Like antiquing rubbingon stain?
Do you have to leave room for the picture to slide in between the wood? If you nail everything together I don't see how you get the picture in. It's probably simple and I'm not seeing it.
Do you have to leave room for the picture to slide in! How do you keep it in the frame? I'm probably just not seeing it.