A,B,C,D... PVC - 3 Awesome PVC Projects Ideas
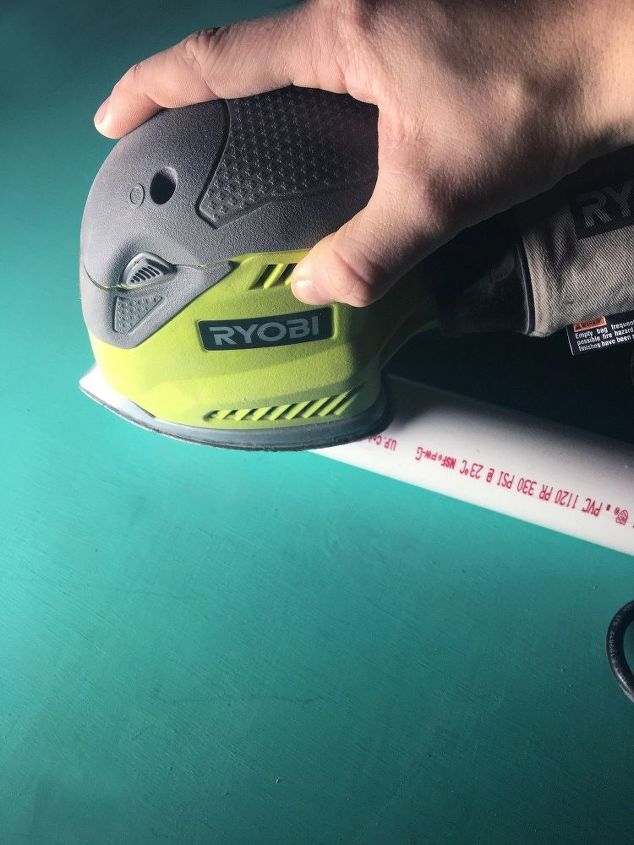
Step 1: Sand off all the words and print
Grab a sander to make your PVC pipes look white and bright!
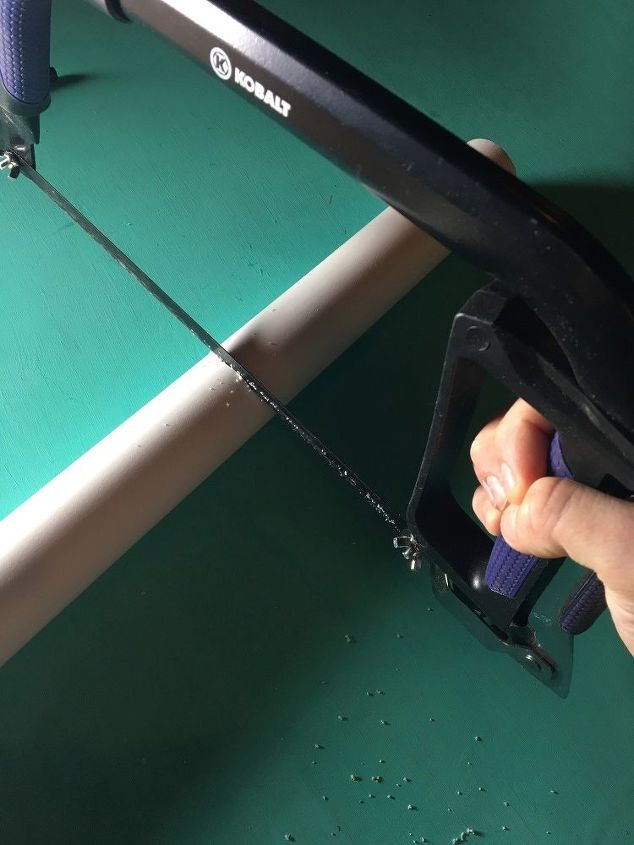
Step 2: Cut your pipes
Use a hacksaw to cut your pipes to the desired height you would like your lamp or lamps to be
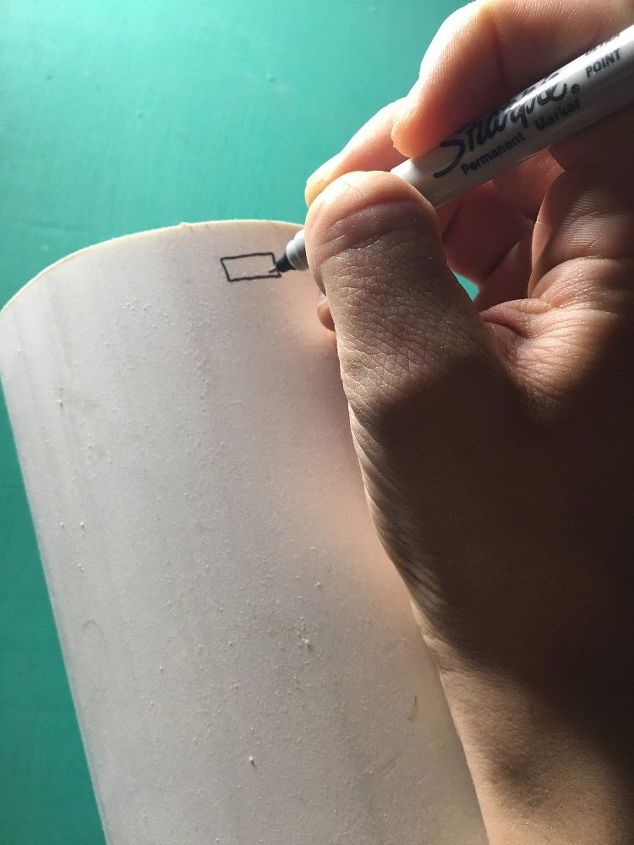
Step 3: Draw out your design
Take a fine point sharpie and draw whatever design you would like to cut out of your pipe
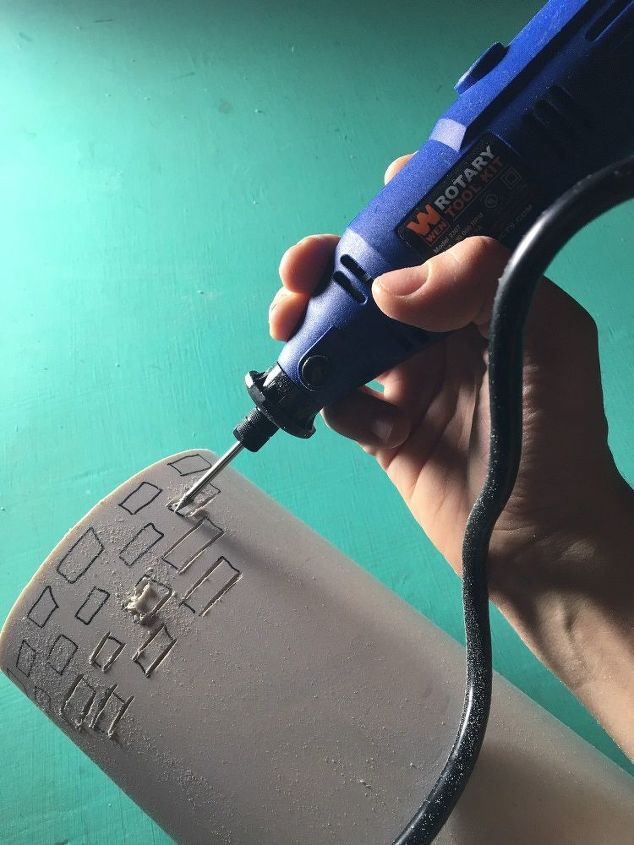
Step 4: Carve out your design
Grab your rotary tool and an appropriate carving tip for the shape you're looking to create and carve it out slowly
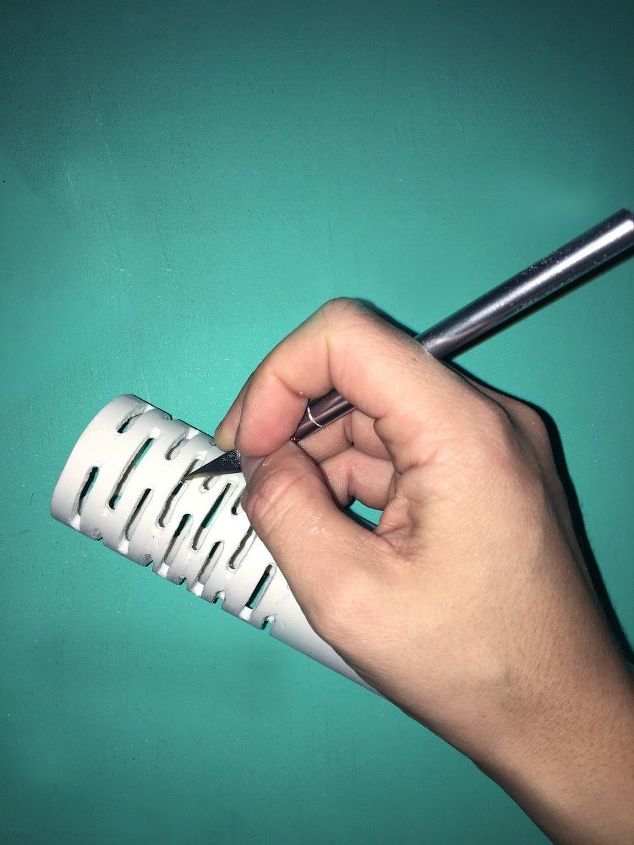
Step 5: Clean up the design
Take an X-Acto knife and use it to cut away any flaps of plastic that are still hanging on from the shapes you cut
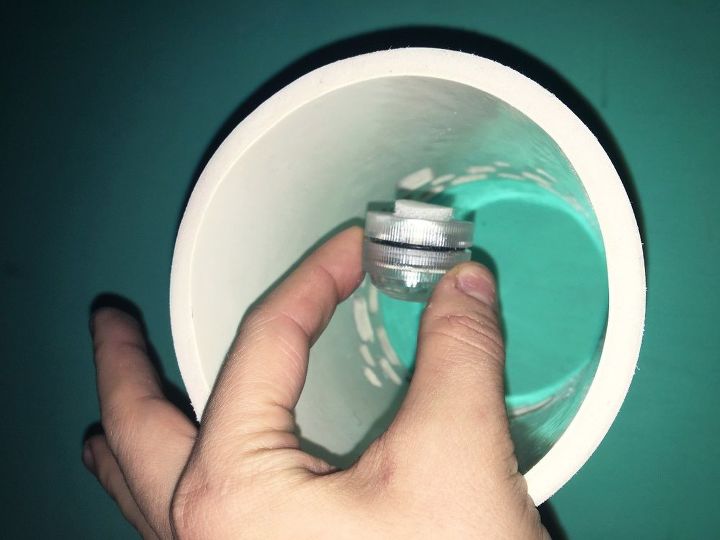
Step 6: Stick velcro onto your lights
Take some sticky sided velcro dots and place one side on the bottom of your battery powered lights

Step7: Attach your lights to the PVC pipes
Place the other side of the velcro dot on the inside of your designed pipe and attach the light to it
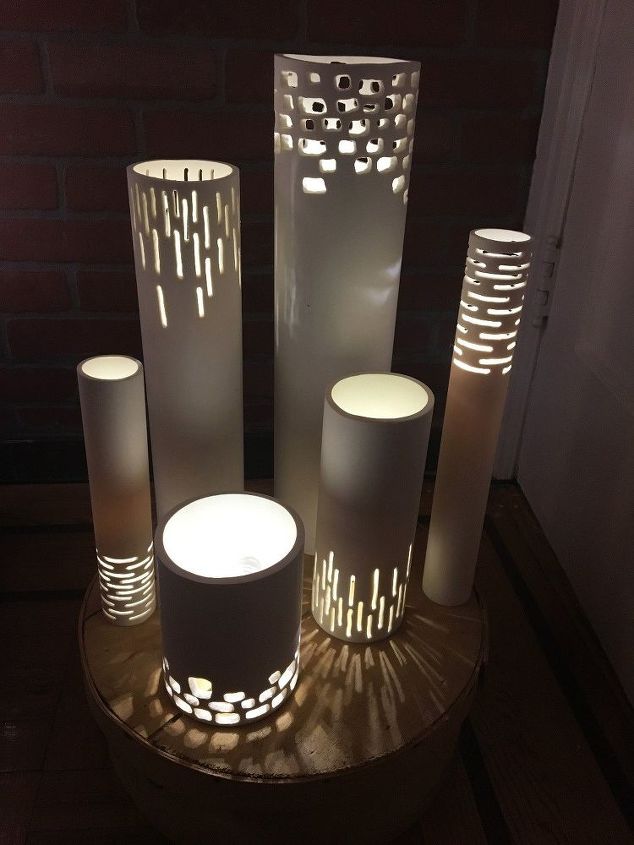
Step 8: Arrange your lights
If you want you can also spray paint the PVC in different colors
Next: Yard Tic-Tac-Toe
Get ready to grab some materials - this is going to be a blast!
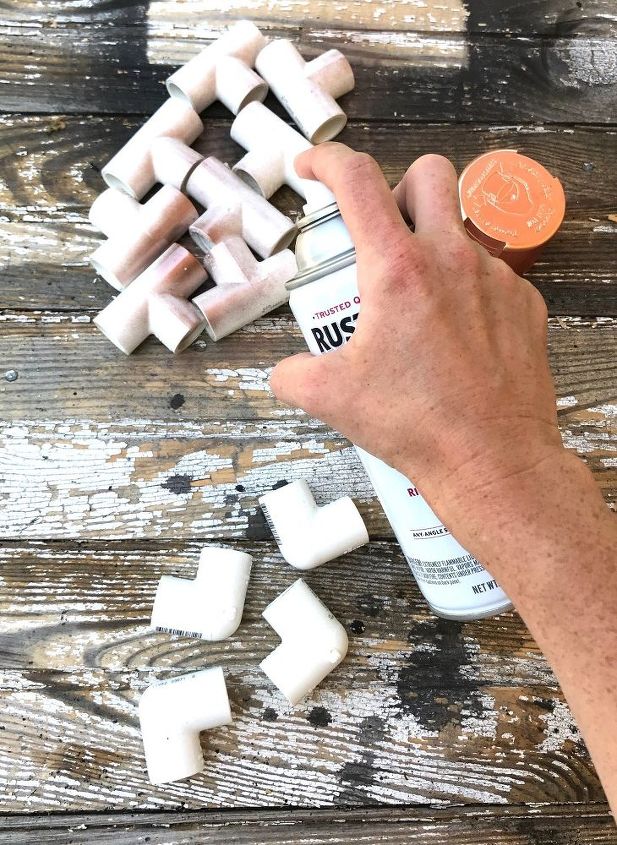
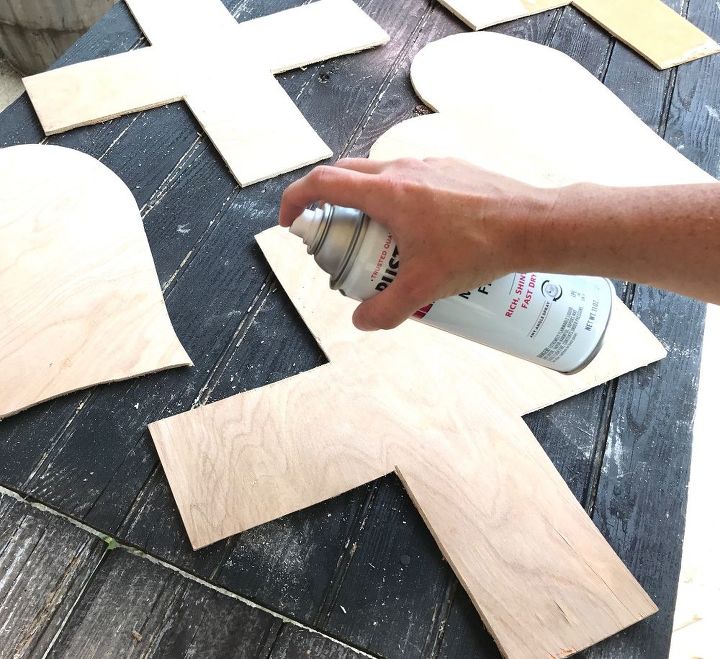
Step 1: Spray PVC pieces
Spray paint the PVC pieces with Rustoleum Metallic Copper finish & let them dry. Turn over and spray again
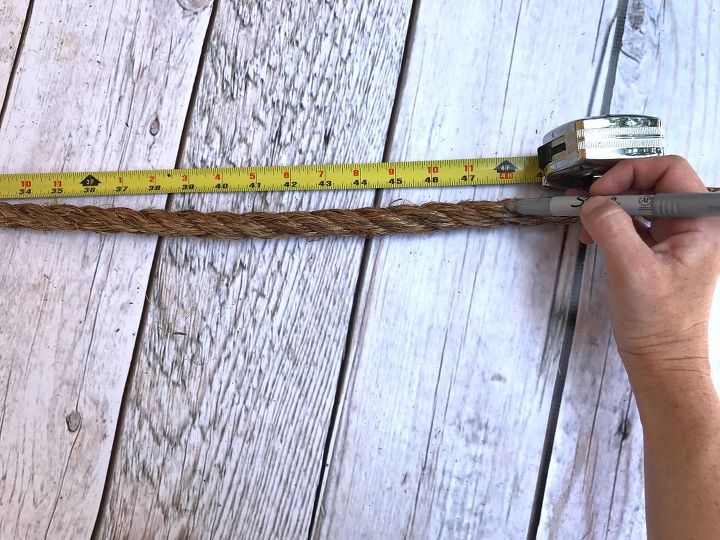
Step 2: Measure, tie and cut rope
Make it 4'x4' - measure out eight 4' sections of the rope
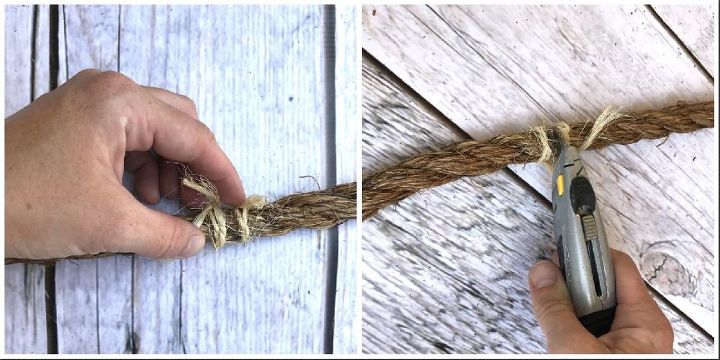
Step 3: Tie twine on the 4' marks
This is to ensure your rope doesn't fray and pull apart
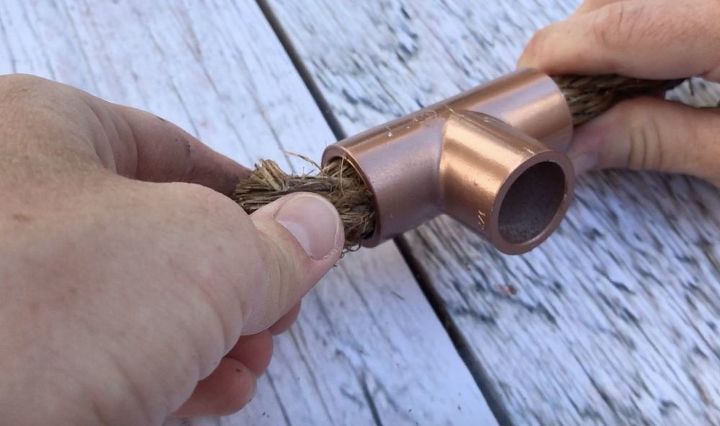
Step 4: Assemble the tic-tac-toe "board"
Slid two Tees onto each 4' piece of rope

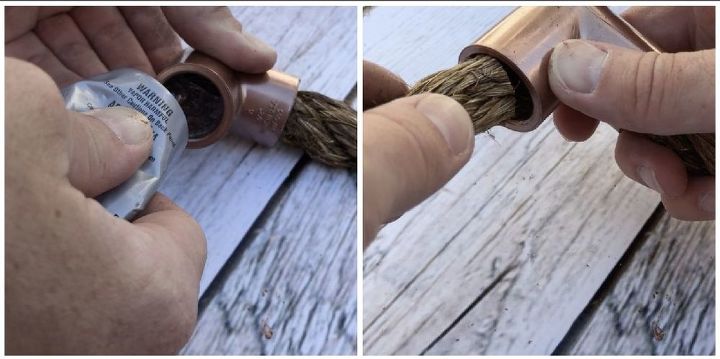
Step 5: Apply E6000 glue to each end of the T
Make sure to let the assembled "board" set overnight in order for the glue to bond
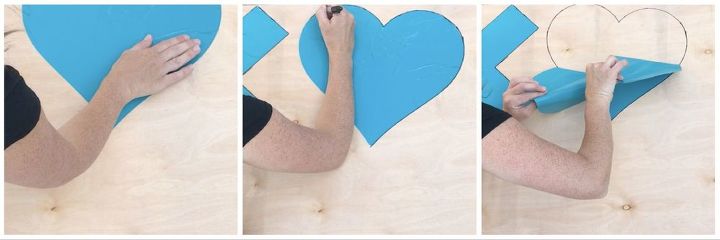
Step 6: Create your shapes
Trace hearts, X's or any symbol you choose with sticky vinyl and place it on the board
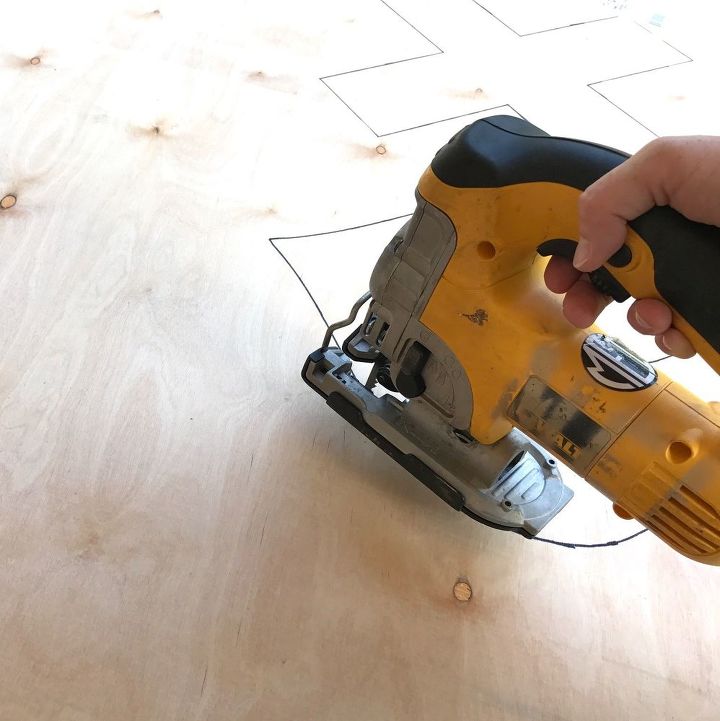
Step 7: Use a DeWalt jig saw & cut the shapes
Make sure you stay in the lines
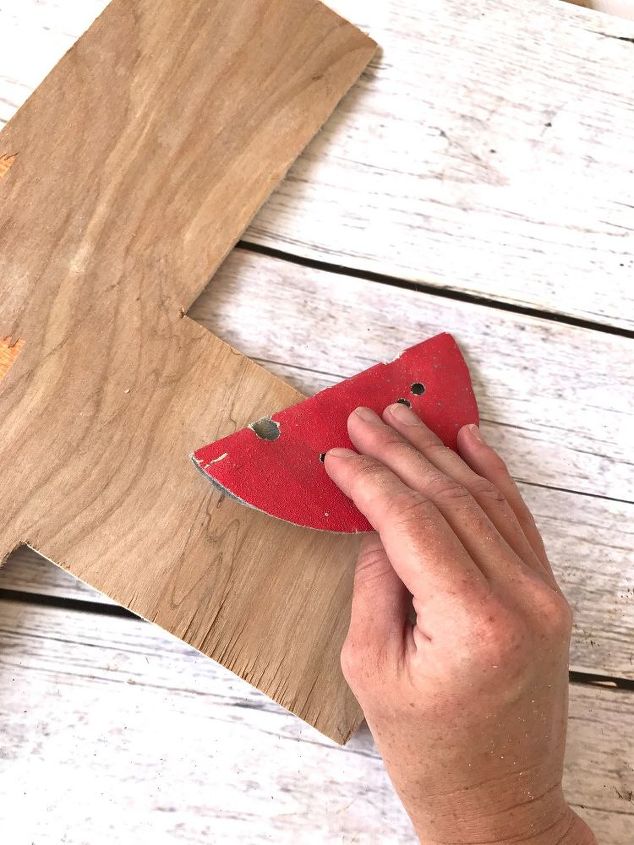
Step 9: Spray paint the shapes
You can paint in one color or different colors if you want
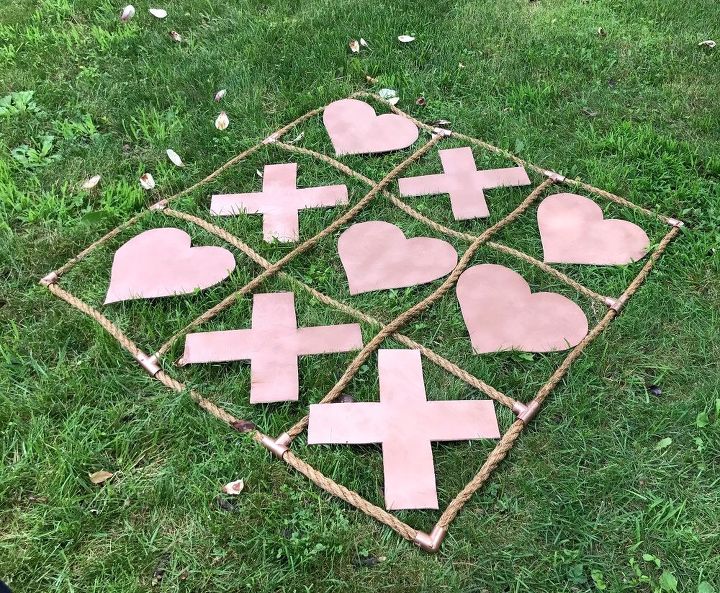
Step 10: Let it dry then lay it on the grass
Have fun playing tic-tac-toe!
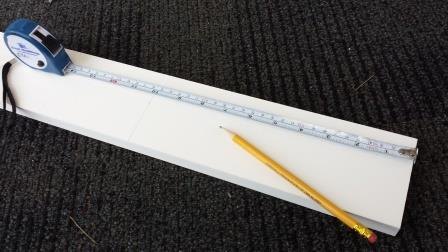
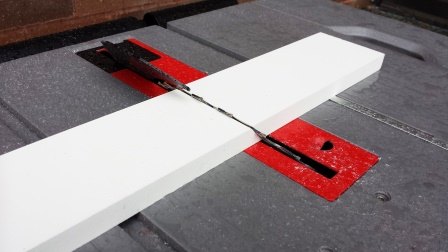
Step 1: Make four marks, every 10”
Then, on the table saw, make miter cuts (45 degrees) at every 10” mark
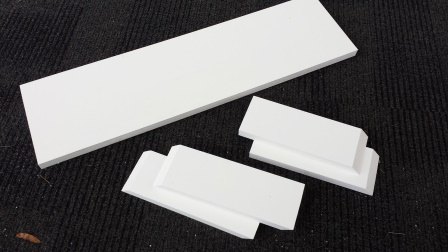
Step 2: Cut the four pieces of the PVC
These will become the wine bottle holders. Roughly line them up to make sure they fit together
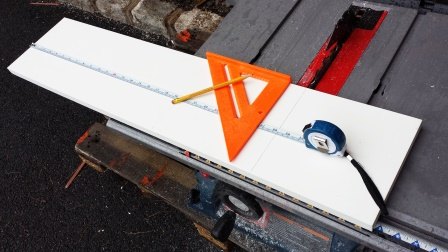
Step 4: Drill 2 holes 2” from each end
Mark the center for the first hole, and then from the center of the first hole measure over 3-3/4” for the center of the second

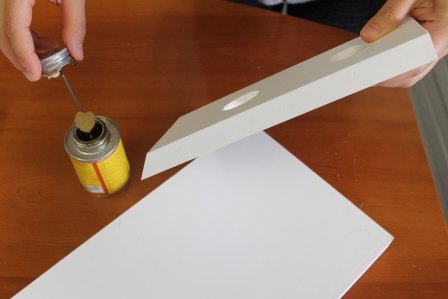
Step 5: Apply PVC cement on the edges
Be sure to apply the cement evenly around the edges of each bottle holder
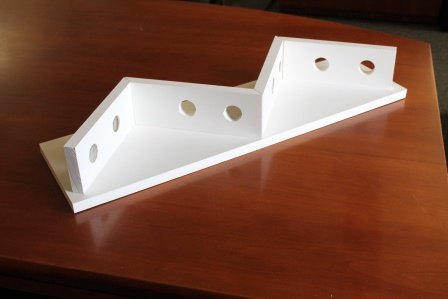
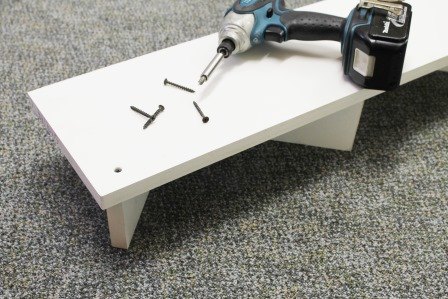
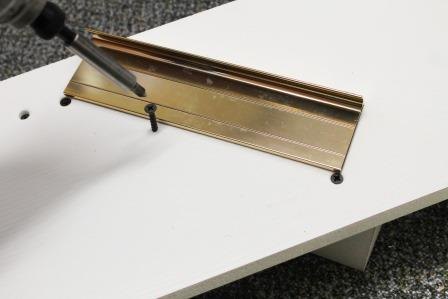
Step 7: Filp board, attach with 1-1/2” screws
Apply three screws for each PVC bottle holder trim piece. Start from the sides & use a straight edge as a guide for the middle
Step 8: Using a stud finder, locate the stud
Mount the rack with a screw on the top and one on the bottom, 1” from each edge
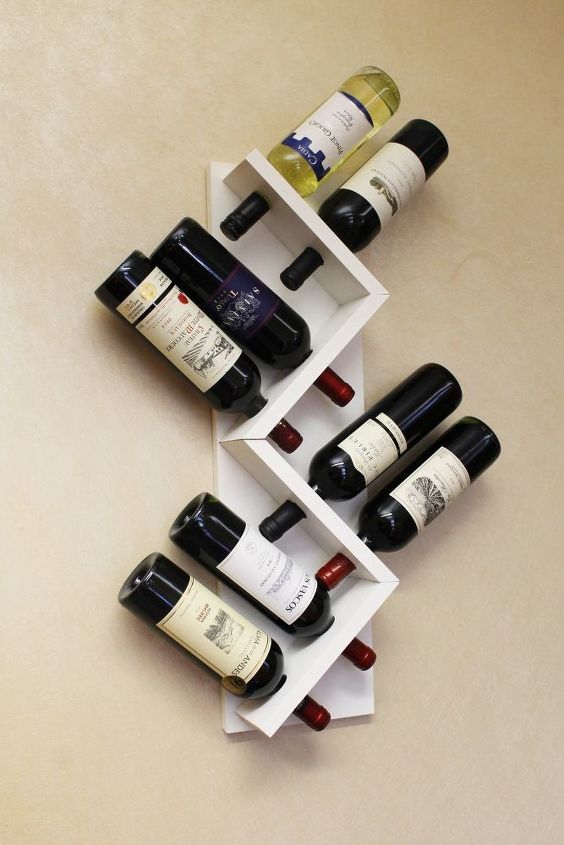
Step 9: Hang on wall & place the wine bottles
Your finished project should hold up to 8 bottles of wine