3 Easy Steps for Repurposing Old Canvas Art

by
Jeanette @SnazzyLittleThings.com
(IC: blogger)
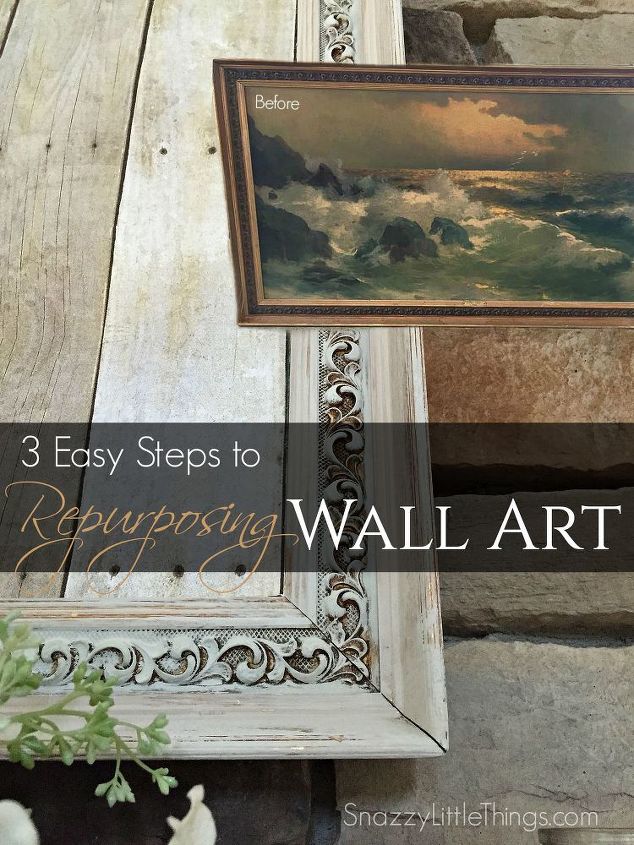
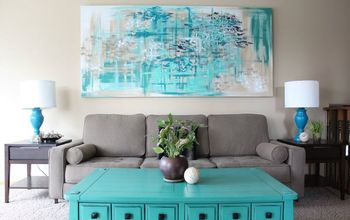
I found this oversized art for $14.99 and was originally drawn to the frame only. But over time, I didn't' have the heart to paint this old canvas...even if it did represent old 1960's reproduction art you'd find in motels. I give old pieces "a chance" before I tackle them with a paint brush. The seascape grew on us...so I found a temporary solution by creating "new" art that I can change with the seasons, and still display the seascape if we want to at a later date.
Backgrounds can be changed with each season.
Backgrounds can be changed with each season.
I found this reproduction art from the 1960's. At first my instinct was to cover the canvas permanently...but I hung the piece in its original form over my mantel for several months before I repurposed it.
Here it is before. As a family we decided the gold frame wasn't quite working with our decor. So I opted to paint the frame only...yet still retain the seascape image to display at a later date.
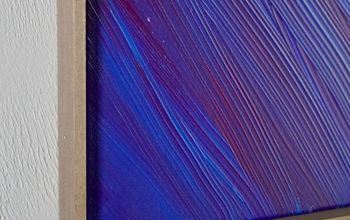
In order to dry brush the frame, I lightly taped off the image, then painted the frame. Then carefully removed the tape.
The end result!
I tacked down this image with repositionable spray so it would be removable -- and I could still display the original seascape.
{
"id": "3545036",
"alt": "",
"title": "",
"video_link": "https://www.youtube.com/embed/K3ukf1DG-Qw",
"youtube_video_id": "K3ukf1DG-Qw"
}
{
"width": 634,
"height": 357,
"showRelated": true
}
Come visit SnazzyLittleThings.com for the final reveal and information on where to buy the supplies!
Enjoyed the project?

Want more details about this and other DIY projects? Check out my blog post!
Published September 9th, 2015 12:20 PM
Comments
Join the conversation
2 of 239 comments
-
-
 Kar92908879
on Feb 24, 2024
Nice! I visited your blog/site and didn’t locate the reveal of the painted (updated) seascape and frame. Did you post that on your site?
-











Frequently asked questions
Have a question about this project?
Nicely done. My question: please tell me about the wall behind the art. What is it made of and where do you purchase that material? I so love the design!!!
Where can i buy this