Christmas Yards - Easy Light Trees

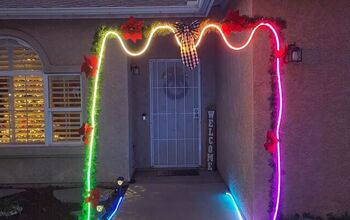
Here is an easy idea to light up your yard for Christmas without spending a lot of time and money. We spent $25-$30 and made three trees.
Best Christmas lights!
If you're looking for Christmas lights these are highly recommended ones that Amazon reviewers swear by!
To do this, you will need:
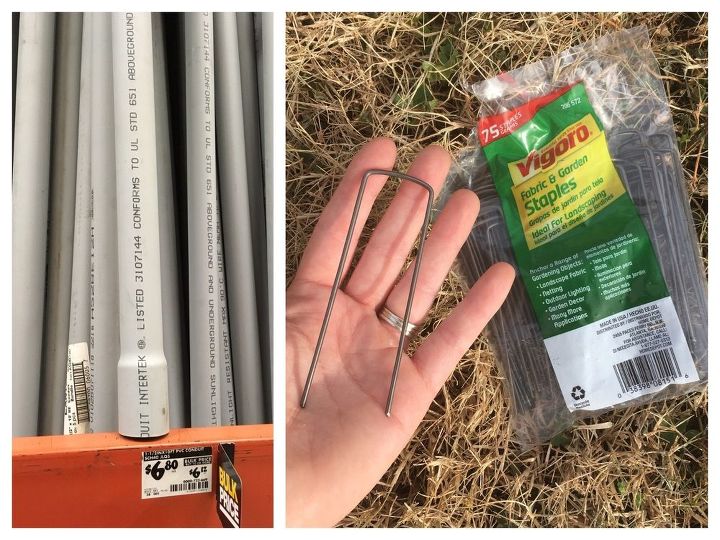
- 1 1/2” PVC conduit (found by electrical supplies)
- T posts (make sure the ones you buy fit inside your pipe)
- outdoor string lights
- landscaping staples (found with the gardening supplies)
- spray paint (for tree “trunk”)
Cut and Paint the Pipe
Cut the pipe to your desired tree height. They come in 10 ft sections. We bought two pipes to make 3 trees; one was left at 10’, and the other was cut to be 6’ and 4’.
Next, you will need to cut notches into one end of each pipe section. These pipes have one larger end to fit pipes together, so I recommend cutting the smaller end. We cut 6 notches in ours using a reciprocating saw, each notch is around 1” deep.
When you are finished cutting everything, spray paint the pipes. I chose green, but black or brown would also work. Or you could make your trees into brighter colors - it is up to you!
Put up T Posts
Decide where you want your tree(s) to go, and put up the T posts. We used a 5’ post for the 4’ tree (1 ft is in the ground), and the other two are 6’ posts. Try to make these as level as possible.
Measure
Feed your pipes onto the posts. Mark out the radius of your tree. I like to use flour in a shaker/large spice container, but marking paint would also work. Size is completely up to your preferences, but I marked 3’ around the 10’ tree, 2’ for the 6’, and 1 1/2’ for the 4’ tree. You want your marks close enough to easily see a circle.
Lay Out the Lights
Put the female end of the first strand of lights into the pipe and feed the wire into one of the notches. (You can also add a star onto the top and plug it in here if you want to!)
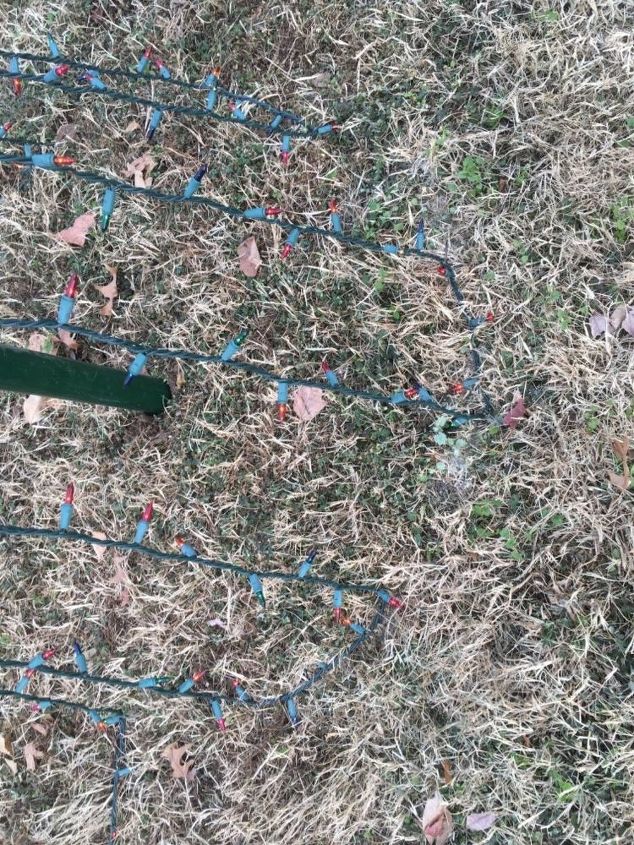
From here you will feed the lights down to the ground, insert a landscaping staple, pull the strand +/- 1’ along the circle, insert another staple, feed the wires up and into the same notch you came out of, then out the notch next to it.
I only do about 2/3 of the circle, leaving a gap at the back to use less light strands, but you can do a full circle if you want. I usually end up using 3 strands for the 10’ tree, 2 strands for the 6’, and 1 strand for the 4’. Some of this is used to string between the trees and connect all of the lights.
Connect the Lights
To connect multiple strands and keep the plugs from pulling apart, twist one strand around the other before attaching the ends.
Turn them on and enjoy!


















Frequently asked questions
Have a question about this project?
Maybe a person could just use a tomatoe cage turned upside down??
So will these stay all year, and what will you do with them after the holidays?
Loved your idea, well explained but left me with one question. What is the length of your light strings?