How to Make a Gorgeous Gourd Topiary For Your Fall Decor

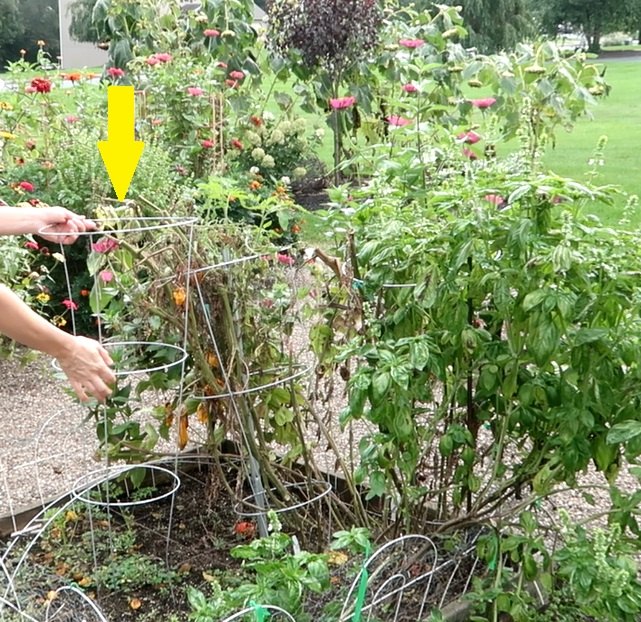
It's time to clean out the garden but don't put the tomato cages away just yet. I'm going to show you how to make a DIY gourd topiary for fall. This simple topiary is easy and cheap to make, and it looks really effective. Let's get started!
Tools and materials:
- Chicken wire
- Tomato cages
- Wire cutters
- Container
- Large rocks
- Potting soil
- Gourds
1. Wrap the tomato cage
Wrap the chicken wire around the outside of the tomato cage.
2. Cut the chicken wire
Once you have the chicken wire around the entire outside of the tomato cage, use wire snips to cut.
3. Secure the chicken wire
Bend the cut ends of the chicken wire together (red line).
Cut and bend the wire around the top and bottom of the tomato cage (yellow circles).
4. Completely cover tomato cage
If your chicken wire isn't wide enough, cut another piece and secure it to the tomato cage using the steps above.
5. Make a cylinder
Using another piece of chicken wire, make a cylinder shape. This will be used inside the tomato cage so the entire cage doesn't have to be filled with gourds.
6. Prep the container
I purchased a tall flower pot that was the width of the tomato cage. I placed large rocks in the bottom, then recycled bottles, then potting soil.
7. Place the tomato cage into the container
Place the top (large end) of the tomato cage into the container, so that it is upside down. Push it into the potting soil so it is stable.
8. Place the cylinder
Place the chicken wire cylinder into the tomato cage, placing it near the back. Push it into the soil and add a rock for stability.
9. Add gourds
Carefully place your gourds into the tomato cage. You now see the purpose of the chicken wire cylinder, to take up space inside the tomato cage. The empty space will be at the back of the topiary so no one will see it.
10. Reaching the top
Once you've filled the tomato cage, place one gourd on the top. Take the three ends of the tomato cage and place them on the sides of the gourd (this will hold it in place).
Use wire to hold the ends of the cage together (yellow circle).
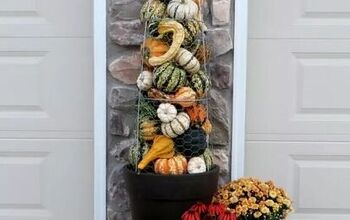
DIY gourd topiary
I have to tell you - people have been walking by my house wondering how the gourds are staying in place. From far away, you can't see the chicken wire!
I love this unique topiary. What do you think? Let me know in the comments below.
DIY fall project ideas
Enjoyed the project?
Resources for this project:
See all materialsComments
Join the conversation
-
 Katen
on Jun 06, 2024
My experience in south, real gourds aren’t worth it for a laundry list of reasons. And then disposal another set of problems as they can weigh a lot. Artificial much better way to go overall. Tried both real is very very pretty and cost for size is pretty much same for large or small. After that pain in the ankle. Artificial May cost more initially and size determines cost typically lasts for couple of seasons so overall costs equal
-
-
 Muhammad sherjan
Yesterday
This gourd topiary idea is really charming! One thing to watch out for is how you attach the gourds so they stay stable—using a strong base (like a foam or wooden block) and long dowels or skewers helps to anchor each gourd securely. Also, gourds can be heavy and irregularly shaped, so balance is key: start with a solid, wide container to lower the center of gravity, then go from larger, heavier gourds at the bottom to smaller, lighter ones as you go up. Treating the gourds with a sealant will help protect from moisture, pests, and mildew, especially if the decoration is going outdoors or in a humid spot. Finally, adding a little greenery or seasonal accents (pine sprigs, dried flowers, berries) around the base or between gourds can disguise any gaps and make the whole topiary feel more finished.
-













Frequently asked questions
Have a question about this project?
Why not Just use the chicken wire as a temporary “holder”and hot glue fake gourds or pine cones or Easter eggs or whatever and then remove your Chicken wire cage. It should give the topiary look without keeping the chicken wire permanently there??
Will the gourds spoil
I love celebrating Harvey’s time and this is perfect to enjoy natures bounty. However I put quite a few gourds/pumpkins on porch last year. The critters that came to snack! Ate produce AND left droppings. Could you use artificial elements? Real has better look and added weight in wind but you don’t have visitors either (yes baby deer, raccoons, squirrels, chipmunks and during day birds, feasting). I had no idea any of them liked these things