How to Make DIY Clay Tree Decorations in a Few Easy Steps

A few years ago I made some DIY tree decorations for our main tree. Some of these were with salt dough because I didn’t have clay to hand.
This year, I wanted to make some DIY clay Christmas ornaments just to add a few extra things to our tree.
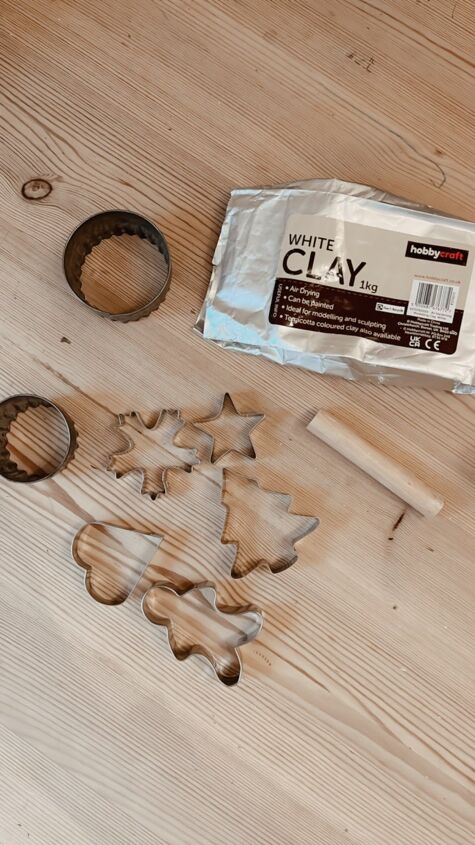
Tools and materials:
I used air-drying clay, a roller, and metal shapes that I already had at home. I had a few ideas for designs that I wanted to try and this was also such a fun Christmas activity to do with the kids.
1. Cut out shapes
I warmed up the clay, rolled it out to a thickness of approx 5mm, and cut out the shapes.
2. Stamp designs
The first design was using stamps to print on some letters. There are better stamps out there for this but I used what I had to hand.
3. Cut out holes for the ribbons
The next design I made plain Christmas trees. I used a straw to cut out a hole for the ribbon in each ornament.
4. Use a cocktail stick
For the last design, I used a cocktail stick to prick holes around the edge of the stars.
5. Dry
I left all the ornaments to dry for a few days…..
6. File the edges
Once dry I then used a nail file to file the edges down to leave a smooth finish.
7. Attach the ribbons
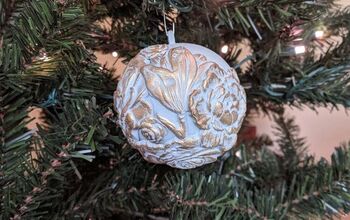
Here are the finished decorations in the three different designs.
I used different string for each of the designs. I love how unique they all look.
DIY clay Christmas ornaments
These turned out a million times better than the salt dough ornaments I made and were so cheap and easy to make!
I hope that this post inspires you to design DIY clay Christmas ornaments for your tree!
To see more of this and behind the scenes follow along on Instagram!
~ Rachel ♡
DIY Christmas Decorations
Enjoyed the project?
Suggested materials:
- Air drying clay
- Roller
- Cookie cutters
- Straws
- Stamps
- Cocktail sticks
- Ribbon












Frequently asked questions
Have a question about this project?