How to Quickly Clean and Update Your Old Cabinet Hinges

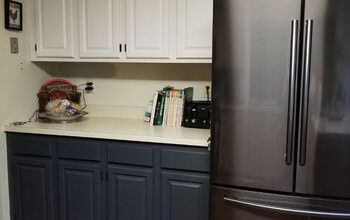
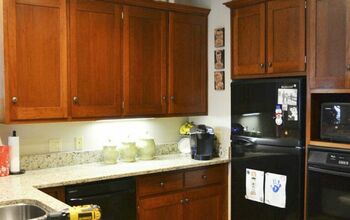
We just moved into our home a few months ago and it definitely needed some updating. We decided to start in the kitchen with new appliances. Black stainless beauties 😍 That's when we really noticed how "80's" our kitchen cabinets were! They were in good shape, just wrong color. So we decided to just paint them! The hinges were terribly dirty with a film over them and brass colored. So here's a step by step how I quickly cleaned them and then painted them to match the black stainless appliances....
Best spray paint!
Hinges are easy to take off but be sure to put all the screws into a baggie while removing them. Losing one will certainly add some frustration! I am working in small sections, so I'm only doing a few hinges at a time.
Bring 1 part vinegar and 3 parts water to boil in a large saucepan. Once a rapid boil is reached, add your hinges.
The grime starts to loosen quickly. This is after just 10 minutes
This is after 20 minutes
After 30 minutes, most of the dirt has been removed and you can see it floating in the water 🤢
Pour them into a colander and rinse under cold water to remove any loose dirt and cool them off.
Lay them out on a paper towel to dry
I found a wonderful spray paint in black stainless and it matches my appliances perfectly!
I positioned the hinges close to each other on paper towels
Then did a light coat of spray paint
Once dried, flip them over and spray the other side
When they are dry, you then have to close the hinges and spray the rest
Once completely dried, spray your topcoat. I used polycrylic
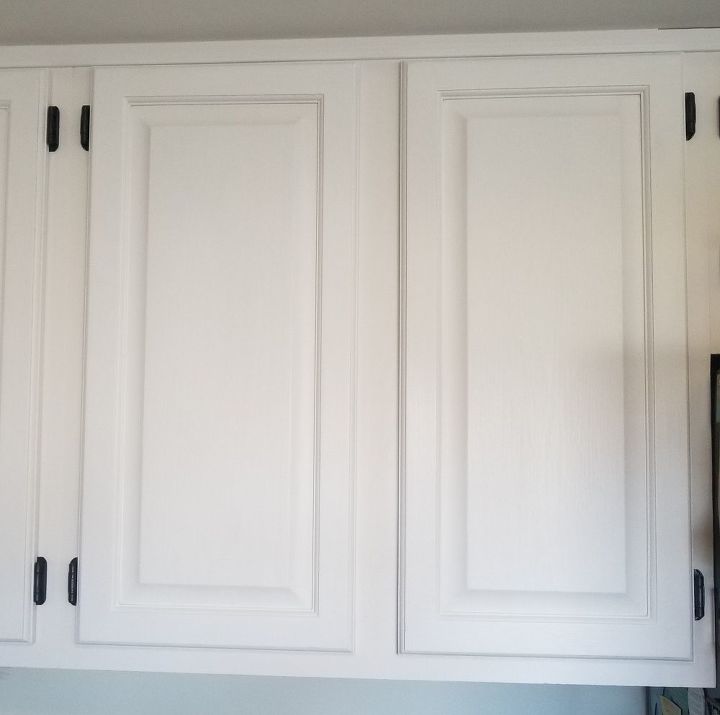
I allowed them to dry overnight before reattaching to the cabinets and hanging them
Enjoyed the project?
Resources for this project:
See all materialsComments
Join the conversation
-
 Deer Run Revamps
on Dec 02, 2018
I'm a wax girl. Wax always seems to work best for me and I'm ok with reapplying every 6 months or so. With that said, I cleaned them really good krud cutter. It's a great degreaser. Then sanded them first with 120 grit, then 180 grit, and finally 220 grit. Then cleaned them again with the vinegar/water mixture. I always have a spray bottle with the mix handy. Once dried, I primed and painted followed by waxing.
-
-
 The Cheap & Lazy Lounge Lady
on Dec 09, 2018
This was a great project! I did something similar but much lazier. After installing beautiful brushed-nickel handles to dozens of drawers & cupboards, I noticed that the 30 year old hinges were dark brown and ornate (against white cabinets). Yuck ... So I opened each cabinet & used painter's tape to block off a rectangular area around each hinge. They weren't dirty, so I just painted inside the whole rectangle with silver paint. The result is sleeker and more modern, and nobody would ever notice unless they were really close. Love it!
-
 Act93478660
on Nov 21, 2023
Any photos? Great idea!
-
-









Frequently asked questions
Have a question about this project?
Can you add the screws into the mixture as well? Would it damage them?
I've cleaned my hinges well. But now they won't open. They are immovable. Any suggestions?
My hinges are exactly like the ones shown. I have oak cabinets that are being painted white. I want the hinges to be brushed nickel. I've seen recommendations to sand them. Did these hold up without sanding?