


Repurposed Heavy Metal Drawers

I started repurposing a couple short years ago, and this is my absolute fav item to date. These two sets of drawers were at a yard sale and hubby looked at me very weird when I said I wanted to buy them. These were listed for $10 total and I bargained for $6, and they threw in delivery! You can see why the former owners wanted them gone. I now keep my button collection in these drawers. They are a heavy metal – possibly used for auto parts in their former life. Thankfully, all the working parts (roller mechanisms) just needed a little lovin' to make them go round and round again.
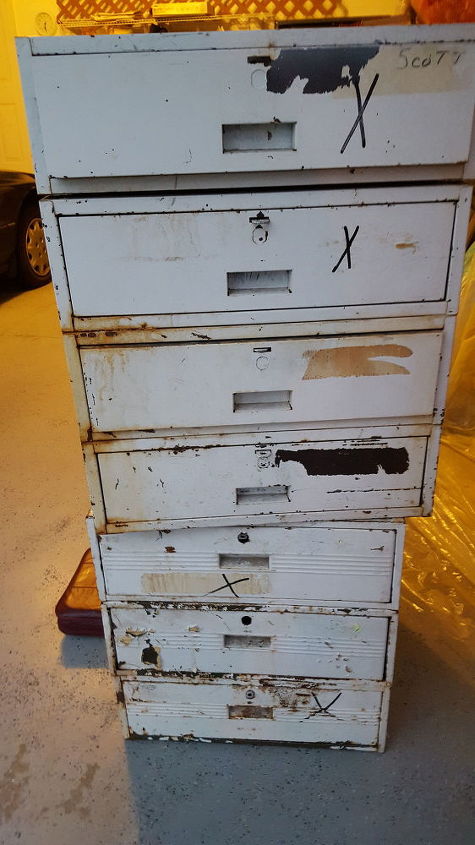
First off, these obviously needed to be washed and sanded extensively. Inside and outside the drawers were scratches, rust, paint blotches, and yuck. There was a lot of old dirt and bug parts in all the drawers and frames.
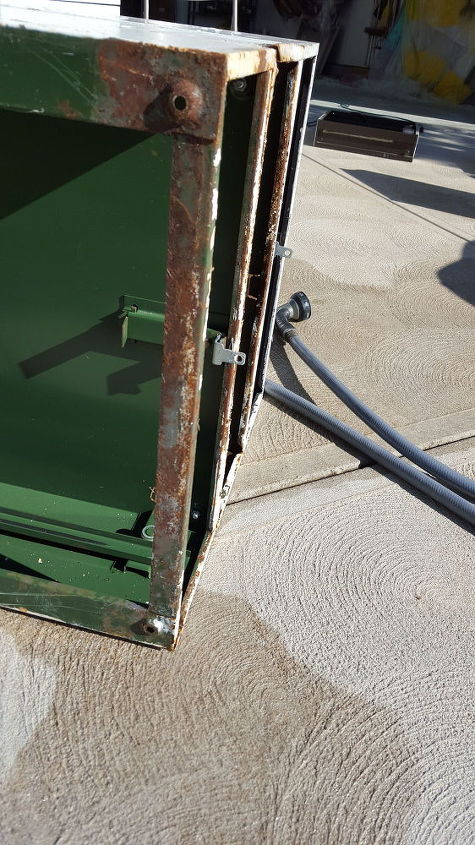
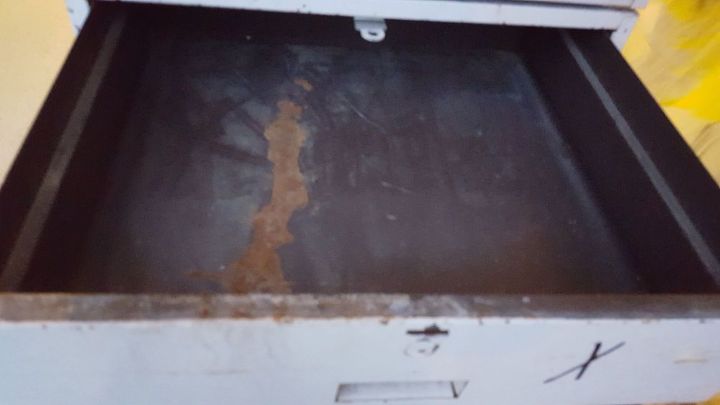
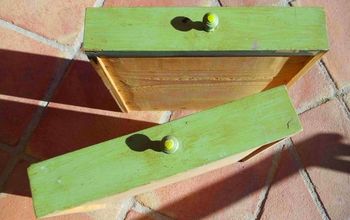
This pic above gives another angle of how bad their condition was. I showed the pic of the drawer below with the spots inside to a painting pro and he said it was likely battery acid caused the spot, and I'd never be able to successfully paint or finish over it. He was wrong! Due diligence will get you where you're going, folks if the acid has not eaten completely through the item.
The hardware was removed.
During the priming stage, I came upon a unique way to let the paint dry. I hung the drawers from the shelving in the garage with bungee cords. Worked fantastic, especially when weather was not so great.
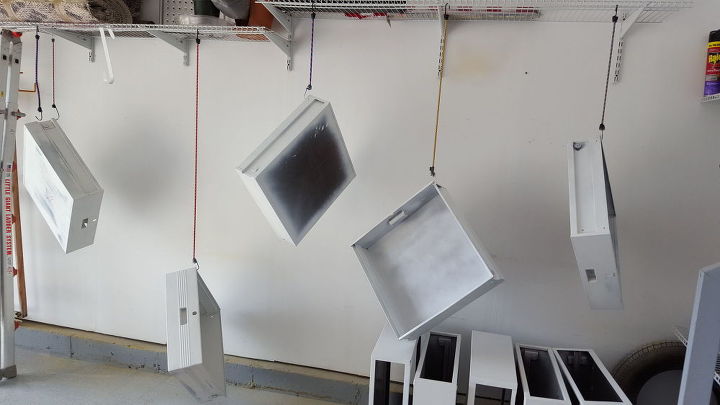
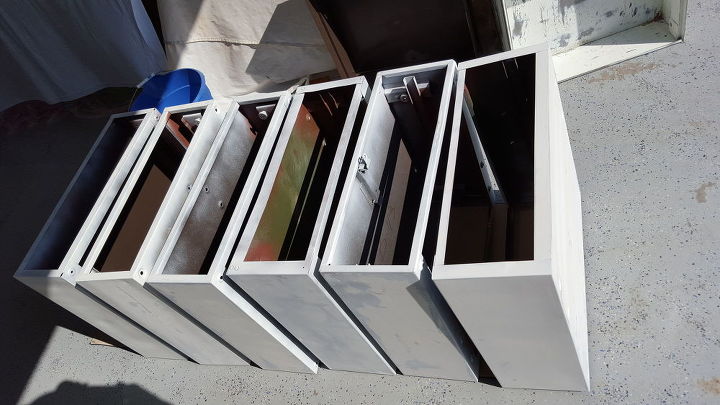
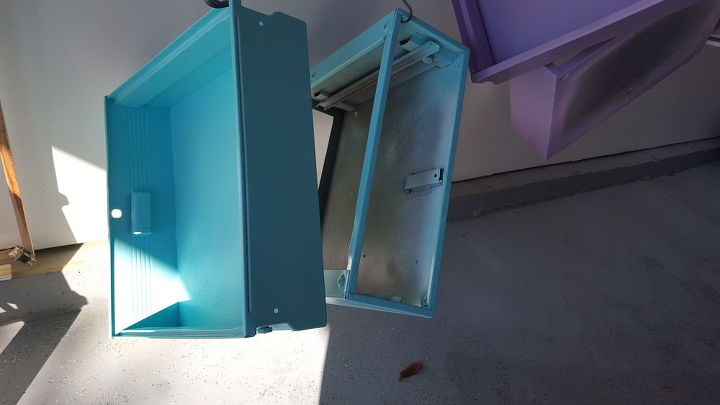
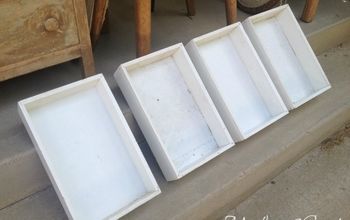
Below are the drawers and frames again, final coat drying.
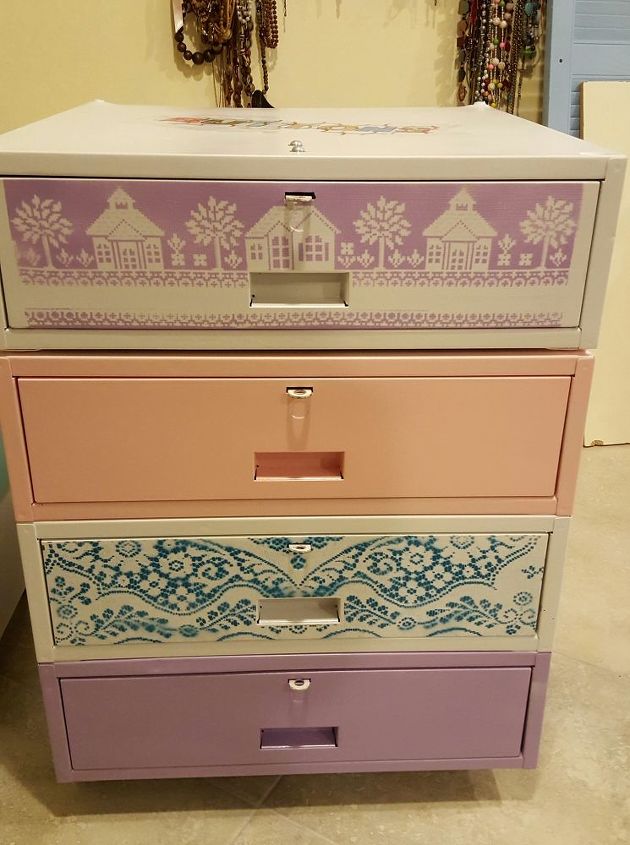
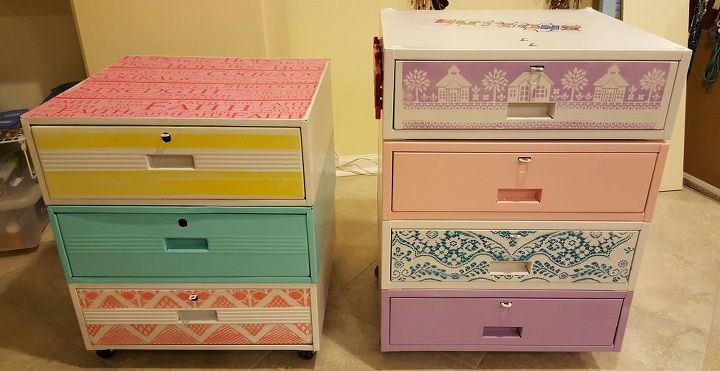
This is the finished four drawer tower. I used different patterns of old lace I had on hand, and spray painted over that onto the drawer fronts. Beautiful, huh?
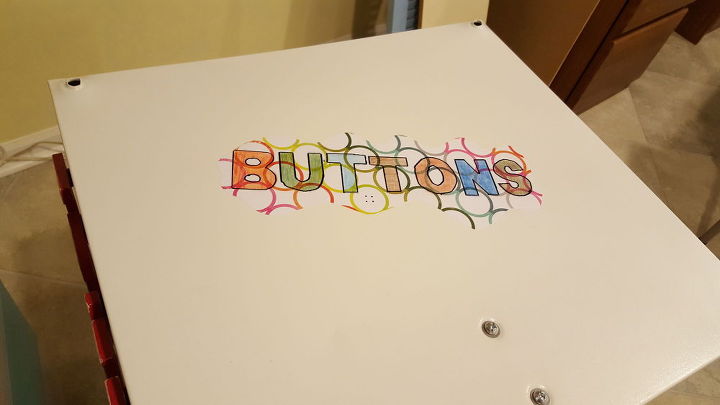
I stenciled the top of this tower. The whole project took several weeks, as you can imagine. Wash, sand, wash, paint, sand, wash, paint, sand, wash, paint, decorate, sand again (in some cases, to fix my oops), decorate and seal. What I saved on the purchase, I spent on sand paper and paint, naturally.
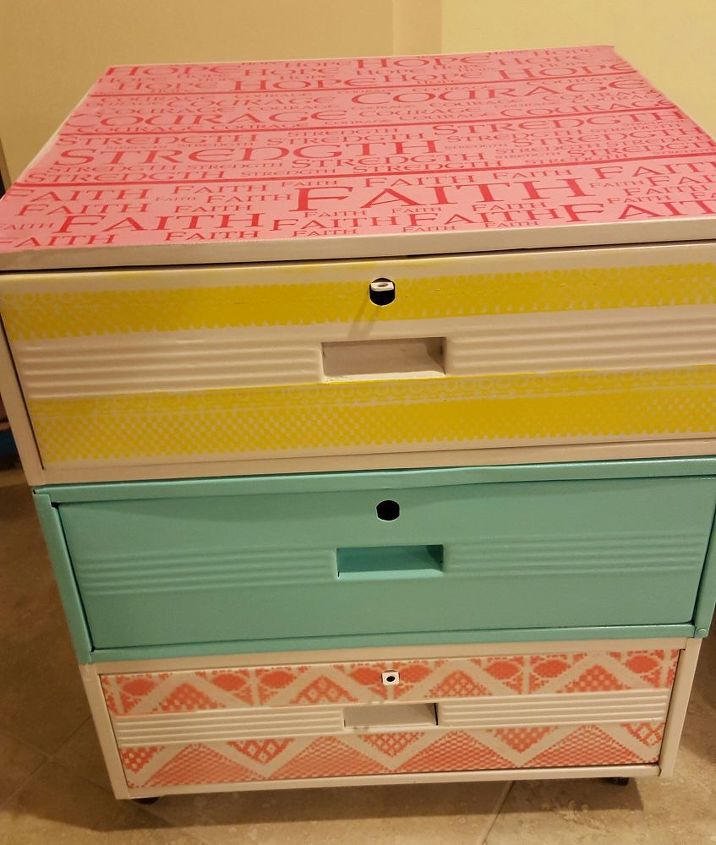
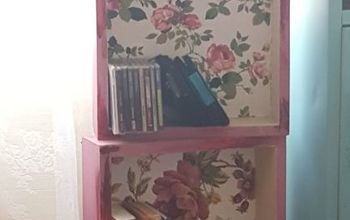
I found this piece of material at the thrift store a while ago, and decided to use it on this stack of 3 drawers. It was Mod-podged down.
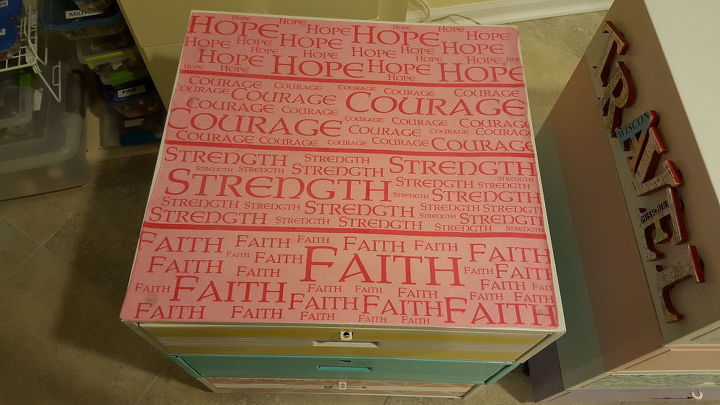
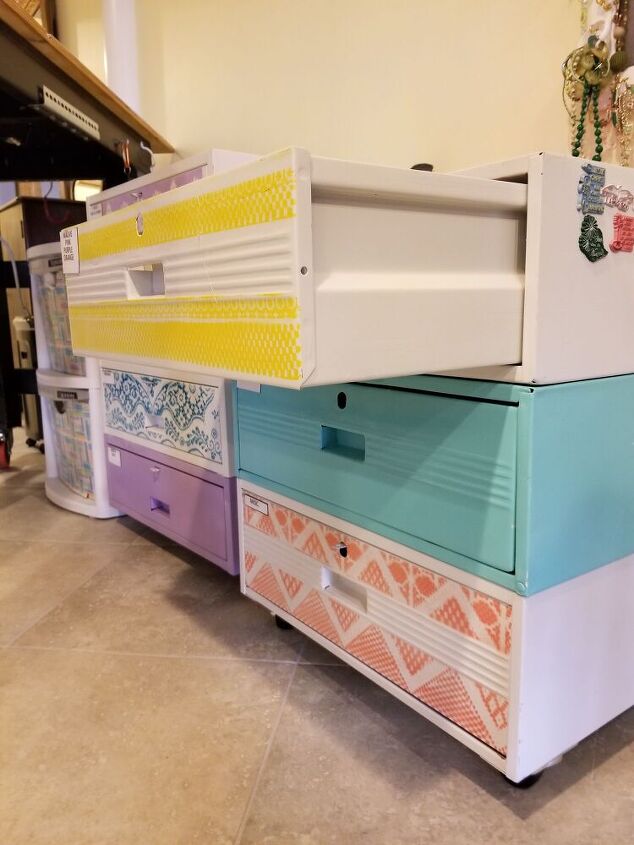
I also put casters on the towers, and I can roll them to where I'm working on a button project!
For more of my projects, visit my page at https://www.facebook.com/nostalgictimecreations/ and be sure to hit "like"!
Comments
Join the conversation
-
Love it, you did a Great Job...
😊❤👏👏👏👍👍
-
Wonderful repurposing of something ugly! You made these delightful to look at each day. Bravo 👏!!!











Frequently asked questions
Have a question about this project?
How I do vanity of plastic ???????