


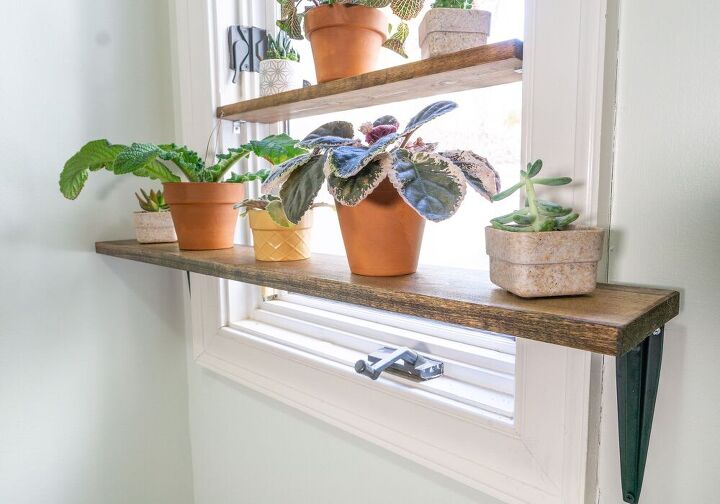
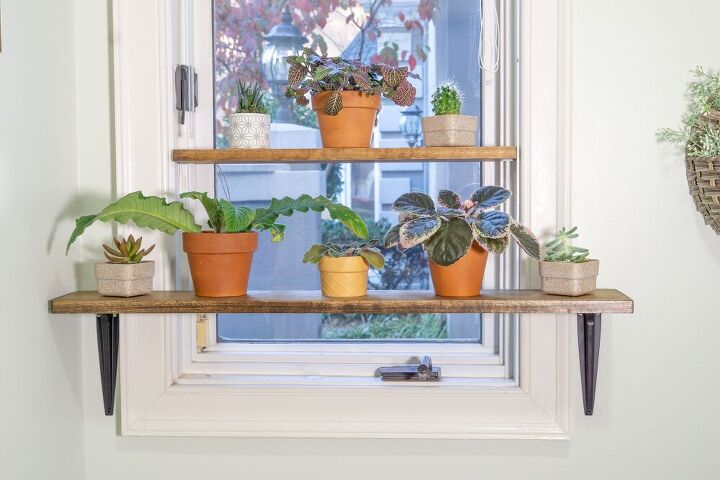
DIY Window Plant Shelf
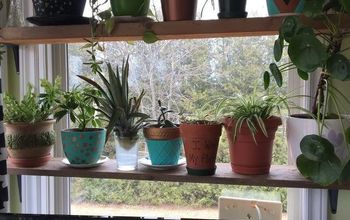
Are you a plant collector? Do you have more plants than you have space for? If you answered yes to either of these questions, then you need a window plant shelf!
Hometalk Recommends!
This is a step-by-step of how I created the larger, outside mount shelf.

STEP 1 – CUT YOUR BOARDYou will need to figure out how wide you want your shelf based on the size of your window. The board will need to extend at least two inches beyond each side of the window frame in order to attach to the shelf brackets. Because my window is in a corner, I could only take it out about 2.5″ on each side. But you could always extend it farther than that, if you have room.The shelf that I made was 34″ wide. I measured and marked my board, then made one easy cut with the miter saw.After cutting it down to size, I sanded the rough edges on the cut end, and then, very lightly, sanded all of the rest of the edges to soften them just a tad.
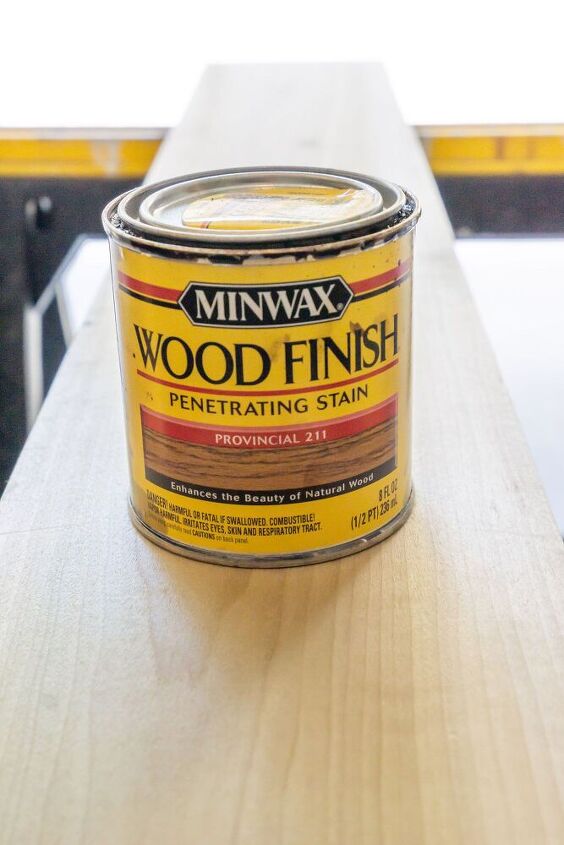
STEP 2 – STAINI chose to stain my shelf, but you could leave it unfinished or even paint it.I used one of my favorite stain colors – Minwax Provincial – and put one coat of stain on according to the directions on the can.
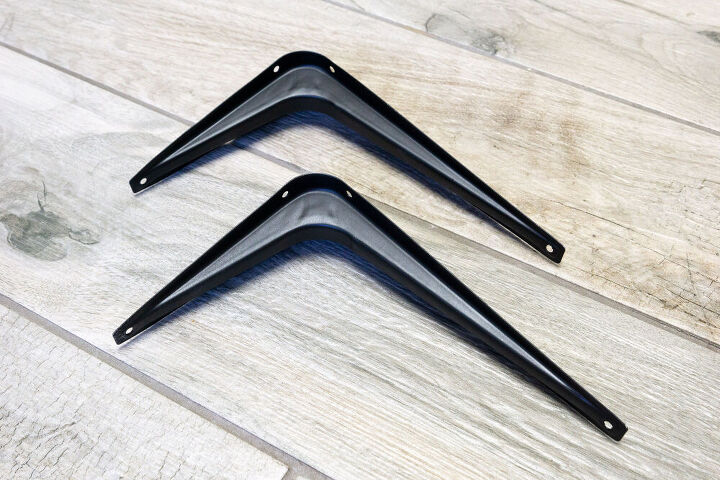
STEP 3 – CUSTOMIZE THE BRACKETS (IF NEEDED)I picked up a couple of 5″ x 7″ brackets at Lowe’s. They were like $1.50 each, and I spray painted them black. (They were originally white.)
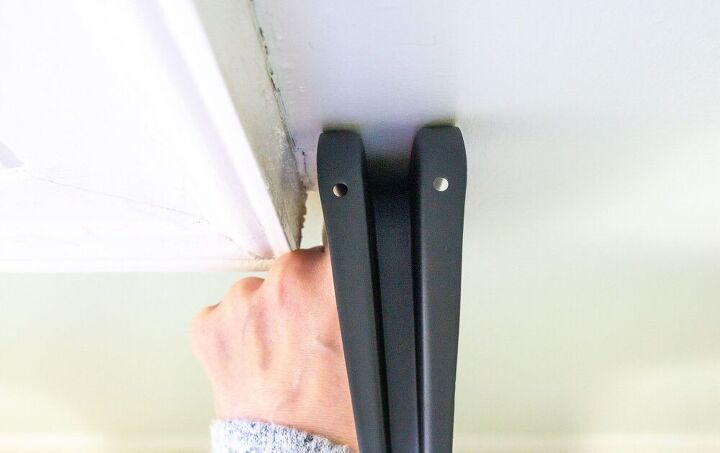
Then, we had to drill extra holes in them. The trim around our windows is pretty deep. So, the pre-drilled holes on the brackets were actually behind the edge of the window frame.
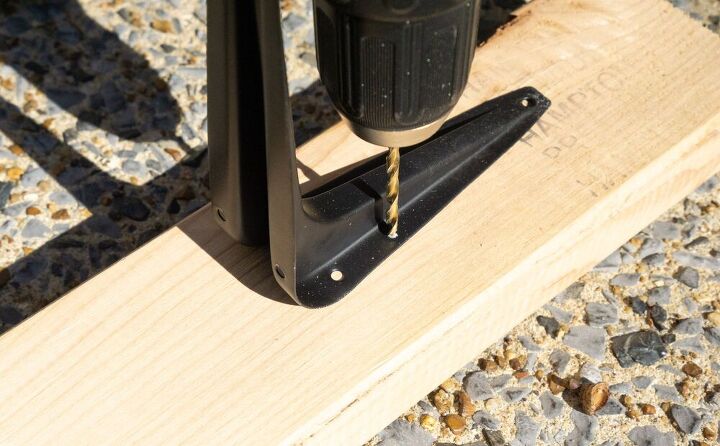
Therefore, we wouldn’t have been able to secure the shelf board into those holes. So, we simply used our drill to add a couple of holes that fell in front of the edge of the window frame. That way, we could attach the shelf board securely to the brackets.
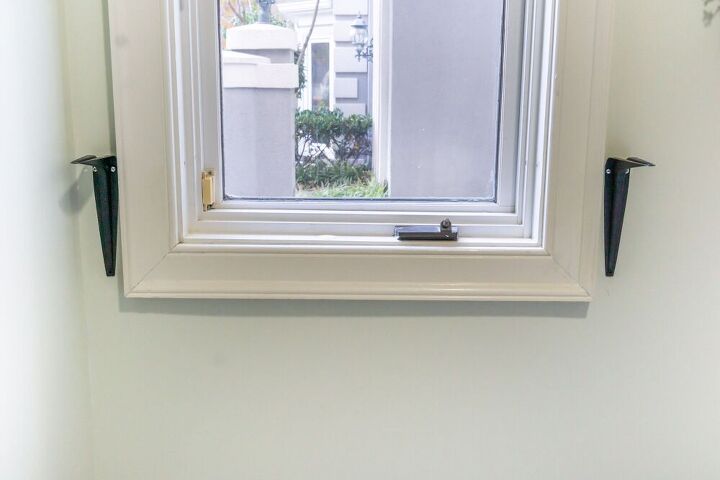
STEP 4 – INSTALL THE BRACKETSThen, we installed the brackets on the wall. I, unfortunately, don’t have a laser level, which would have been super helpful with installation. So, here’s what I did.I held the board up to the window approximately where I wanted it to be, and used a regular level to make sure it (the board) was level. Then, I drew a short line on the wall on either side of the window frame along the top of the board. That way, I could make my measurements for the shelf brackets from the pencil line, which I knew was level. (Hopefully that makes sense.)Then, using drywall anchors and screws, we installed them on the wall.
STEP 5 – ATTACH THE BOARD TO THE BRACKETSThe last step is just screwing the board onto the brackets.We marked the underside of the board where the screws would be placed, and drilled pilot holes first. Then, we secured the board to the bracket with screws and that was that!
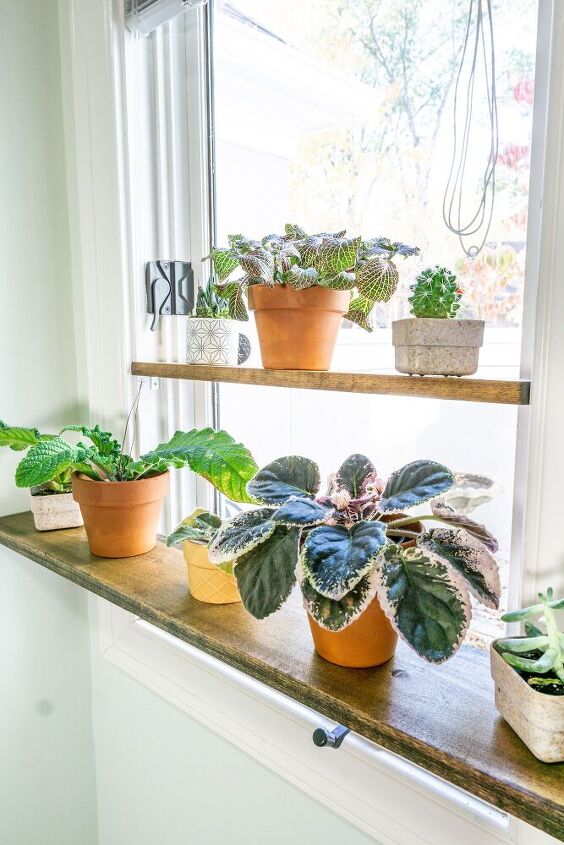
What do you think? Head over to my blog to see how easy it was to put together the inside mounted shelf!

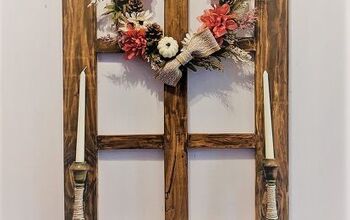
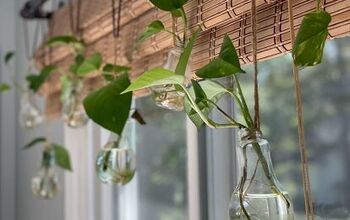
More Window Decorations
Resources for this project:
See all materials


Comments
Join the conversation
-
I really like what you have done and have had shelves like these many times in several homes over the years and moves. I suggest either, buying the brackets already white or priming and painting them so they don't stand out so much. Also, again, for how it looks, you could have used shoter brackets, those things hold a surprising amount of weight so smaller (less obvious ones) would work too.
I love your stained shelves instead of white and your plants look healthy and happy!!
-
I did this in my kitchen, but used wood to make brackets instead. Trust me the house needed any help it could get : )


Frequently asked questions
Have a question about this project?
I see that you have blinds in that window. Are you still able to use them ?
Hi. How did you do the top shelf?
Do you know where I can purchase clear glass for the shelf?