Slat Wall Headboard - With a Twist!

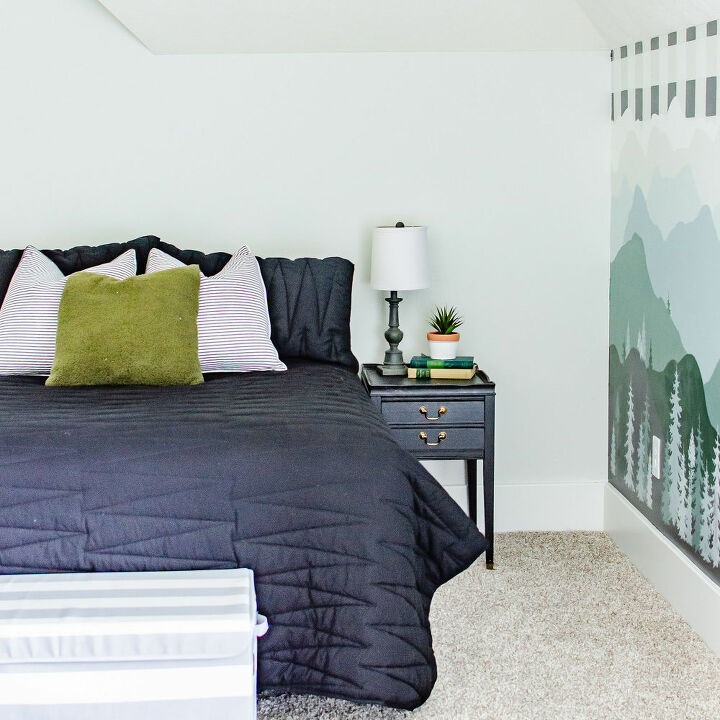
I’ve been slowly pecking away at my oldest son’s bedroom since the beginning of the year. Fast forward 4 months later and I’m determined to finally put on the finishing touches in these next few weeks.
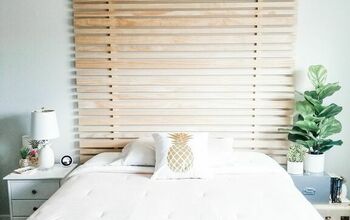
The biggest project left to tackle was figuring out a headboard statement piece in the space. Since his bed is just a free standing frame I didn’t want to build something that attached to the bed frame but rather something that would be nailed to the wall where the bed could be pushed up to it.
I envisioned a trending slat-type headboard that encompassed the entire width of his bed and two nightstands. I am dealing with an angled roofline on this particular wall in his room so it made more sense to go wide than tall.
Project Materials:
1x2 Select Pine (I used 8’ and 4’ boards)
Orbital Sander/Sanding Blocks
Miter Saw (only if cuts are necessary)
Wood Conditioner
Wood Stain
Painters Tape
Stud Finder
Brad Nailer
Wood Sealer
I started with 1x2 boards of select pine. I happened to have some on hand that were already at 8’ and 4’ lengths so I rolled with it so I wouldn’t necessarily HAVE to break out my miter saw for this project. I sanded them down and applied a quick coat of wood conditioner followed by my VERY favorite stain color, Special Walnut.
I let the boards dry/air out in the garage overnight before bringing them into the house.
On install day I used my magnetic stud finder and marked the studs with painters tape.
Next I used my brad nailer (with 2” brad nails) to attach the 4’ pieces vertically to the wall and into studs.
Finally it was time to install the horizontal slats. Typically on a slat wall you will see the builder EITHER choose to show the 1 inch side OR the 2 inch side. In true HHL fashion I decided to put my own spin on it and install the slats every other direction.
I started with nailing in a board exposing the 2 inch side. I used a few pieces of thin trim as a spacer then nailed in a board exposing the 1 inch side. Rinse and repeat.
Once the boards were installed I went over the entire piece with a coat of polycrylic to seal it.
I am beyond thrilled with how this turned out. Going with long slats was a solid choice and it makes an amazing statement in this bedroom. My 7 year old thinks its pretty cool too. Mom for the win!
If you enjoy my content I would love to connect with you! You can follow my day to day projects and stories on Instagram!
I also do e-design work! If you would like to see a list of my services and pricing please visit my website!
Enjoyed the project?
Resources for this project:
See all materials
Comments
Join the conversation
-
 Kathie
on Apr 13, 2023
Nice, but the first thing I thought about was the dust collecting between all those slats....
-
 Cindy Ptak
on Apr 03, 2024
Me too. And since I hate to dust, this wouldn't be for me, but I think it looks great!
-
-
-
 Martha Deshaies
on Apr 13, 2023
This is such a new idea…love it. As for dusting…that’s why you sand smooth the boards…when you dust the room just run your swifter along boards. 👍👍👍
-
 Joseph Murray
on Apr 13, 2023
That's why vacuums have brush attachments.
-
-
-









Frequently asked questions
Have a question about this project?
What happens if you want to change up the room layout or move the bed and other furniture around in the room? With it nailed to the wall, you can’t move it. It’s permanent.
I am thinking as Andrea. What happens when you want to repaint the room? The wall color shows is matching behind the slats, but if you want to repaint you have a problem.
Nicely done. I also really liked the wall art. What would you call this style?