


How to Create a Stylish Floor-to-Ceiling Headboard Wall: Easy DIY

If you're looking to easily elevate the style of your bedroom without breaking the bank, consider creating a floor-to-ceiling headboard wall. This cheap DIY headboard idea not only adds a touch of creativity to your space but also serves as a focal point.
In this guide, I'll walk you through the simple steps to achieve this stylish and budget-friendly headboard.
This post was transcribed by a member of the Hometalk editorial team from the original HometalkTV episode.
Hometalk Recommends!
Tools and Materials:
- Brick molding pieces
- Painter's tape
- Nail gun
- Caulking
- White paint
- Paintbrush or roller
Hometalk may receive a small affiliate commission from purchases made via Amazon links in this article but at no cost to you.
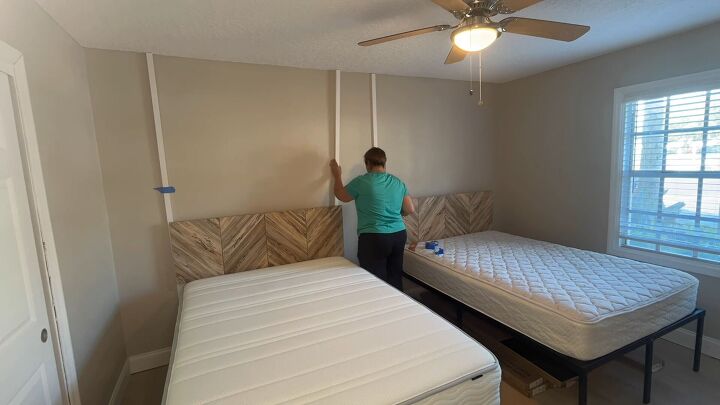
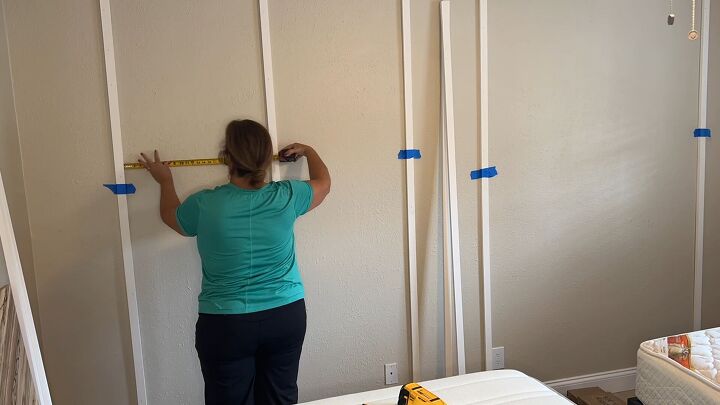
1. Planning and Spacing
Use your existing small headboard as a guide for spacing.
Floor-to-ceiling headboard walls look best when balanced, so place two brick molds on either side and secure them with painter's tape temporarily. This allows you to step back and assess the spacing before permanent attachment.
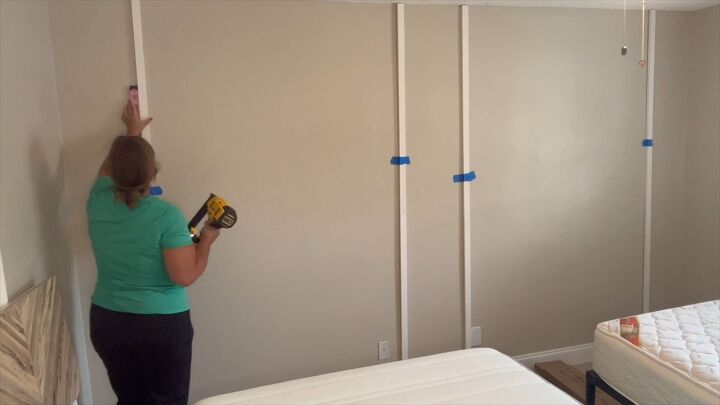
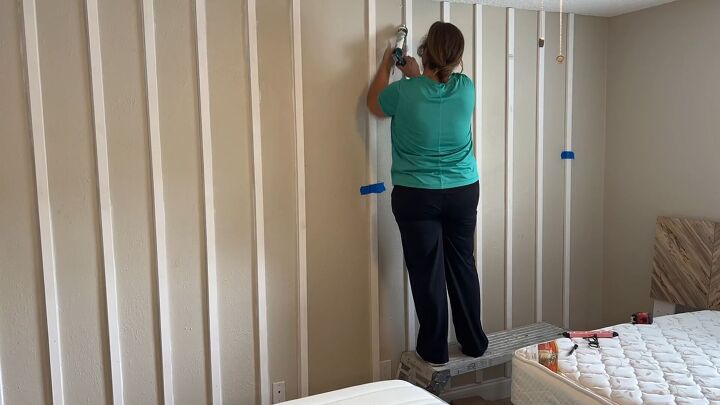
2. Securing the Outer Edges
Once satisfied with the spacing, use a nail gun to secure the brick molding in place.
The outer edges will frame the entire headboard wall, providing a clean and polished look.
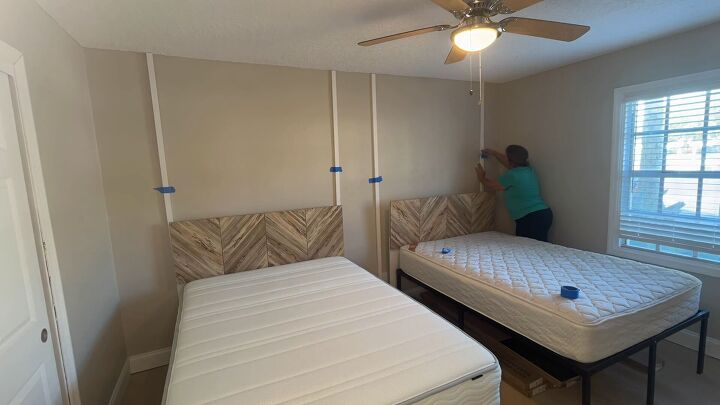
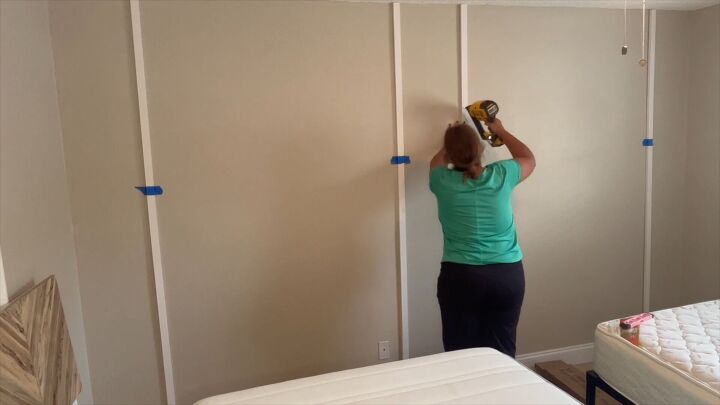
3. Establishing the Center Pieces
Dedicate time to space the center pieces between the outer edges evenly.
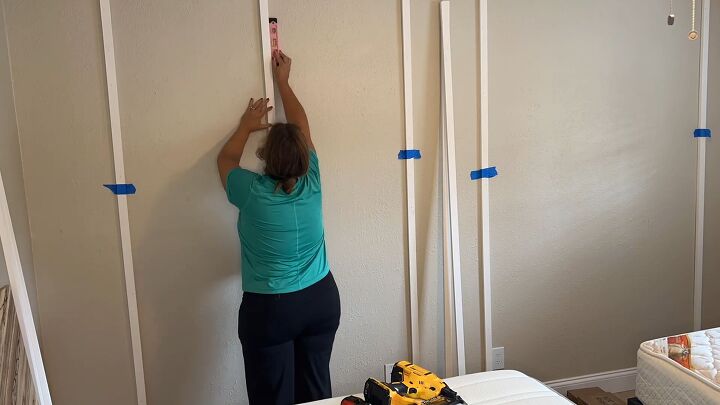
Once pleased with the arrangement, use the nail gun to secure them in place.
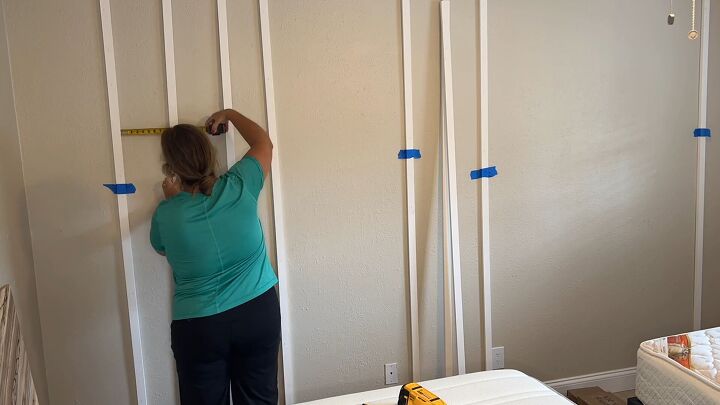
Now continue adding molding making sure to evenly space each piece.
To achieve a seamless finish, apply caulking along the sides of the brick molding.
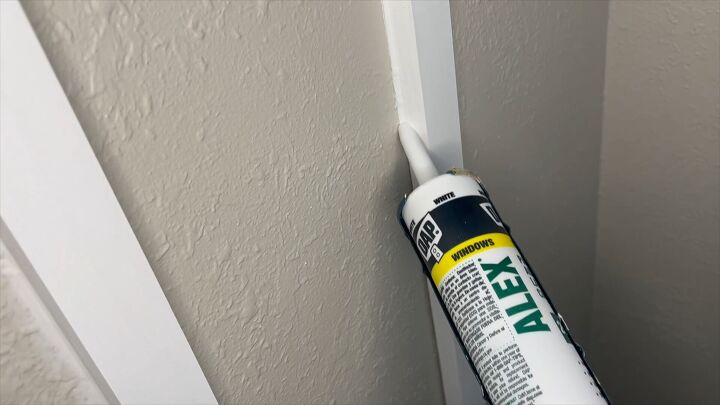
This step ensures a uniform appearance, making your floor-to-ceiling headboard look like one continuous piece.
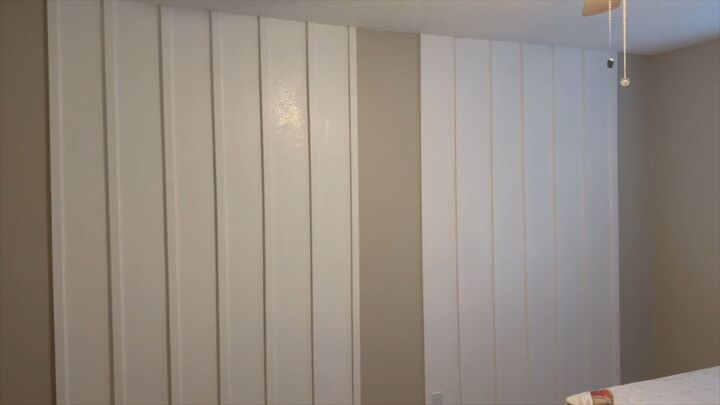
4. Applying Paint
After allowing the caulking to dry, it's time to add a fresh coat of paint. Opt for several coats of white paint to give your headboard wall a cohesive and polished appearance.
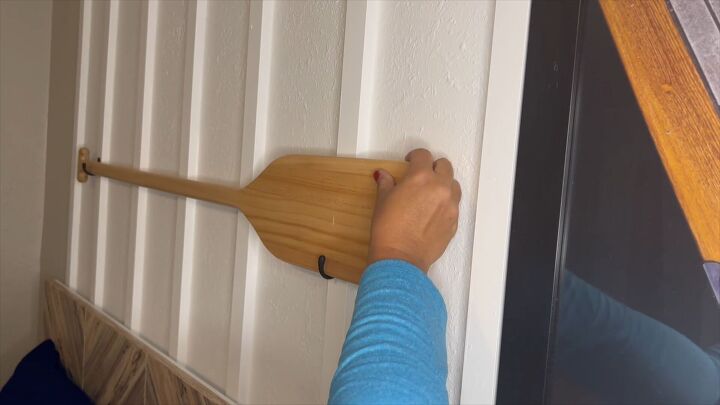
5. Final Touches and Decor
Once the paint is dry, move the furniture back into the room, make the beds, and dive into decorating. This easy DIY headboard not only adds visual interest but is also an affordable bedroom upgrade.
More Headboard Ideas

Floor-to-Ceiling Headboard Tutorial
There you have it – a quick and budget-friendly way to revamp your bedroom with a floor-to-ceiling headboard wall. This cheap DIY headboard project proves that stylish transformations don't need to be complicated or expensive.
Give this idea a shot, and don't forget to share your experience and any unique twists you've added in the comments.
Comments
Join the conversation
-
The supposed “ brick molds” aren’t shaped like bricks . They just look like vertical pieces of wood. ?????
-
Very nice. For me it’s the addition of the oars that bring the entire wall to life


Frequently asked questions
Have a question about this project?