How to Build Gorgeous Concrete Countertops Two Ways

With the high cost of remodeling a kitchen or bath, many homeowners are turning to DIY options instead. One modern solution is concrete countertops. The process of making DIY concrete countertops is surprisingly straightforward, and the material cost is low. Concrete countertops are also low-maintenance and completely customizable for your layout or color scheme.
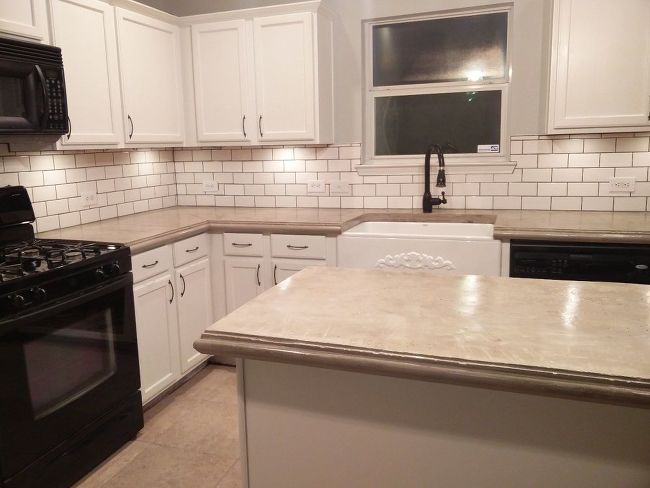
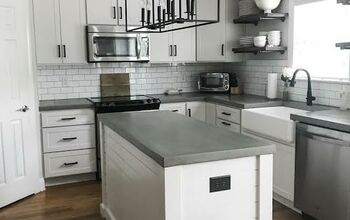
See post: Flawless Chaos|Complete Kitchen Makeover With Concrete Countertops
This handy how-to guide will walk you through the basic steps of making concrete countertops!
DIY Concrete Countertops | Covering an Existing Surface
The simplest way to DIY concrete countertops is by using the countertop you already have as the base. This method works very well over Formica, a solid surface product, or even tile.
Important Note: For best results, remove drop-in sinks, faucets, and cooktops before you begin.
Step 1: Prepare the Surface for the Concrete Countertop Mix
Using an orbital sander or a palm sander, scuff up the surface of the old countertop. If the countertop is too smooth or shiny, the concrete countertop mix will not adhere properly. Take your time, and be sure to sand everywhere. Don’t forget the sides and edges. Run your hand over the surface, and with the sander, knock down any smooth places that remain.
Step 2: Protect the Surrounding Surfaces
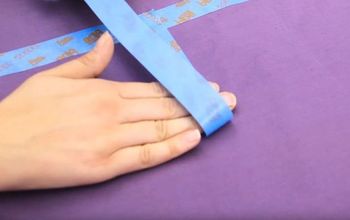
To keep the concrete mix off of the surrounding surfaces, be sure to cover the cabinets, floor, and backsplash with plastic sheeting.
Step 3: Prepare and Apply the Concrete Countertop Mix
There are many concrete countertop formulas on the market that float well over an existing countertop. Two popular brands are Ardex and Henry’s. While it’s possible to make your own from a regular bag of basic concrete mix, we recommend using products specifically designed for skim-coating for two reasons. First, you’ll have less waste since these products are available in smaller packages (leftover dry concrete mix does not keep well). Second, all of the large particles and gravel are filtered out of these formulas which is critical for skim coating.
Prepare the concrete according to the package directions and apply a thin first layer with a putty knife.
See post: Bethany Dearden|DIY Concrete Counters Over Existing Laminate
Pay careful attention to this first layer. Be sure that the wet concrete covers the surface entirely, and make it as smooth as possible. A flat first layer provides a solid foundation for subsequent layers.
The product will begin to dry quickly. Do not rework sections that are already drying. There will be an opportunity to fix mistakes during the next application of the concrete countertop mix.
See post: Elizabeth @ Creating Rustic Charm|DIY Concrete Countertop!
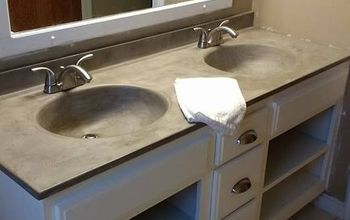
If your existing countertop has an integrated sink, a sponge is useful for spreading the cement on the curved surfaces and edges.
See post: Elizabeth @ Creating Rustic Charm|DIY Concrete Countertop!
Step 4: Sand the Cement Countertops and Repeat
After the first layer is dry, sand away the imperfections with a palm sander or sandpaper wrapped around block or sponge. This is dusty work, so be sure to wear a mask. Vacuum the debris. Then, repeat the application and sanding steps until the entire surface is covered and smooth. Two or three thin layers is typical. Allow the cement to dry thoroughly between layers.
See post: Doreen Cagno|DIY Concrete Countertops Over Existing Formica
Step 5: Seal the Concrete Countertops
After the cement countertops are completely dry and sanded smooth, seal the concrete to prevent food stains and water rings. There are many concrete sealing products on the market, but we recommend choosing one that is food-safe if you are using it in the kitchen. Apply the sealer according to the package directions.
See post: Bethany Deardan|DIY Concrete Counters Over Existing Laminate
Over time, concrete countertops may require occasional maintenance such as filling in cracks and chips or resealing. However, with reasonable care, they should stay beautiful and functional for several years.
See post: Doreen Cagno|DIY Concrete Countertops Over Existing Formica
DIY Concrete Countertops | Creating New From Scratch
The second method of making concrete countertops is pouring cement into a mold. Building them this way is more expensive and labor-intensive. However, these cement countertops are more durable over the long-haul, and they still cost less than new solid surface products or tile. Building brand new concrete countertops is a good solution if the layout of the cabinets changes or the old countertops cannot be salvaged.
Step 1: Make a Drawing and Build a Mold
Before you begin, draw the shape of the countertop you want to build and take measurements. Remember to add 1 ½ - 2 inches of overhang on the front and sides which is industry standard. The drawing and measurements will serve as the blueprint for building a mold.
Most DIYers build molds out of melamine. Melamine releases the cured concrete more easily than regular wood due to its smooth surface.
See post: Kristen @ Storefront Life|DIY Concrete Counters
Screw the mold together well. Fill all of the cracks with silicone caulk so the wet concrete will not leak out.
See post: Robin Lewis|Concrete Countertop
Step 2: Prepare the Concrete and Fill the Mold
Concrete is straightforward to prepare. Consult the package directions for the correct water-to-cement ratio. It takes some muscle to mix it thoroughly, but take your time and make sure all of the powdered cement is incorporated into the liquid.
See post: Robin Lewis|Concrete Countertop
Scoop the wet cement into the mold with a shovel, taking care to push it into all of the corners completely. If your countertop needs a hole for a drain or faucet, place PVC pipes in the correct locations, and pour the concrete countertop mix around them.
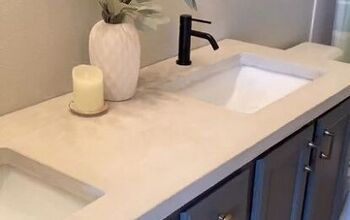
See post: Flawless Chaos|How to Make Your Own Concrete Countertop for a Bathroom Vanity
Embed metal rebar in the wet cement to add strength to the DIY concrete countertop.
See post: Robin Lewis|Concrete Countertop
Step 3: Remove All of the Air Bubbles
It is critical to remove all of the air bubbles from the wet cement. Trapped air will make the surface porous and weak. Also, If the air bubbles are on the exposed surfaces of your concrete countertops, unsightly pits and holes will mar the surface, and the countertop will not be smooth even after vigorous sanding.
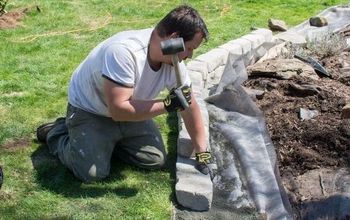
Removing the air bubbles is simple. Tapping the mold all over with a rubber mallet will bring the bubbles to the surface so they will pop. Alternately, a power tool, such as an orbital sander or drill fitted with a buffing pad works well too. Simply turn on the tool and touch it to the melamine mold underneath and around the edges. The vibrations will bring air bubble to the surface where they will pop.
When no more bubbles come to the surface, the concrete is ready to dry and cure.
Note: This step takes time and patience. Depending on the size of the concrete countertops, it could take an hour or more to remove all of the air bubbles.
See post: Robin Lewis|Concrete Countertop
Step 4: Allow the Cement Countertops to Cure
Consult the manufacturer’s directions on the cement bag, but this step generally takes 24-72 hours.
Step 5: Sand and Seal
Just like skim-coating cement onto an existing countertop, the final steps are the same for a new build. Sand the entire surface until it is smooth. Then, seal it with a food-grade sealer for concrete kitchen countertops. For bathroom or exterior concrete countertops, use several coats of any water-based concrete sealer.
A Word About Coloring Concrete Countertops
Even though basic cement is gray, there are two ways to change the color. The first is by adding in color during the mixing phase. There are several powdered dyes available, and you’ll find them in the same aisle as the bags of cement. The second way is by using special concrete stain after the concrete countertops are dry and ready to install. Concrete stain comes in a variety of colors and formulas. It is available in the paint aisle of the hardware store. Always follow the concrete stain with a proper sealer.
See post: Flawless Chaos|How to Make Your Own Concrete Countertop for a Bathroom Vanity
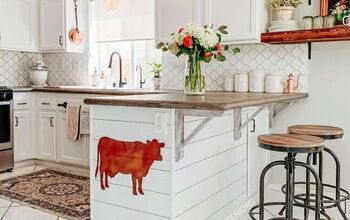
Whether you are going for the modern farmhouse look or a more industrial vibe, concrete countertops are attractive in a variety of locations including kitchens, bathrooms, and outdoor patios.
See post: HomeMade Modern|DIY Wine Bar With Concrete Countertop
The two ways of building DIY concrete countertops described in this how-to guide are both perfect weekend projects. The supplies are relatively inexpensive making concrete countertops the ideal solution for low-budget remodels. Refer to this handy how-to guide to learn to make your own, and be sure to browse Hometalk for additional concrete countertop tutorials!
Written for the Hometalk community by: Stacy | BlakeHillHouse
Enjoyed the project?
Comments
Join the conversation
-
 Oghiemoh Rowland
on Mar 28, 2020
Wow! This is amazing! Would like to have a private discussion with you. Can you email me @igwemohrowland1998@gmail.com. Thanks
-
-














Frequently asked questions
Have a question about this project?
Hoe do you do corners