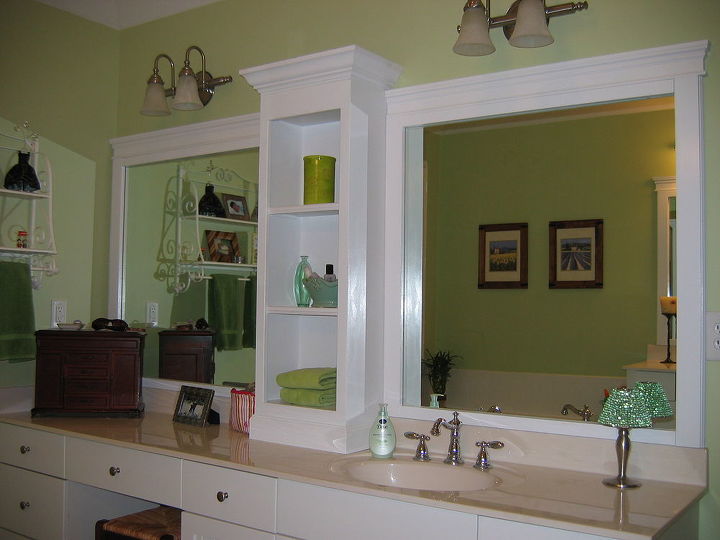
Revamp that large bathroom mirror

*Options I considered for this project:
We considered replacing the mirror altogether, but decided to go the less expensive route first and see how long it would buy us.
*Questions and unexpected events that arose during the project:
I didn't know how well the mirror was attached to the wall. I also didn't know how well my adhesive would adhere to the mirror and trim.
* Cost Comments:
1"x4" MDF (32 ft) - $20
1/2 birch plywd - $15
Trim (40 ft) - $20
Crown (3 ft) - $4.50
Lights - $60
*My motivation to do this project:
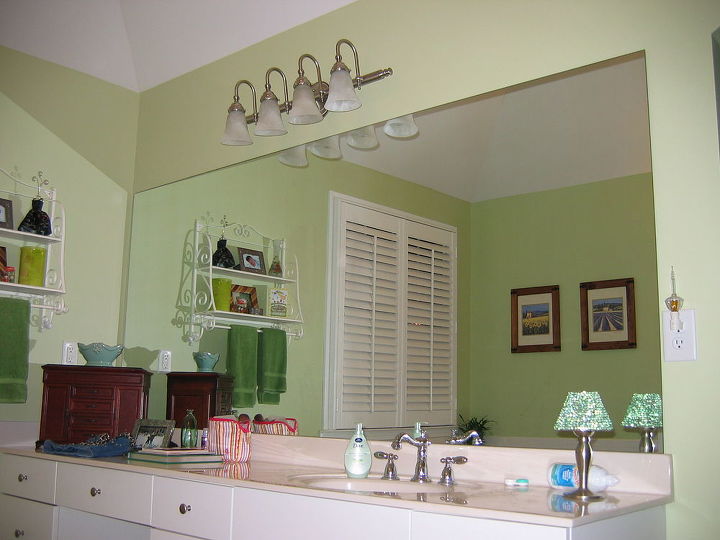
The mirror was large and an eye sore. We wanted something a little nicer.
*Project Steps:
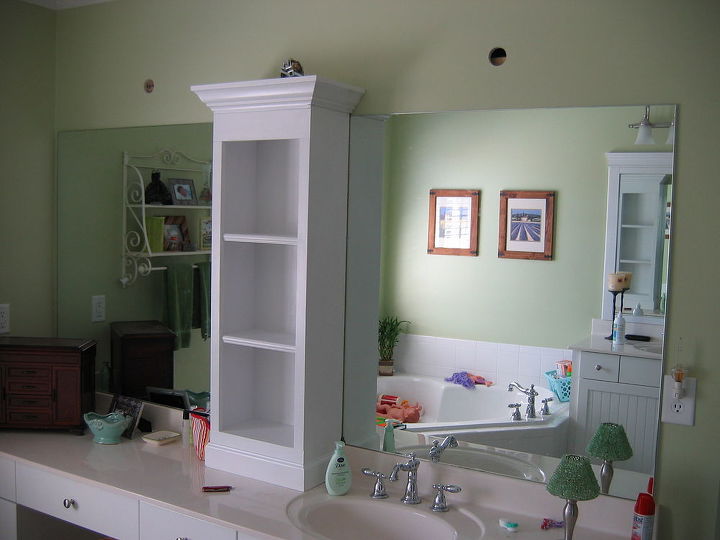
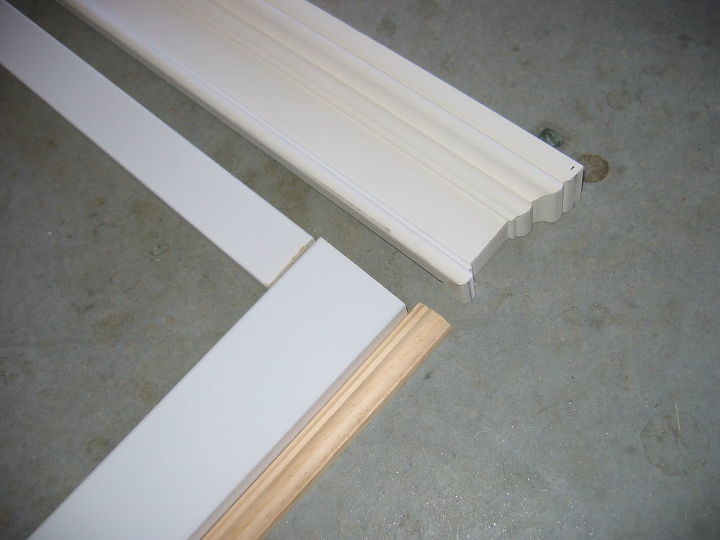
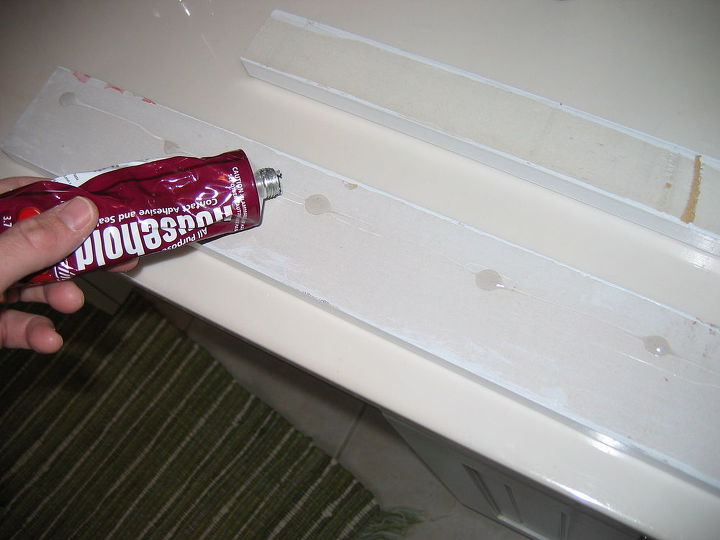
The first step was to replace the single light fixture with matching twin ones. I ran the wiring, secured the boxes and mounted the new lights. This was required due to the shelving unit. I then measured out the surface and determined the size of the shelving unit. Then I purchased the materials and started designing as I cut. The shelving unit was assembled and attached first. It was ~2 inches higher than the mirror and secured to a stud to help support the mirror against the wall. The trim and molding was measured, cut and secured using GOOP adhesive and tape to hold in place until it was dry.
Advice:
Don't assume the mirror is attached to the wall well enough to hold the additional weight. Make sure it is supported fully.
Do measure twice and cut once.
Materials:
Wood, MDF, Trim - $0.00
Light fixtures - $0.00
Enjoyed the project?
Comments
Join the conversation
-
 Cindy Welch Harden
on Jul 01, 2025
Beautiful! Thanks for sharing!
-
-
 Tam137015587
on Nov 05, 2025
I’ve never liked the look of builder grade solid mirrors. So I did my second bath with a nice boarder matching the cabinets and I loved how easy it was by using a simple miter saw and excellent glass glue. It was easier to caulk around the outside and inside for easy access to keep clean by using caulk in the matching color. Then I felt experienced enough to tackle master and added a simple cabinet down the middle like your photo shows. Again using matching caulk and glass glue. Eight years later it was still perfect and I sold the house within days. So well worth the simple fix to fix the mirrors without ripping out the destroying textured drywall. Also ordered some cabinets for above the toilet room for additional storage. New home builders are not putting in linen closets anymore. Why? I’ve asked them and it’s simply a cost saver. But where are you supposed to put your towels and everything else that you need to get going. Especially when you have kids?
-










Frequently asked questions
Have a question about this project?
Did anyone find the shelving unit and what kind of wood is used to frame the mirror?
Where did you purchase the shelving unit? Is it over 42” high?
I definitely want to try this project, but I am stumped with this one issue. Can you explain how you got the shelf to sit flush against the countertops since there is an obvious curve and not a 90 degree angle?