Dining Table

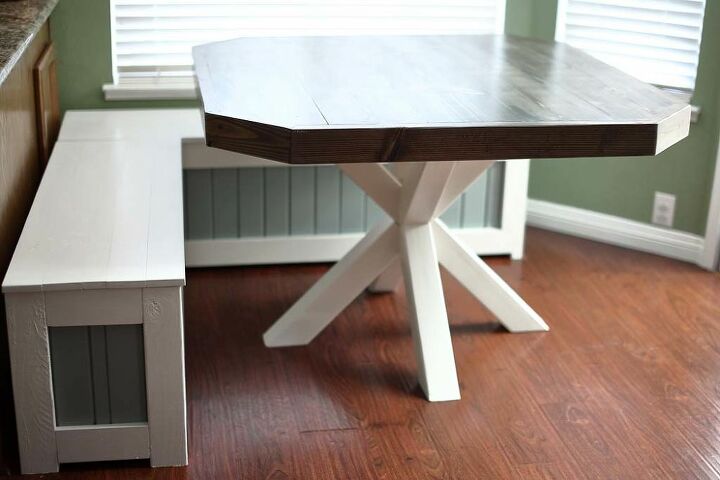
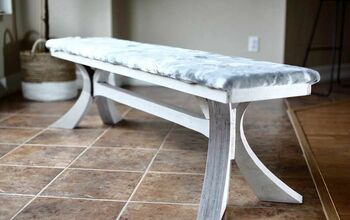
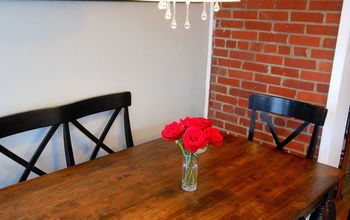
My wife’s parents had an old table for over 15 years; it was time for a new DIY dining table. This table turned out great. Also, it works well with the “ Corner Storage Bench”, because of its centered leg design. This way you won’t bump your legs every time you try to sit in the further corner. Also mom didn’t want sharp corners so grandkids wouldn’t hurt themselves. I came up with this design and I really like how it all worked out. Check out the plans and I hope you’ll enjoy building it for your own home.
Here were the dimensions for my table. These can be adapted depending on your space.
Here was the cut list I used. You can bring this into any Lowe's and they'll get you the pieces you need.
Step-1 Cut and Assemble Top
Take 1x10 boards and cut them to 48" long (x5). Two of the boards will have 45° cut on each side. Follow cut list dimensions. Then drill pocket holes as shown on the cut list. Assemble the top boards together using 1 1/4" Pocket hole screws.
Step-2 Assemble Sides of a Table Top
To cut the 2x4s around the perimeter of the table top accurately, each side would need to be measured before cutting. The 2x4s will need to be cut at 22.5°. The small 2x4s will have pocket holes for 1 1/4" screws to hold them together.
Step-3 Notch a Section in Both Legs
To build the legs, take 4x4 and cut it to 40 3/4" long at 45° on both sides (x2). Cut 1 3/4" deep and 3 1/2" wide notch in the center using a Miter Saw or a skill saw.
Step-4 Combine the Table Legs Together
Apply Wood Glue inside the notch cutout and slide one notch into the other to make an X. Use 2 1/2" Wood Screws to hold the X together.
Step-5 Cut and Dill Pocket Holes for Legs
Cut the remaining 4x4 to provided dimensions in the cut list. Drill two pocket holes on each side for 2 1/2" Screws.
Step-6 Attach All Legs Together
Draw a horizontal line in the center of the X. Find a flat surface to assemble legs so that legs will sit flat on the floor. Place the lower 4x4 legs at the horizontal line and attach it using 2 1/2" Pocket Hole Screws. Once the lower legs are attached, do the same thing with the upper 4x4 legs.
Step-7 Attach Legs to Table Top
Take 2x4 and cut it 46" long (x3). Attach one 2x4 using 2" wood screws in the center and the other two spaced out so that upper legs would land on these 2x4.
Step-8 Covering Pocket Holes
If you prefer to cover up the pocket holes, take 3/8" dowels and cut them into 2" long pieces. Dip the dowel into wood glue and hammer it inside the pocket hole.
Using a dovetail saw cut off the dowel leaving you with a flat surface.
Using a sander, sand around the dowel area to make it smooth. Paint and stain. You're done with the dining table.
Enjoyed the project?
Resources for this project:
See all materials
Comments
Join the conversation
-
-
 Pollyyy
on Feb 11, 2025
It sounds like you did an awesome job creating a DIY dining table that worked perfectly with the Corner Storage Bench! The centered leg design and rounded corners are a great touch, especially for safety with grandkids. Regarding your review, I’d recommend checking out Sklum's reviews on PissedConsumer https://sklum.pissedconsumer.com/review.html. It could give you some insights and help you make informed decisions when planning your next DIY project.
-












Frequently asked questions
Have a question about this project?