Painted Tile Floor

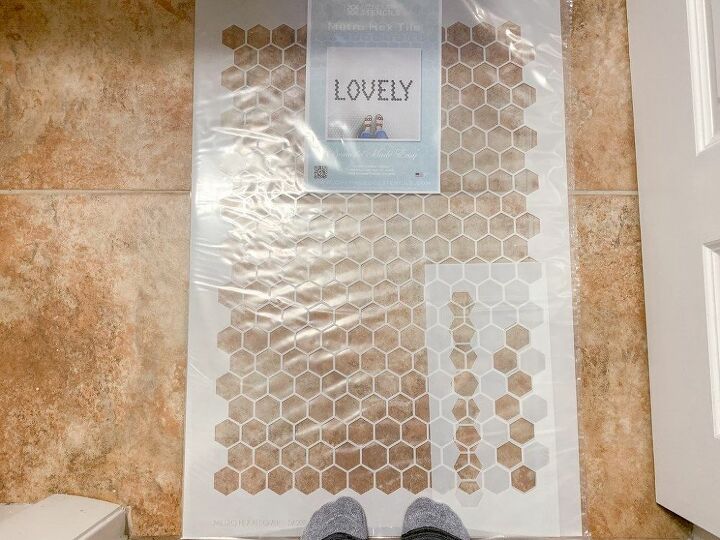
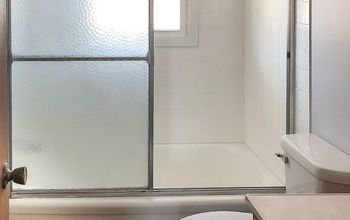
Start by cleaning the floor really well. I vacuumed and mopped and then got on my hands and knees and into the corners to make sure there was no remaining dust and debris. Once this was complete, the space was prepped with painters tape all along the edges of the baseboards, tub, toilet, and sides of the vanity. Check out a few before shots:
The tile was then primed with two coats of a white primer to help the paint adhere better. I first took a paintbrush and went along the walls and baseboard edges. I also used the paintbrush to get into the grout lines. Then I used a small foam roller to apply a thin coat of primer to the top. Again, two coats were applied in total. (You may notice that the vanity is a different color here than the before shots. I will post about that soon!)
After the primer was completely dried, I painted the tile with white acrylic paint (on hand from previous projects). I used the same technique as above and applied an additional two coats to get nice clean and even coverage.
The polyurethane goes on using the same process as the paint/primer and goes really fast! I applied 3 coats of a satin water-based polyurethane. It actually smoothed things out for me and added a light sheen that really pulled everything together. Once the polyurethane was on I was super happy with how great everything looked!
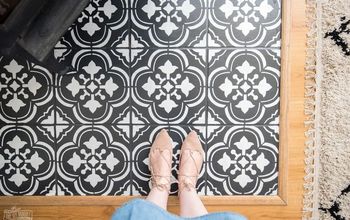
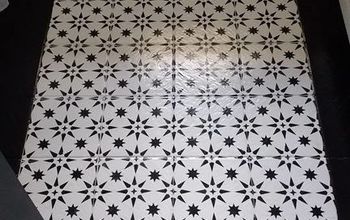
I had quite a few paint supplies on hand so the cost for me for this project was really just the cost of the primer and a few foam rollers. Given the transformation, I think the time I had to put in was totally worth it! It really transformed the space just using paint and I’m super happy with how it turned out. I also painted the vanity and I will do an additional post on that process very soon. This stenciled painted tile floor project may just be my favorite inexpensive DIY update to date! Check out all the incredible stencils at Cutting Edge Stencils! I promise you will not be disappointed!
Finished side by side picture. Isn't it an incredible transformation?!
Enjoyed the project?

Comments
Join the conversation
-
-
 Jenny
on Apr 21, 2024
Oh my goodness! You did an amazing job. I agree if you REALLY look you can see the old grout lines, but they fade out beside the new stencil so I wouldn’t worry about that. It’s strange because your stencilled floor almost looks like two colours (a trick of the light perhaps?). I LOVE what you’ve done and the before and after shots speak for themselves.
well done! You did a great job and transformed that vanity room!
great tutorial btw 😊👏👏👏👏
-











Frequently asked questions
Have a question about this project?
Why did you not fill in all the grout lines to make it level to the tiles? I could see the tile outlines in the second to last photos here. You did a great job and it certainly looks better than the Before photo! I have been searching every project like this on the web b/c my tan tiles look just like yours and I hate that floor in our guest bathroom... the one “everyone sees!” Going to search a little more.🙂 Enjoy your beautiful floor!
I want to know more about the vanity. Was a gel stain used? Please give details on vanity. Thanks
How long before it wears off, do you think.