DIY fix to hide damaged walls or paneling

by
Designs by BSB
(IC: professional)
If you don't want to invest in new drywall/sheetrock and having paneling, here is a straight forward DIY option if you dont mind a textured wall. Also a good option if you have a heavily damaged wall.
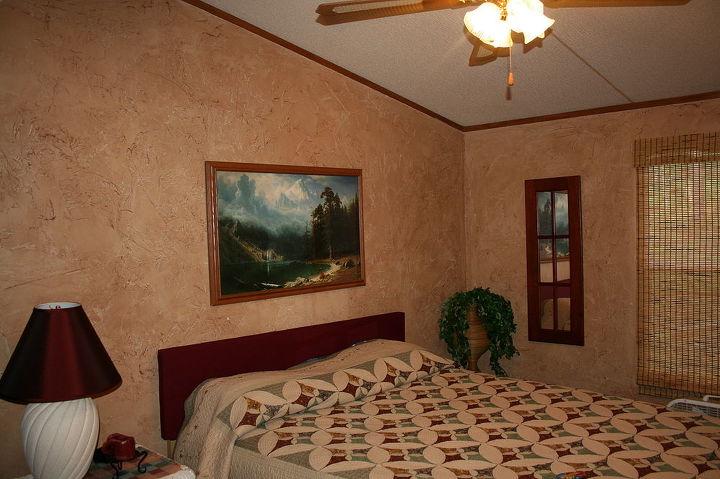
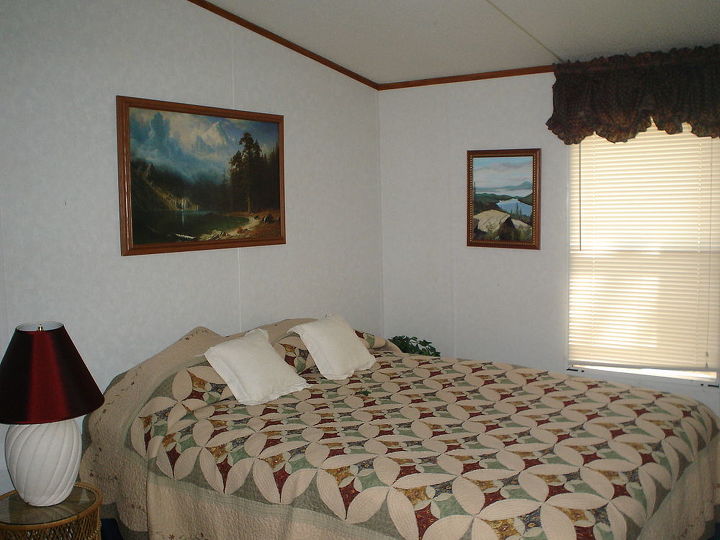
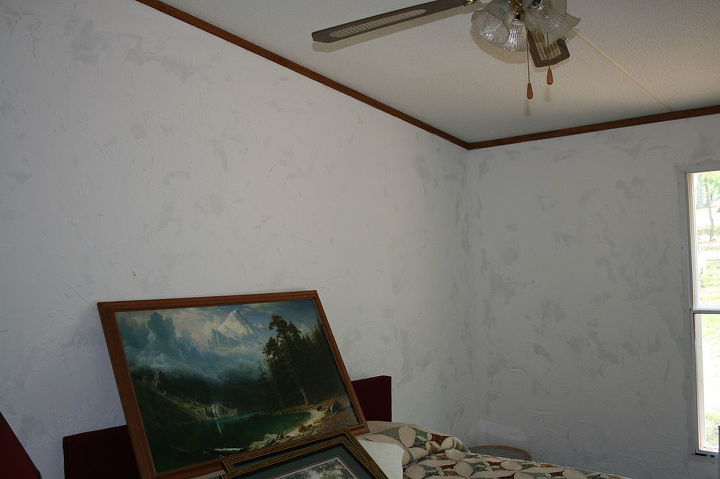
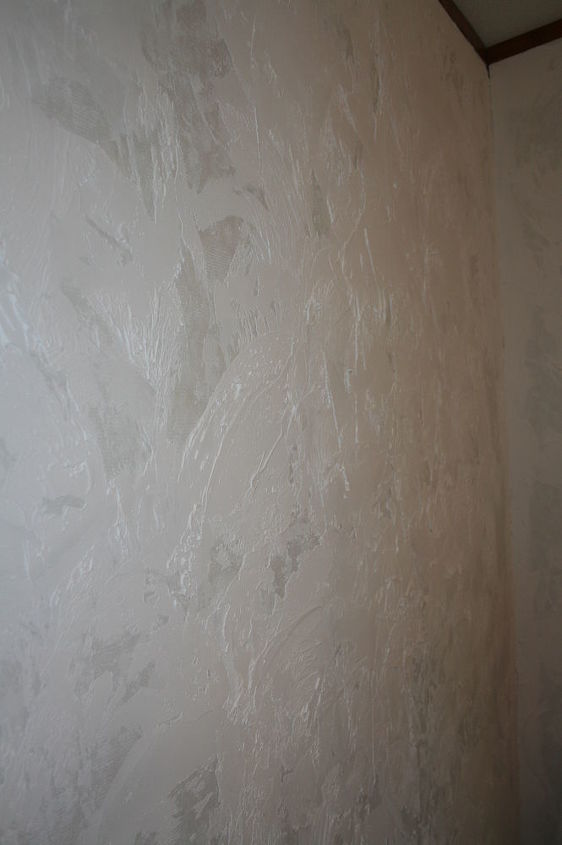
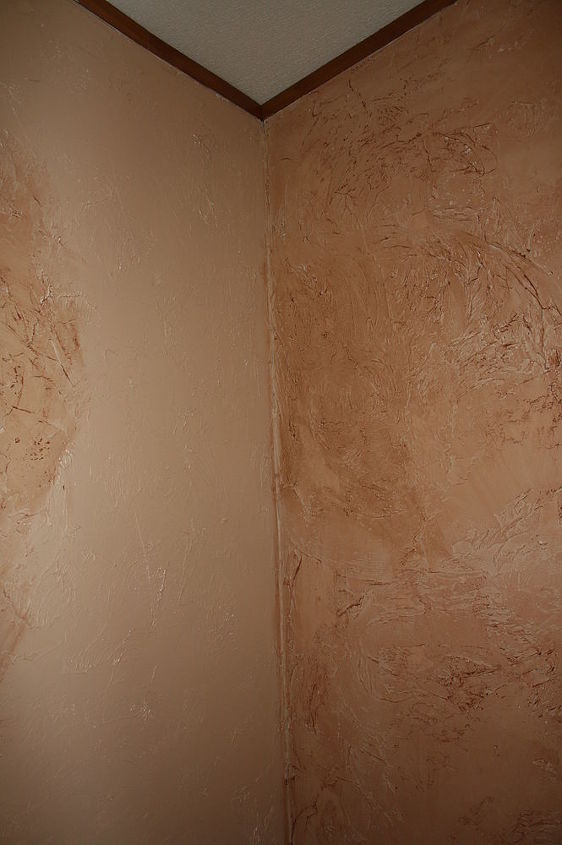
These photos are from our cottage on the lake .... I removed all of the molding that covered the seams of the wall board. Then with a bucket of ready made drywall mud and a 6" knife I applied it all over the walls. No need to be perfect and you can apply it as heavy as you want. I did fill the seams of the wall board first, then just started applying throughout the whole room - getting as close to the trim as possible to give a natural look. Give 24 hours to dry completely before painting!
Then paint (see staged photos). Then I applied a translucent glaze that I purchased at Lowe's. Finished product is kind of tuscan looking stucco! Affordable and easy .. and its a pretty good workout for your upper body! :)
Enjoyed the project?
Published June 6th, 2012 7:49 AM
Comments
Join the conversation
2 of 64 comments
-
This sounds easy enough. Can you add paint to the mud
 Lynda robinson
on Feb 17, 2016
-
-
When the hospital I work at was remodeling our cafeteria, they put up gray sheetrock to cover the wall of windows, which were moved about the room as construction and remodeling progressed. Everyone complained how dark and depressing it was without light coming in, and I asked if I could "decorate" different panels to brighten things up. I spent the next 3+ months, nearly every weekend, painting different scenes and pictures, whatever inspired me that week. The largest took up 4 panels, my version of Stonehenge, and the construction crew was careful to number the panels so when relocated, the scene maintained it's integrity. After construction was done, one of the crew cut out and framed all the art work, we sold them at auction and all the money was donated to the hospital's charity funds. Many years ago, and thank goodness my art skills have increased, it was a great experience and I got to meet lots of employees and visitors I would never have met otherwise, plus made some great new friends where I work! My favorite encounter was a father visiting, he walked by as I was painting a large tree frog in one corner, and said he "would have given his kids a whoopin' if they were caught doing that at home!" I smiled and said "Yep, me too, but I have permission here!"
 Debbie Shaw
on Feb 15, 2017
-









Frequently asked questions
Have a question about this project?
can this be done over textured wall paper