DIY Front Door Transformation

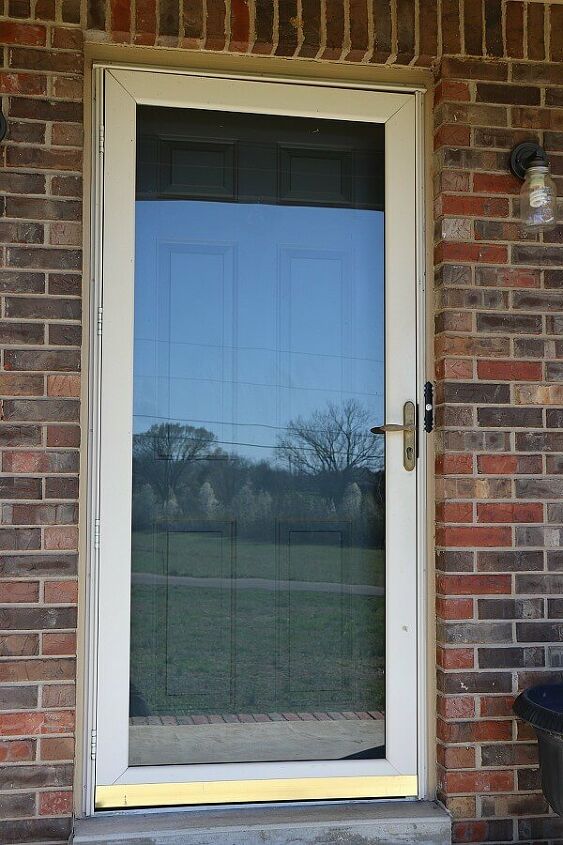
Do you live with an ugly dated door? Here is how we changed our entryway with this Glass Door insert and how you can easily change the look of your home in just a few hours!
Hometalk Recommends!
This is – by far – THE scariest DIY we have ever tackled. But I’m so happy with the results and wished I would have done this sooner.
BUT IT MEANT CUTTING A HOLE IN OUR FRONT DOOR.
Say what?
You heard me right.
Instead of spending thousands of dollars on a new door and a few hundred more having it installed, you can do this yourself for a fraction of the cost. So let’s start with where we began and what materials you’ll need for this DIY.
MATERIALS
Your existing door
Glass Insert (we ordered the Jacinto Glass insert from Zabitat)
Saw horses
Masking Tape
Tape Measure
Pencil
Drill (use a metal bit if your door is metal)
Jigsaw
Screwdriver
Ear and Eye Protection
Before you start – know that this is a 2 person job. If you’re the incredible hulk and can hoist heavy metal and glass doors on your own, then maybe you could do this alone, but if not – grab a buddy to help you.
We began by removing the door and setting it on sawhorses. Even though you won’t be cutting through the entire door, check to ensure your sawhorses won’t interfere with any cuts – just in case.
Measure your area and mark with a pencil. For our glass, we had to measure 23″ X 65″, but this measurement varies for the size of door and glass you use.
Tape off the area where you will cut – basically this prevents fraying and also helps to see the line to cut.
Flip the door over and repeat the taping process because you will be cutting both sides of the door.
Next, drill a pilot hole for your jigsaw. A jigsaw isn’t made for plunge cuts, so you’re creating a starter hole for your jigsaw blade.
Set your jigsaw blade to a 1 inch depth. Our jigsaw is a basic model that doesn’t allow for those adjustments. So we purchased a shorter metal blade that would do the trick. Use your jigsaw to cut through the door on your taped line.
Flip it over and repeat the cuts on the other side.
After you cut both sides of the door, remove the middle and set the door to the side.
Next, carefully place your glass insert on the sawhorses with the screw side frame facing up and unscrew and remove the top frame.
Place the door over the glass and reassemble the frame. Also, make sure the screw side is on the interior of the door.
Then you hang it back in place.
CRAZY, right?!
It already looks a million times better! Now all that needed to be done was painting it.
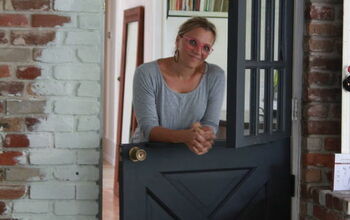
We painted the door a nice satin black.
Finally – no more dark and dreary entryway! This Front Door Makeover has not only changed the look of my house from the exterior, but brightened up my entryway as well.
So if you hate your front door, or are hesitant to take on this project, I’m here to tell you that you can do it! Don’t be afraid to find economical ways to create a home you love – even if it means doing something scary. It will be so worth it!
If you want details of our entire exterior makeover - you can see more details here:
http://notinggrace.com/how-to-limewash-a-brick-home/
Curious about cost-effective ways to boost your home's curb appeal?
Enjoyed the project?
Resources for this project:
See all materials
Comments
Join the conversation
-
-
 Cindy Welch Harden
on Jul 17, 2025
That looks amazing!
-









Frequently asked questions
Have a question about this project?
Hi, the link you provided for the door insert isn’t for your door. By chance, do you have another link?
Looks nice but the insert - it only mentions the glass - where did the iron grill come from?
Wooden door ?