DIY Cordless New Sew No Heat Roman Shade
It’s not often you find a DIY project that costs nearly nothing, but ends up making a swoon-worthy impact on your space. Double points if it adds function and meets a need! Our powder room has a window that gives a birds eye view to the neighbor. Not ideal when you’re trying to take a view moments to tend to some private business. Thankfully this project was super easy, super cheap, and super fast at taking care of the problem.
Before you start you will need to measure your window and determine what size blinds you need, and how much fabric.
Hometalk Recommends!
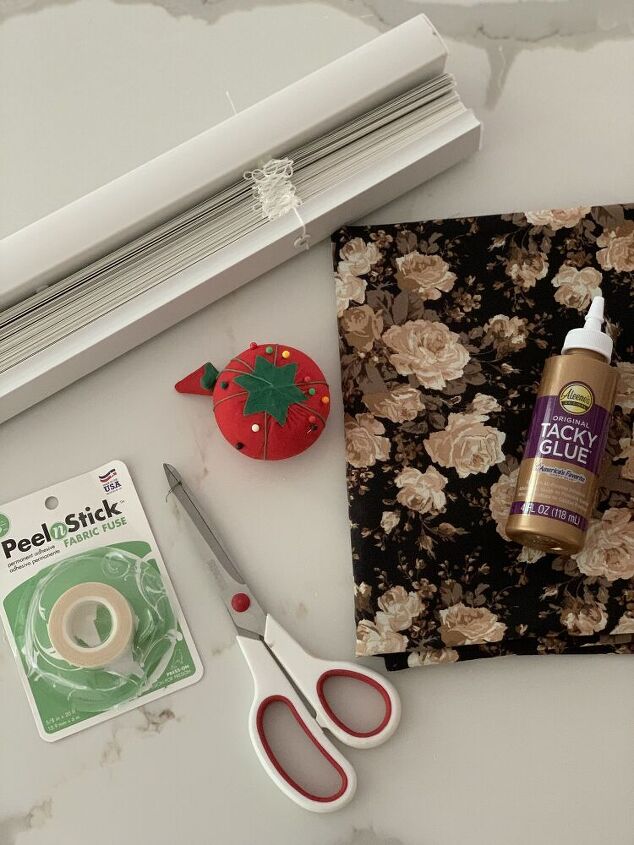
SUPPLIES
Create the Hem
Start by measuring your fabric out and folding back the hem so that it is just slightly wider than your blinds.
Iron the Hem
Iron the hem to keep the measurement marked.
Apply Peel & Stick Hem Tape
Apply your peel and stick hem tap along the hem line, peel off the back, and fold over the fabric to secure. I like to take my scissors and run the handle on top of the fabric to press the two side and the tape together well. You could also lightly run your iron over it to make sure it’s set, but it’s not required.
Create Gap for Shade Folds
Next you will want to determine how far apart you will want your shade gaps and then cut out the blinds between. I kept every 5th blind, and cut out the 4 before it. Be careful not to cut the strings. I found these ripped easily once you make the top cut.
You only need to cut out the gaps the length of your window.
Glue Fabric on Top Piece
Next, glue your fabric to the top piece front.
Then wrap the fabric over the top and glue in place.
Glue Fabric to Blinds
Then apply glue to the blinds, turn them over, and press onto the fabric to secure.
Glue Fabric to Bottom Piece
Lastly glue your fabric to the bottom piece to cover.
Let Dry
Let dry for an hour.
Done!
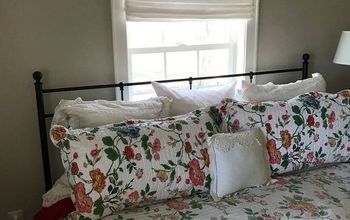
Hang according to the blinds installation instructions and enjoy your new beautiful shade!!
For more home inspiration and DIYs visit my blog The Barn Collective, and don't miss out on the play by play action on my Instagram!
Enjoyed the project?
Comments
Join the conversation
-
 Mar27738664
on Jul 18, 2023
Love it! If you just glue a white lining on the back, it won't fade.
-
-
 Mar127213645
on May 03, 2025
I had 2 blinds in the living room,that the cat played with.I did this to cover up those loose pieces.It worked beautifully,and looks way better than original blinds I also glued some light colored material to the back to help prevent fading✌🏽💕😊
-











Frequently asked questions
Have a question about this project?
What to do if you want blind to come down fr the top
Hi! I am just seeing this a year later and I love it! I saw some comments from people saying it would fade very quickly. I have vibrant vintage tea towels that I would like to use as the fabric. A year later- have they faded dramatically? How many times have you had to replace in that year? Thanks!
Why do you have a clear glass window in your bathroom?