Broken Patio Chair Rescue!!

by
Scarlett Butler
(IC: homeowner)
2 Materials
$20
2 Hours
Medium
After a long winter, the snow finally melted enough to assess the condition of the heavy wrought iron patio set that had remained outdoors.
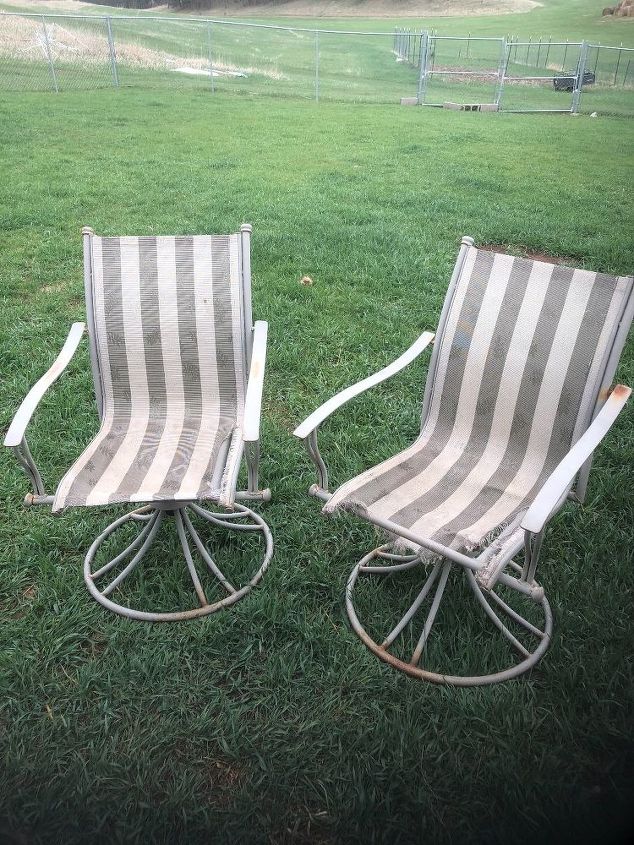
While the chairs looked okay from this distance ....
... a closer view revealed this, on both chairs — ripped vinyl. The interesting thing is that the vinyl material on the back was intact and strong. It was only the seats that were ruined. How do you repair half a chair??
After the torn vinyl was removed, this photo shows the chairs ready for repair. I was not sure where to begin, but I thought I’d touch up the wrought iron with some Winter Gray spray paint.
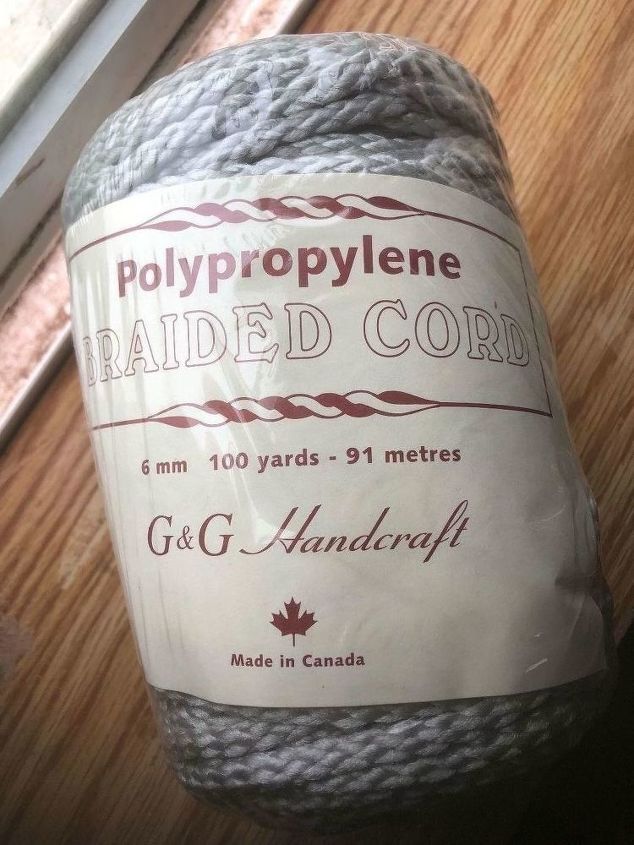
After checking in with fellow HomeTalkers, I found a video posted by a contributor that offered the perfect remedy for my broken half a chair (I’ll share her wonderful video below ... her instructions are fantastic). All I needed to begin was 100 yards of 6mm polypropylene cord and 2 #19 crochet hooks.
The first step of the repair was to tie the cord on to one of the side supports. Don’t worry about loose ends because you will end up melting them with a lighter. Notice on the picture how you stretch the cord across the seat and form a loop on the end.
Turn your loop to go over the side support. Be sure to go up over the top and curl the loop under.
Place one of your crochet hooks in the loop and secure it by pulling the cord tight. This will serve as a place holder while you do the same to the other side.
Here you can see the crochet hook threading through the same kind of loop on the left side of the chair. Pull tight around the crochet hook…
... and secure like we did on the right side. This truly is the hardest part. It’s a piece of cake from here. :)
From this point on, you will continue to stretch the cord across the chair frame, making loops just like before, over then under, but now you will catch the loop with the crochet hook, and pull it through the existing loop as shown above.
Repeat on the left side of the chair, looping the cord over then under, catching the loop with the crochet hook, and pull through. Be sure to pull tight and secure the hook each time.
When you have covered the entire seat, it will look something like this. Notice how the crochet hook stays secured the the whole time. When you reach the end, you cut the cord, leaving a 36” tail. Pull the tail through one side and then the other. The loose ends will be torched with a lighter and melted. Flambé :)
This photo shows how nice the weave looks up close.
Now you will repeat the process going the other direction. You can weave in different designs, but I decided to just use a simple over and under pattern.
Here is the woven seat all finished. It is strong and secure — ready for a new cushion.
Now all I have to do is go to Menards or Lowe’s and find that cushion that will coordinate with the stripes! Flowers maybe? :):)
As promised, here is the tutorial (with videos) that was posted by Wendy at myfrenchtwist.com who provided such great instructions!
Enjoyed the project?
Resources for this project:
Any price and availability information displayed on [relevant Amazon Site(s), as applicable] at the time of purchase will apply to the purchase of this product.
Hometalk may collect a small share of sales from the links on this page.More info
Published May 12th, 2018 9:22 AM
Comments
Join the conversation
2 of 33 comments
-
 Scarlett Butler
on Aug 04, 2020
The cord that I show in the tutorial is super comfy and not too pricey. It should work perfectly.
-
-
 Brenda Bolin-Sandage
on Jul 19, 2021
Hopefully
-














Frequently asked questions
Have a question about this project?
Did you truly use 100 yards of cord for just the bottom of one chair? I have 2 chairs and will do the bottom and back.
Lots of time on ratty chairs. How will. you keep the fabric from raveling? Most stores have them on sale now.
I just finished 1 of 5 chairs with the exception of tying off the final end. You mentioned burning the ends together. Do you literally put the two knotted ends together over a flame?