A Floating Deck for Your Pond

by
Patty Anderson
(IC: homeowner)
3 Materials
$150
1 Day
Medium
You know it's true.....no matter what you buy, you then must have accessories for your bought item! Whether it's indoors or out, a boat or a truck, the initial purchase must have accessories. Very well, then. If you decide to have a pond built, just remember, I told you so!
We lucked out, and found some enthusiastic young folk who had the machinery to build us a pond. And we said, yes, please!
These awesome folk started digging and pushing and leveling the dirt all around where we wanted to have our pond. Boys with toys, right?
More boys, more toys. Being the supervisor, I just sat back and enjoyed the view. Don't you just love the fresh smell of dirt? I do!!!! 

The guys put in the overflow pipes, packed the clay all about, and leveled the edges. It was time for some rain. We got a bit, and started planning for our "accessories"........
Accessories included "structure", the stuff that would protect small fry and other things from being eaten by the bigger fish we planned to put in our pond. I had to show you all this because you will see it in future photos, and will wonder, WTF? We placed these on the edges of the pond, so that when it filled up, you wouldn't see it. Please, not that awful orange and black stuff, thank you!
Doesn't everybody have a gator in their pond? Aw, come on, it's Texas, for pete's sake, there's gators everywhere! This one seems full at the moment.......
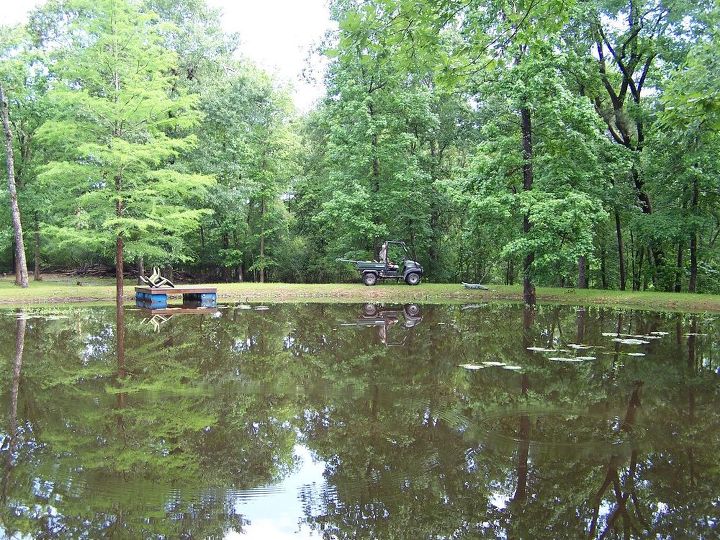
Here is what we wanted to build, a floating deck. Something we could stand on, place our chairs on, fish from, climb out on if we went swimming. And here's how we built it.......
We already had plastic barrels, so we bought some treated 2X8X12's, seven of them for framing, and 16 of the treated finished edged ones for the decking. The webbing came from bro-in-law, who got it from someone with an 18 wheeler. That webbing is awesome. Doesn't stretch. Thick. Might take forever to rot. Love the stuff!
We laid out the framing, and placed the middle beams about barrel wide. We screwed in the framework. We knew this was gonna be a heavy deck, but we needed a somewhat flat surface, so we built it up from the pond, trusting in gravity and pure stubborn ingenuity to get the deck into the water!
We placed a few deck pieces on the bottom (top) of the working area, so that when we attached the barrels, they wouldn't bulge above the decking. Trust me, I learned much the hard way! We then screwed in the inner supports to frame the barrels, and have one more support in the middle.
With a couple of deck pieces keeping the barrels in place, I started strapping the barrels with the webbing, using stainless steel screws with plastic collars.
I cut the straps, burnt the edges, and made sure they fit on each barrel. We learned (again, the hard way) that we would have to take the barrels off, and finish the deck , then re-attach the barrels. Fun never ends! Arugh!
Here's what the deck looks like with the barrels attached. We wanted to flip it over and add the deck wood, but this sucker was HEAVY, and somehow in this world there is a protocol of doing things, so I took off the barrels to complete the deck.
(Whine!) This is taking forever! Got my screws all lined up, and I expect you all to help me lug this monstrosity down to the water!!!!!
There! Deck is screwed in, and the barrels re-attached. Now to shove this monster down to the pond!!!!!
She floats!!! Yea! We learned one has to make sure the bung holes on the barrels are above water, and it doesn't hurt to seal them with plummers putty or silicone. The rains filled up the pond, and we added chairs to the deck. If'n you all get a pond built, may you all have a floating deck to enjoy, also!!!!
Enjoyed the project?
Suggested materials:
- Seven treated 2X8X12's (from Lowes)
- 16 treated 1 1/2 X 7 1/4 X12 deck wood (from Lowes)
- Barrels and webbing, screws and collars (free)
Published August 3rd, 2017 9:17 PM
Comments
Join the conversation
7 of 50 comments
-
 Jjf9789637
on Aug 17, 2017
AWESOME!!!!
-
Thank you! :)
 Patty Anderson
on Aug 17, 2017
-
-
-
 Angel Moyer-Hannold
on Aug 24, 2017
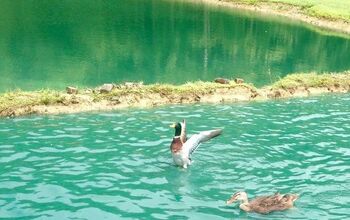
So excited to see your pond post! I have been wracking my brain to find a way to DIY my own deck! Thank you Thank you! From one dirt lovin gal to another! by the way here is a pic of our man made pond here at The Sloppy Duck Farm!
- See 3 previous
-
Wow! They need a "love" icon for your photo! I love the color of your alls water! We have the tea or coffee colored water from all the tannic acid of the hardwoods. If'n you have four barrels, make a deck! or, like one of the folk out there thought, perhaps a pier, you know, two posts sunk in the ground at the waters edge, and lengths of 2 X 6's with 4 foot decking (the walkway) supported with a barrel at each end, tied to those posts. Shoot, you could make a really long pier, since these barrels hold up a lot of weight.....hmmmm, sounds like another project.....whatever you do, post it! I'd love to see!
 Patty Anderson
on Aug 24, 2017
-
Patty you can have beautiful water too! Head over to tractor supply I know you have to have one of those around right ? Buy a packet of pond dyefor $9.99 throw it in your pond in 20 minutes you'll have beautiful water! I love your floating deck due to the fact I believe the ducks will get on it if it is floating in the middle of the pond! It would be a perfect getaway for them when those hungry snappers ( 🐢) Start to bother them !
 Angel Moyer-Hannold
on Aug 24, 2017
-
Shoot fire yes we have a TSC! I'll just do that! Thank you!!!!! Gads, snappers, huh? I've watched wildlife flock to this pond, (build it and they will come, right?) including water snakes (no mocs, yet...) froggies and red eared turtles (where did you all come from, really...) but I might have an issue with a snapper, although they're kinda cute when they're small......
 Patty Anderson
on Aug 24, 2017
-
We found if we keep the vegetation down ( cat tails and such) the creepy crawlers ( water mocs) stay away. When we moved in the pond had been neglected for several years and was home to 10 huge snappers and mocs that were full of live babies! I will never forget when my three-year-old grandson said "Nana there's a snake at the pond " after walking the perimeter with his mom. I instantly turned into superwoman and with a hoe in hand as my super weapon that six-foot water moccasin met his demise. Right then and there he was convinced I was the bravest Nana in the world! At any rate after you dye your pond it will be easier to see any of the potential dangers in the water. Also predators that might want to eat your froggy's and fish from the air will not be able to see so clearly! We've also had a real problem with hawks and heron so the dye has been helpful in that area too! Although we still have a snapper or two, they pretty much stay to themselves and don't pose a problem. I think they realize that superwoman lives here and they best behave themselves!
 Angel Moyer-Hannold
on Aug 25, 2017
-










Frequently asked questions
Have a question about this project?
The barrels are open at one end? Where can you get them? Could you make a dock this way? Seems like it.
Beautiful pond! About the gator, is it real? If so, you want it in your pond? I live in South Louisiana and we have more gators than people. At least gators are predictable. Enjoy your pond!
What was the end measurements? This would be a perfect addition to my back yard and movable.