How to Rust Metal in 1 Hr 15 Minutes!

A couple years ago I posted my barn redo on HT. Since then, the frustrated mare kicked in the cheap (30 gauge) galvanized corrugated metal so it was time to replace. This time I switched to a heavier 22 gauge corrugated. It is cold steel which rusts.
I've rusted metal before for desirable effects. Letting nature age it slowly or expediting the patina by treating it first.
Here's how I did it this time around. I'll also show you how some of the older rusted-metal pieces are holding up.
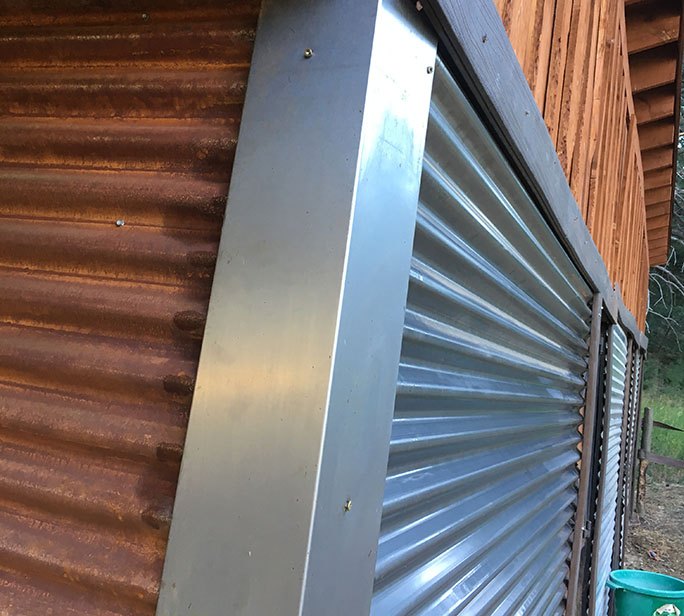
Here's where we start. New metal in place next to a section I tested my rusting materials and technique on a few days before.
Materials:
Degreaser like Formula 409 (with grease-cutting formula) and cloth or sponge
Salt, vinegar and hydrogen peroxide
Gloves -- I love these so much I'll tell you how to get them cheap!
STEP 1. Spray and wipe surface to clean off oil and fingerprints.
A quick spray and wipe should work fine. You can go over this later if you feel your work is uneven.
STEP 2. Mix 16 ounces of Hydrogen peroxide with 2 tbs salt and a splash of vinegar, 1-2 ounces. I used a sprayer on hydrogen peroxide bottle as shown in materials photo and step below.
Spray mixture on. You may blot excessive drips with a cloth, then respray lightly.
I used less vinegar than some recipes call for due to the fact that I was trying to get this done early (6:30 a.m) before yellowjackets became active. Some DIYers recommend a full prep wash in vinegar (spray and sponge) which I did not want to do because vinegar attracts these wasps and I got stung twice earlier in the week. Luckily I found the vinegar prep-wash to be OPTIONAL and that you can get a fine result using less.
----------------------------------------------------------------------------------
YELLOWJACKET TIP: Douse yourself with peppermint oil and keep a saturated cottonball or kleenex in your pocket to keep yellowjackets away from you.
I ALSO ADDED a couple drops of peppermint oil into my hydrogen salt vinegar mix to deter the wasps from going into the cracks of my metal cladding.
I'll add the best place I found to get this handy oil at a great price in the materials list too.
I also sprayed my black iron rails at the same time.
See how the rust is already appearing in the second rail?
COMPARISON SHOT:
Upper left corner a few days old, full patina
lower left corner in progress after 5-25 minutes
right hand side fresh metal
Rusting will begin very quickly. You can spray over areas that did not appear to take evenly. Blot with your rag and spray again.
NOTE: You can see that the highest part on my corner trim is taking slowly--due to the fact that I did not want to get on a ladder to clean it properly with the 409 rag in the first step. hmmmmmm, grrrrrrr, do-over!
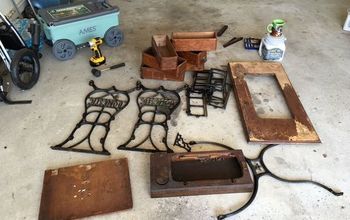
Left is a bench I made recycling old deck boards, travertine tiles and a bent sheet of rusted sheet metal.
Right is a nature sculpture from a burled stump, rocks and rusted metal There's a post on it in my profile from a few years ago.
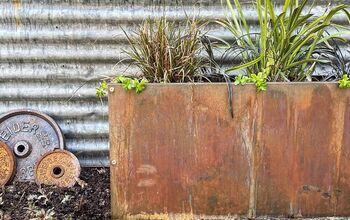
In these cases the metal has naturally aged over many years
Top is how I used rusted sheet metal for fascia trim and bent black-metal pipe for deck rails. Fascia aged using vinegar and salt prior to installation
Bottom Pup compares curved metal details that were naturally aged over several years.
You can see posts on Hometalk in my profile for these projects too.
While I had my bottle handy, I touched up these details and deepened the patina.
I'll give the barn project a little time to age then post the pic so you can see how it turned out.
Enjoyed the project?
Resources for this project:
See all materialsComments
Join the conversation
-
 Susie Harrelson
on Feb 12, 2021
 I wish that I'd found you before... Ty for showing me how to go about 'rusting ' new sheet metal ! I live on a 65 acre farm in central N.C. I recently lost my ' lean to ' put up in 2002-2003 , the original building it was attached to is still standing ! Anyway, I need that 'storage space' back ! ! I brought in what I could/ had to and now I have a PATH running through my house , lol ! Actually Not Funny .🤔🙄🤨❗❗....I hope to learn much more from you ! ( BTW , I'm sorry that you lost your house to fire ! I see some of your new house in these pictures ! It sounds as if you possibly have a helper for the heavy stuff ! 😲😊👏👏☀️💚✌
.
-
-
 Susie Harrelson
on Feb 12, 2021
ABSOLUTELY ‼🙂
-












Frequently asked questions
Have a question about this project?
Do you get your gloves on Amazon? I would like to try this, it is really beautiful!
How to put stone on a screened in porch only on the bottom where the vinyl is do you use some kind of backing board so they stick with what makes them stick nothing on the inside walls just porch...Only about 4 feet from the bottom...thanks 9-8-19
what was the source for the peppermint oil?