How to Decorate Storage Cubes | Personalized Container Ideas

If you're eager to spruce up your storage containers and inject a touch of personality into them, then today’s projects are for you!
Storage cubes are incredibly versatile pieces, not only do they provide ample storage space for a variety of items, but they also serve as blank canvases waiting to be personalized to match your decor.
In this guide, I'll introduce you to two easy and creative ways to breathe new life into your storage cubes, turning them from mundane containers into exciting decor elements.
This post was transcribed by a member of the Hometalk editorial team from the original HometalkTV episode.
Hometalk Recommends!
Tools and Materials:
- Storage Cubes
- Wood stir sticks
- Stain
- Glue
- Pom-pom maker
- Yarn
- Placemat
Hometalk may receive a small affiliate commission from purchases made via Amazon links in this article but at no cost to you.
Grab your supplies and let’s get this DIY started!
Wood Front Storage Cube
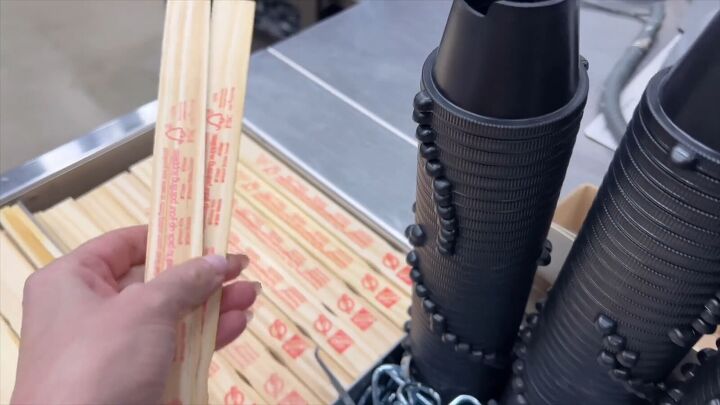
1. Measure and Cut Paint Stir Sticks
Measure the width of your storage cube and transfer this measurement onto the paint stir sticks.
Score the measurement line with a utility knife and snap off the ends.
Sand the cut edges for a smooth finish
2. Stain the Paint Stir Sticks
Using a clean cloth, apply wood stain to the top and sides of each paint stick. Apply one to three coats depending on your desired stain color depth. Allow the sticks to dry completely.
3. Attach Paint Stir Sticks to Storage Cube
Arrange the paint sticks on the side of an open storage cube, excluding the side with grommet handles.
Use a hot glue gun to attach the sticks to the cube panel, creating a beautiful wood panel front.
4. Display
Fill your cube up and place it on your shelf.
Pom-Pom Storage Cube
1. Prepare the Fabric Placemat
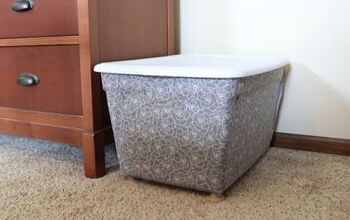
Grab yourself a fabric storage bin.
Take a fabric placemat, preferably one with a design or texture that complements your decor. Flip it over to the backside to prepare for tracing.
2. Trace and Cut
Remove the insert from your storage cube.
Using the storage cube insert as a guide, trace around it onto the backside of the fabric placemat using a pencil or marker.
Once traced, carefully cut out the fabric square from the placemat using sharp scissors.
3. Glue the Placemat
With the storage cube open, apply hot glue to one side of the cube.
Press the fabric square onto the glued area, ensuring it is centered and securely attached to the side of the cube.
Repeat this step for each side of the cube you wish to decorate with fabric.
4. Make a Pom-Pom
Next, gather your favorite yarn and a pom-pom maker kit. Follow the instructions provided with the kit to create a pom-pom, making sure to leave the tails of the pom-pom long and intact.
5. Attach the Pom-Pom Knob
Using a large needle or upholstery needle, thread one tail of the pom-pom through the upper center of the fabric square on the storage cube.
Pull the needle through until the pom-pom is snug against the fabric on the outside of the cube. Remove the needle, allowing the tail to hang inside the cube.
6. Secure the Pom-Pom
Thread the second tail of the pom-pom with the same needle, inserting it near where the first tail was pulled through.
Knot the two tails together securely on the inside of the storage cube, ensuring the pom-pom knob is firmly attached.
7. Enjoy Your Updated Storage Cube
Once the pom-pom knob is securely attached, your whimsical yet practical storage cube makeover is complete!
Now you can store anything you like in this charming and personalized storage cube, adding a touch of personality to your home decor.
More Decorative Bins
How to Decorate Storage Cubes
Now that you've discovered these fun and budget-friendly cube storage ideas, it's time to put them into action!
With just a few supplies and a bit of creativity, you can turn plain dollar tree storage cubes into personalized decor pieces that reflect your unique style.
We can't wait to see how you make these projects your own – be sure to share your creations in the comments!
Enjoyed the project?

Comments
Join the conversation
-
Very clever and cute!! I also use storage cubes. Super handy for us crafters!
 PaperCutPlace
on Feb 13, 2024
-
-
What a neat idea! Is that a ruler you have on those stir sticks? If not, putting a wooden ruler as the top piece would be handy for crafters with string, ribbons or anything that you might need to measure out. I LOVE this idea! I'm even thing about a way to cover the grommet sides as well, like running a loop of burlap or cloth tarp material through each grommet for a looped handle on top, then completely cover over your grommet holes with your wood. You're so right, Papercut! I use several for crafts, but I have them placed casually everywhere, and holding shoes, clothing, cleaning supplies, candles, computer cords, old CD's and games, camera equipment, you name it! I slide them into book shelves, under benches and tables. Pick a location, I probably have a cloth bin (or wicker basket) 'hidden' in plain site somewhere there! I never realized how many I have until now!
 Terry Craig
on May 22, 2024
-










Frequently asked questions
Have a question about this project?