


How to Organize a Pantry Cabinet With a Creative DIY Hack

A Quick Fix for Small Pantry Cabinets That Works
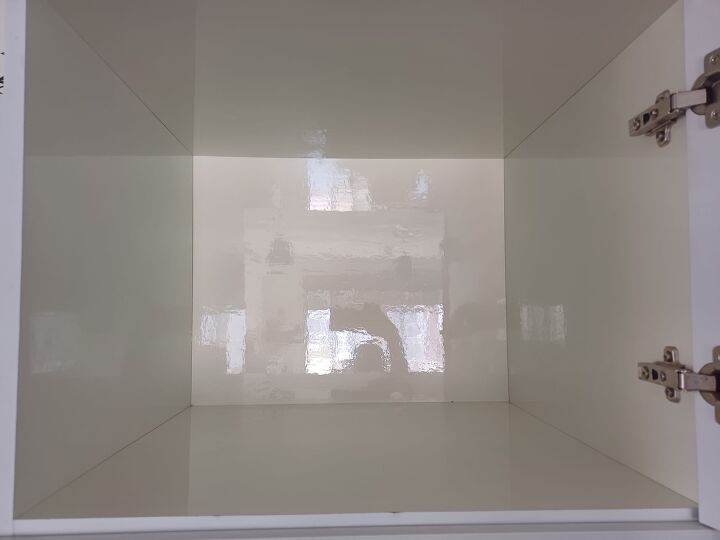
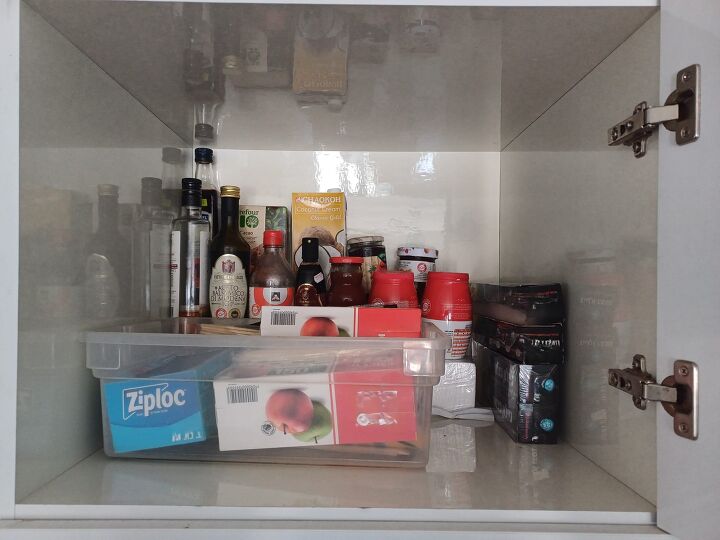
Raise your hand if your pantry cabinet is a disaster. Mine? It was a total mess—overflowing bottles, random rolls of foil, and those elusive spice jars always hiding in the back. And don’t even get me started on the upper cabinet! It was basically a dumping ground for all the things I didn’t know where else to put. Sound familiar?
Instead of just complaining about it (again), I decided to tackle the chaos head-on. I had an unused upper kitchen cabinet, some leftover polystyrene blocks, a roll of plastic wrap, and a spark of inspiration. What if I could make a quick, cheap, and super simple tiered tray to organize it all? Spoiler: it worked!
This little DIY project transformed my little cabinet into a beautifully organized space where everything is easy to see and grab.
If you’re ready to say goodbye to pantry cabinet chaos, keep reading—I’ll show you exactly how I did it!
Tools and Materials
- Polystyrene blocks (the kind you find at craft stores)
- Plastic wrap
- Double-sided dots
Hometalk may receive a small affiliate commission from purchases made via Amazon links in this article but at no cost to you.
1. Gather Your Materials
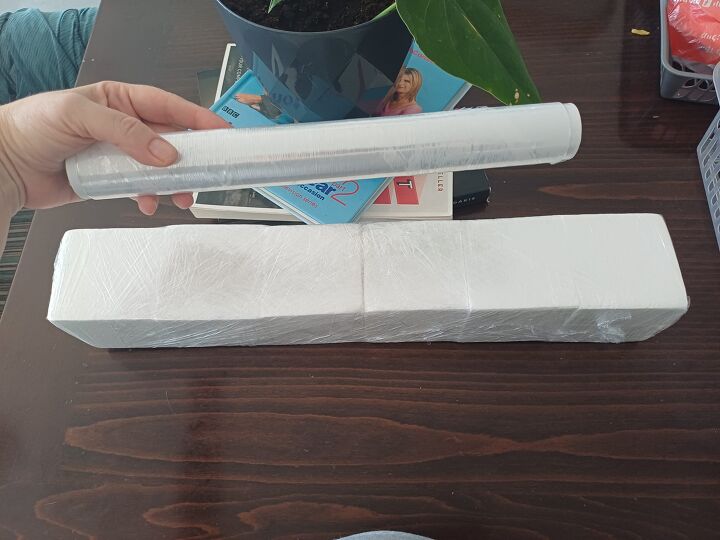
First things first—grab your polystyrene blocks.
I happened to have a stash from a previous craft project (hello, hoarder tendencies), but you can snag these at any craft store.
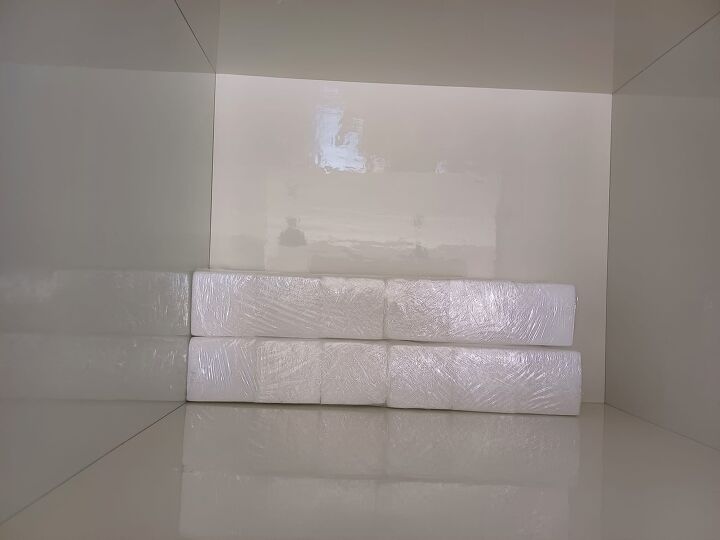
2. Build Your Base
Take two packs of the polystyrene blocks and wrap them together with plastic wrap. Don’t bother unwrapping the original packaging—I sure didn’t!
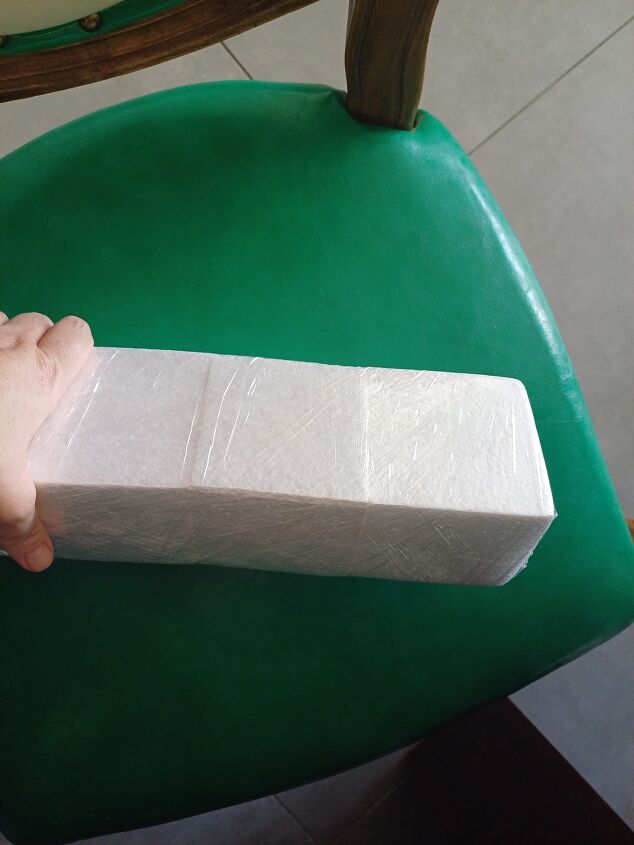
Just stack and wrap until they’re snug.
Repeat this process until you have three sets of blocks.
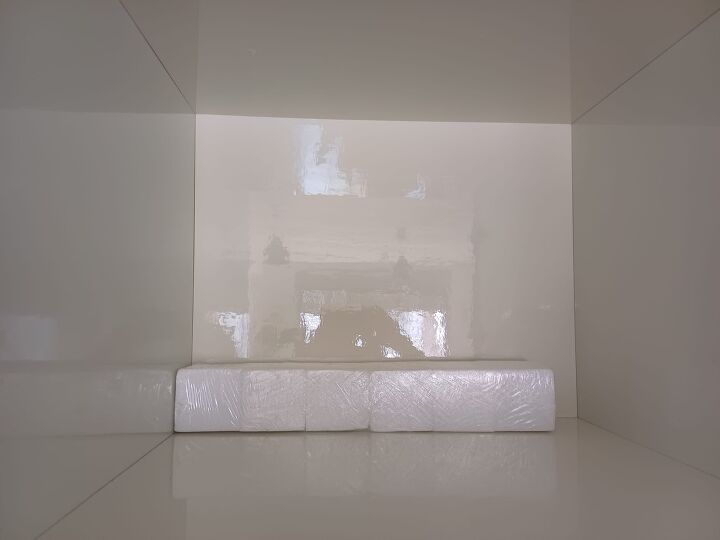
3. Secure the Base in Your Cabinet
Place one set of wrapped blocks at the back of your cabinet and stick it down using double-sided tape. This keeps the blocks in place.
Then, stack the second set directly on top and tape it down, too.
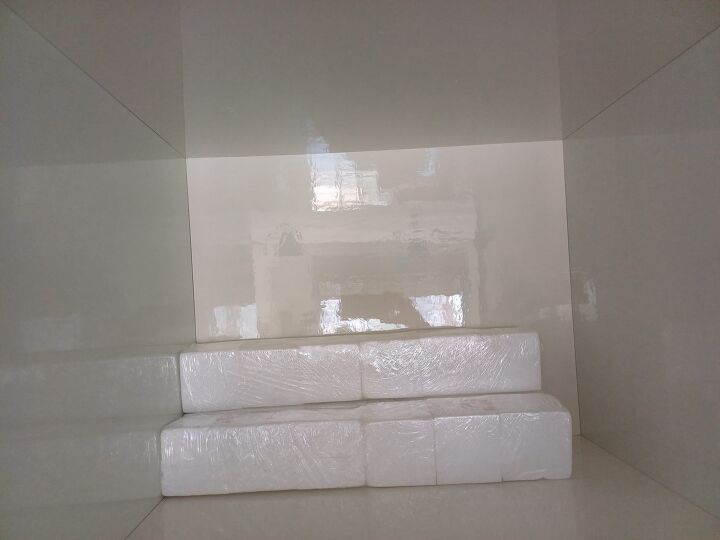
Finally, add the third set in front to complete the tiered look.
4. Organize Your Pantry Items
Now for the fun part—organizing!
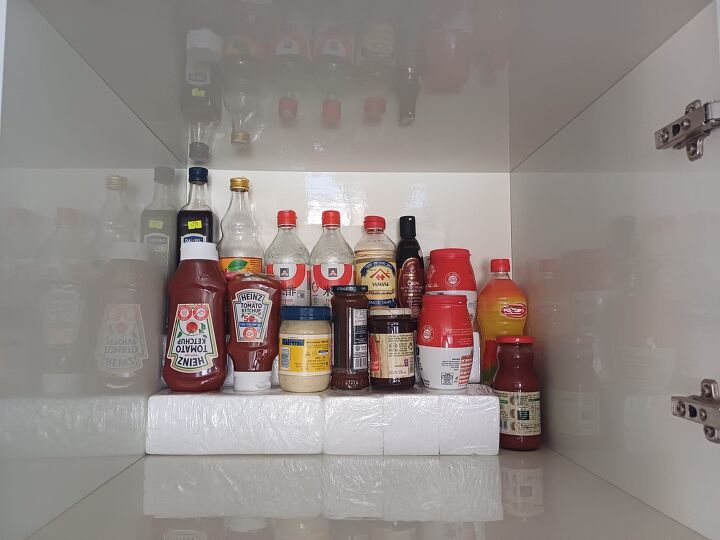
Start by placing your extra bottles and pantry items on the tiered trays.
The elevated tiers make everything easy to see and grab.
Use the space on the side for foil and plastic wrap boxes, and add a flat basket at the front for items like plastic bags, napkins, and ziplock bags.
Easy DIY Pantry Ideas
Transform Your Pantry Cabinet Chaos
There you have it! With just a few craft blocks and some tape, I turned an underused cabinet into a functional storage solution.
Not only can I see everything I need at a glance, but I’ve also gained some serious pantry pride (who knew that was a thing?).
Comments
Join the conversation
-
Excellent!
-
A less expensive and more eco-friendly version of the expandable hard plastic two-tiered shelf I use in my spices and sauces cabinet above and to the right of my stove. I probably had some suitable pieces of styrofoam in my reuse bin when I bought the shelf. The idea really works and keeps things handy and front of mind.


Frequently asked questions
Have a question about this project?
CONTINUE...in the back of lower cabinet to take up space so items do not get pushed in the back beyond reach.....Would chemicals in the styrofoam be a concern since they are double wrapped? But, thank you for the possible problem.