Adding Built Ins Around Our Fireplace

We redid our existing fireplace with new tile and floating mantle, then installed built ins around our fireplace to add functional storage and display space to our living room. We saved around $5,000 by doing this ourselves. Amazing!! FInd out how much we spent instead on the blog post: adding built ins around our fireplace.
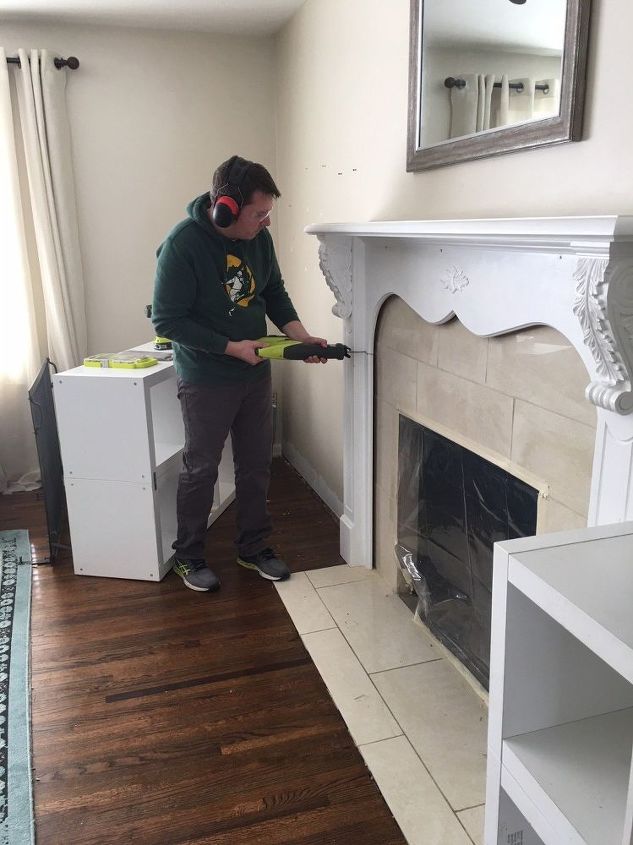
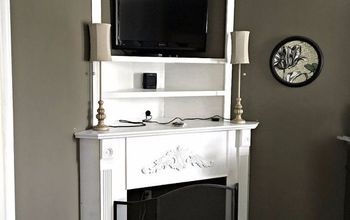
First, we demoed the existing fireplace. See those cubby shelves? That was our only storage before this project. What an upgrade these built ins provided!
We installed new cement board and moved on to tiling our fireplace.
With the tile and shiplap up, we installed support for the floating mantle.
Next, we moved onto the built ins. We added a base support for our cabinets to sit on.
The countertops went on the cabinets, then we moved on to the bookshelves.
First, the vertical sides of the shelving were screwed into a 2x4 support on the ceiling. We used painters tape to visualize where the horizontal shelves would go.
Next, we moved onto installing the horizontal shelves, and sanded, painted and touched up the shelves with white paint.
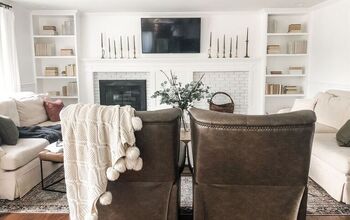
Last but not least, we installed the trim and mantle, and decorated! What a difference! Best of all, the storage is FUNCTIONAL for our young family! IF you love this project, pin it to your DIY board to read again later.
Enjoyed the project?
Resources for this project:
See all materials











Frequently asked questions
Have a question about this project?
I can't believe you took out that beautiful surround/mantle...did you at least salvage it, or did you simply cut it up and throw it in the trash?
Did you use stock cabinets and, if so could you please tell me what type of wood was used for the top? It looks lovely and we can all use additional storage!
Thank you, Debbie
How did you secured the counter top to the cabinets?