Ceiling Fan Ideas: How to Upgrade and Repaint Your Fan

Is your old ceiling fan in need of a refresh? Let's explore a budget-friendly ceiling fan idea to give it a new lease on life.
Before we dive in, remember to turn off the power supply to ensure safety.
This post was transcribed by a member of the Hometalk editorial team from the original HometalkTV episode.
Tools and Materials:
- Screwdriver
- Brush
- All-purpose cleaning solution
- Painter's tape
- Spray paint
- Jute twine
- Contact paper with wood grain pattern
- Wide jute ribbon
- Hot glue gun
Hometalk may receive a small affiliate commission from purchases made via Amazon links in this article but at no cost to you.
1. Disassemble and Clean
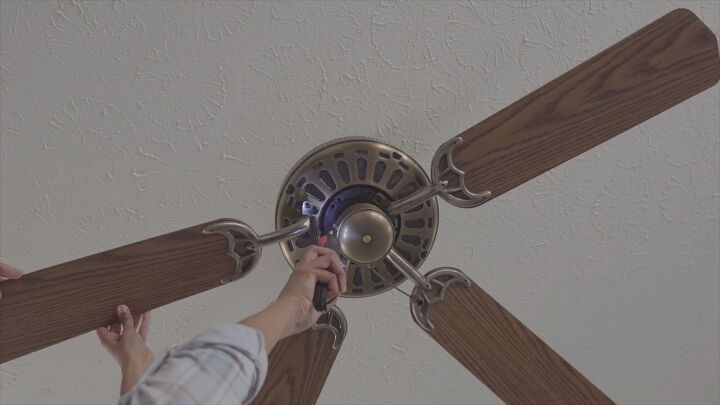
Grab a screwdriver and begin by removing the fan blades followed by the housing.
Take off the blade arms, housing cover, and any mesh inside for cleaning.
Once disassembled, clean the fan thoroughly.
Begin by removing dust, you can use a paintbrush for this step to make sure you get into all the nooks and crannies.
Wipe all the parts down with an all-purpose cleaning solution to remove any remaining dirt.
The hardware can sit in a bath of soapy water. Again a paintbrush is a helpful tool to shine up the pieces.
2. Prep for Repainting
Before painting, tape off any areas you don't want to be painted.
Now, it's time to bring out the paint.
I opted for Rustoleum white matte finish primer and paint to refinish all the parts.
Apply multiple thin and even coats for the best results.
3. Add Character with Wrapping
Get ready to add character with jute twine wrapped around the blade arms. Measure and cut jute twine to the desired length for each blade arm.
Securely fasten the twine in place with hot glue or adhesive.
Wrap the twine evenly around each blade arm for a uniform look. Experiment with different wrapping techniques for a personalized touch.
Jute twine adds texture and interest to your ceiling fan makeover.
4. Cover with Contact Paper
Add a touch of rustic charm with wood grain contact paper on the blades.
Place your fan blades on the contact paper and measure them to size
Carefully apply the contact paper to each fan blade.
Leave the edges exposed for a unique and rustic look.
Trim any excess paper to fit the size and shape of each blade.
Smooth out any air bubbles or wrinkles for a seamless finish.
5. Finishing Touches
Complete the makeover by adding some final touches.
Use a wide jute ribbon to match the woodgrain shade and apply it around the sides of the housing using hot glue.
For extra detail, tightly wrap jute twine around the down rod and secure the end with hot glue.
Ready to tackle another ceiling fan project?
Ceiling Fan Ideas | Restyling and Repainting a Ceiling Fan
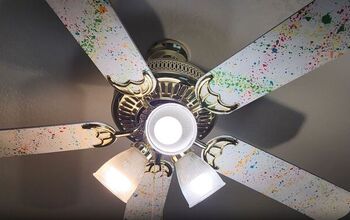
And there you have it, a stylish transformation for your ceiling fan!
I hope this ceiling fan hack has inspired you to revamp your own fans.
Have you tried any DIY ceiling fan upgrades? Share your experiences in the comments!
Enjoyed the project?

Comments
Join the conversation
-
 Caro
on Jul 28, 2025
I did my 6 ceiling fans last year. It wasn't difficult and made a huge improvement!!
However, I would absolutely not recommend wrapping the twine. It creates a "drag" as the blades rotate. Even though it is not heavy and does not rub, it affects the engineeried balance of the fan, as fans are very precisely balanced so as not to burn up the motor.
-
-
 Joyce Purnell
on Jul 30, 2025
Not worth the trouble.
-


Frequently asked questions
Have a question about this project?
Why would the contact paper be on the side facing the ceiling? Wouldn't you want it to be scene? Also, NEVER cover the motor. It will over heat and potentially cause a fire.
This is not a question.Advice-fire hazard. You covered up the air vent holes with a ribbon. They are there to help cool the motor.