DIY File Cabinet Transformation

2 Materials
$20
2 Hours
Easy
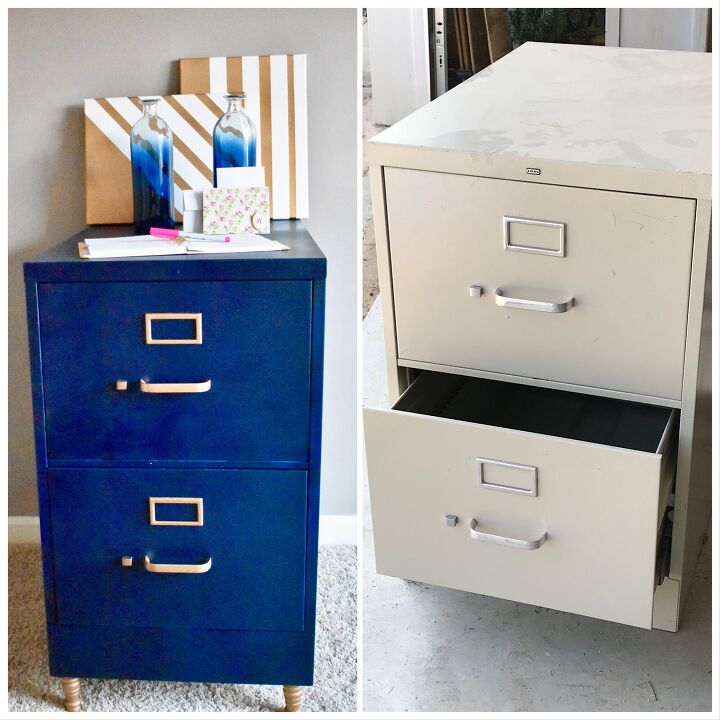
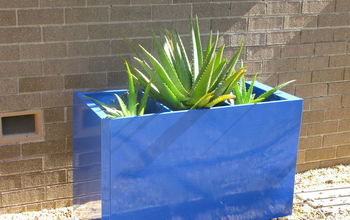
When I think of a piece of office furniture that rarely looks pretty, I immediately think of the file cabinet. It is usually some dull metal color & basically a necessary evil for file storage. I knew we would need one for our big office renovation project, but I could not let it become an eyesore in my brand new room! So I decided I would find a cheap one & see if I could pretty it up with some paint (my go-to method for all things hideous). Yall I am so happy with the results & it was super easy!!!
Supplies


  • Filing Cabinet (I found mine at a garage sale for $20)
  • Spray Paint for cabinet & hardware (I used  Rust-oleum deep blue &  Krylon metallic gold)
  • 4 Table Legs (I found mine at  home depot)
  • Drill/Drill bit the size of your table legs threaded bolt portion (mine were 5/16 for example)
  • Measuring Tape
  • Pencil
Wipe Down The File Cabinet


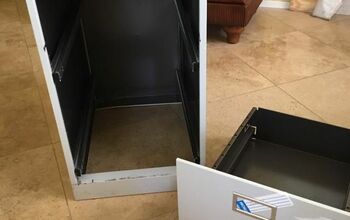
Wipe your file cabinet down really well, mine was kind of yucky. Remove the hardware from the front of the drawers & pull out the drawers themselves. I struggled with removing the drawers for 5 minutes before I decided to let YouTube help me out! Most models have little latches on the sides by the rollers you simply pull up & the drawer releases. Mine has a metal clip type thing on the bottom of the drawer, so I had to lift the drawer up then pull it out. Heres a  little clip to help you out if you get stuck like me!
Paint The Hardware


I spray painted all the hardware & feet so they could dry a bit while I was working on the cabinet. 
Drilling Holes For Feet


After the drawers are removed flip the cabinet over to mark your holes for the feet. There's no real trick here, I just measured about an inch in from the sides & made sure all my holes were in line with each other. Also, make sure you will be able to easily screw on the nuts from the inside. Then I used a 5/16 drill bit to drill the holes. ***Normally you would want to go a size lower & tap into your metal, but in this situation that would ruin the threads on the feet.***
Painting The Latches


Once the holes were drilled I flipped the cabinet back over & tried to figure out a way to cover the thumb latch. For the life of me, I could not figure out how to detach it so I came up with a two-step process that wasn’t great but hey the job got done! The first thing I tried was taping the thumb switches off so I could spray paint them. This part sorta worked, but some gold did get on the cabinet & I had to sand it down.
Painting Around The Latches


Then, I had to figure out how to spray paint the rest of the cabinet without getting it on them. I’m going to blame the Alabama heat & lack of food on this next “brilliant” solution. I tried to saran wrap them… Yes, it looks like a mess because it was! You cant always have million dollar ideas though right?! That wouldn’t be fair to everyone else. In hindsight, I should have just painted them blue & been done with it because at the very end I had to use a little sharpie magic to color over a blue spot. If you read my  framing in a builder grade mirror post you know this wasn’t the first time a sharpie saved the day!
Attaching The Feet


My cabinet is a little longer than the average bear so it took me 2 1/2 cans of spray paint to achieve the look I was going for.Finally, when it was all dry I inserted the feet & attached the nuts to them from the inside. Then, I put all the hardware back on & sweet talked Mr. White into carrying my finished project upstairs to the office!
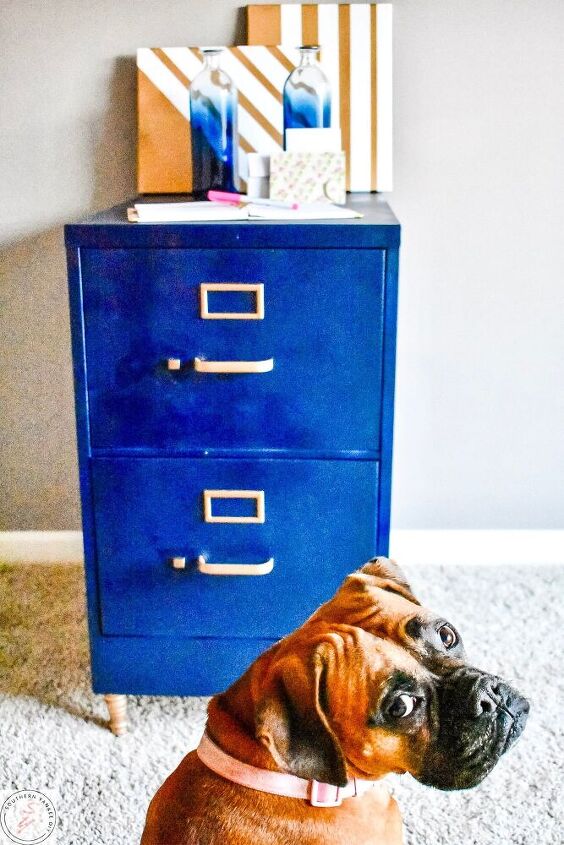
Ta-Da


Avery is giving me that “mom do we really need this” look & like I told her yes we do! 
Before & After
Resources for this project:
Any price and availability information displayed on [relevant Amazon Site(s), as applicable] at the time of purchase will apply to the purchase of this product.
Hometalk may collect a small share of sales from the links on this page.More info
Lia with Southern Yankee DIY
Want more details about this and other DIY projects? Check out my blog post!
Go
Frequently asked questions
Have a question about this project?
  2 questions
  • Lori Lori on Jul 05, 2020

    I did the same to filing cabinet last year, used the same paint, but I'm finding the paint peels off. Did you sand it prior, use a primer? Any ideas as to what's happening here it would be appreciated. Thanks 🙂

  • GMS28 GMS28 on Jul 06, 2020

    what color is that paint called, I would love to have that color

Comments
Join the conversation
2 of 38 comments
  • Madea Madea on Jul 06, 2021

    Looks great. Thanks for the idea. I think I will try it with a wood veneer.

  • Rubyskye Rubyskye on Jul 06, 2021

    Nice. I've been looking for an old 2 drawer file cabinet at thrift stores. I'd like to make a pots/pans kitchen cabinet to get all the extra stuff off stove and counter tops (small kitchen). Think I'll put rollers on it too. I like your legs idea.

Next