Restyled Bombay Console Table

by
Chairished Furnishings
(IC: professional)
5 Materials
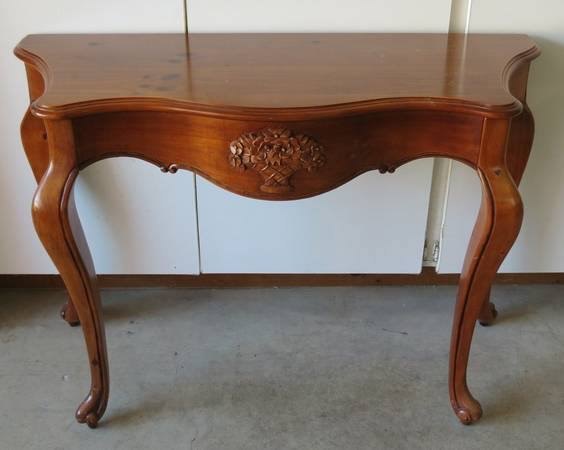
NOTE: This is not an antique and it had a lot of deep scratches in the top because the pine is so soft. I had to patch several deep scratches with putty before priming the top.
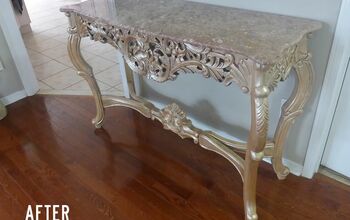
I fell in love with with the raised carving on this table, as well as its unique shape. But the finish was dated and reminded me of the 70's and I wanted to give it a new, chic loo
I fell in love with with the raised carving on this table, as well as its unique shape. But the finish was dated and reminded me of the 70's and I wanted to give it a new, chic loo
I deglossed by wiping down the table with Liquid Sandpaper then lightly sanded the entire table. I then thoroughly cleaned with a solution of Dawn, white vinegar and water and let it dry. Although not visible in the before photo, the table top had a lot of deep scratches so the it really had to be painted. I used water putty to fill in the scratches and dents and sanded before priming the entire table.
After primer was dry, I went back and filled in the more visible scratches again with wood putty; let dry, sanded down and primed again.
I thought I would paint the top a contrasting color from the base. I used Behr's 'Heavy Cream' (also mixed with Calcium Carbonate) for the top and carved bouquet.
I used an artist's brush to paint the bouquet and edge details in Behr Heavy Cream; the same color as the table top
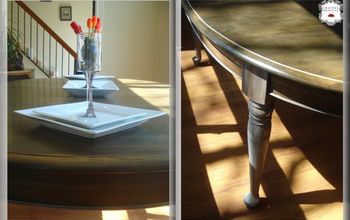
At this angle, you can see the top and how it contrasts with the lower part of the table. Because of the unique shape of the top, it looked too much like a cartoon piece to me so I decided to make the piece more uniform by painting over the cream top with the Rustic Taupe.
The entire table has been painted and sanded smooth with 220 grit paper. I used a duster attachment on my canister vacuum to gather most of the dust, then a lightly moistened microfiber cloth to wipe even more dust off.
To blur the two paint colors and make the table more cohesive, I used a mix of glazing medium with Behr Espresso Beans to create an antiqued look. I brushed on a thin layer of glaze, working a small area at a time, then pulled the glaze off using a moistened lint-free rag. I kept two wet rags near me, as they fill up with glaze fast. You don't want a rag full of glaze, as it won't pull off the glaze uniformly.
More glazing across the front apron of the table and down the legs
The lower part of the table - completely glazed
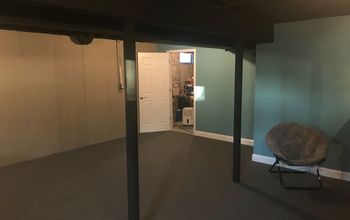
Letting the glaze dry in the basement. We still have that groovy 70's moss green tile and brown paneling...
Finding a blank wall to stage with accessories for sale is not an easy task in this house!
First crack at staging... not quite right
Better...
Let's see how it looks with a larger picture...
Finally - a photo my husband approves :)
Enjoyed the project?
Suggested materials:
- Paint - Behr Rustic Taupe (Home Depot)
- Paint - Behr Heavy Cream (Home Depot)
- Paint - Behr Espresso Beans (Home Depot)
- Faux Glaze (Lowe's)
- Calcium Carbonate (Amazon)
Published July 26th, 2016 1:02 AM
Comments
Join the conversation
3 of 54 comments
-
 GeorgiaBulldogsFan
on Sep 20, 2019
Very chic!
-
-
 Cody Hillier
on Mar 09, 2021
Hi there I actually just found this exact piece and was trying to find more information about the table itself I can't find anywhere with more information on the table itself
-
 Chairished Furnishings
on Mar 25, 2021
Not much to tell. It is made by Bombay Co. and I suspect from the 1980’s - 1990’s. I believe the wood is pine but it could be an imported wood. I really don’t know.
I also have a second one of these that I’ll probably paint the same way, since I’ve had several requests for this table since it sold.
good luck with your table, whatever you decide to do. ☺️
-
-









Frequently asked questions
Have a question about this project?