


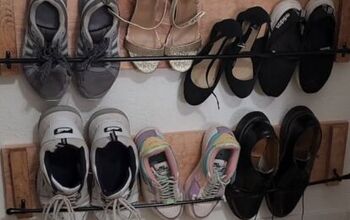
How to Organize Shoes With DIY Stackable Shoe Boxes

Confession time: I used to have a mini avalanche of shoes by every doorway. One wrong step, and boom—face-first into a sneaker pile. Sound familiar? That’s when I stumbled upon this genius shoe storage idea using simple recycled boxes. It’s not just cheap, it’s chic and surprisingly sturdy if you build it right.

So if you're tired of the chaos and want something functional and nice to look at, let me show you how to make these DIY stackable shoe compartments out of shoe boxes.
Bonus? You can totally match them to your room's style.
Tools & Materials
- 6–9 empty shoe boxes (preferably the same size for uniform stacks)
- Matching lids for each box
- Hot glue gun or double-sided heavy-duty mounting tape
- Decorative paper, contact paper, or fabric to wrap boxes
- Cardboard scraps (for reinforcement)
- Scissors or box cutter
- Optional: spray paint, washi tape, metal label holders, or furniture legs
Hometalk may receive a small affiliate commission from purchases made via Amazon links in this article but at no cost to you.

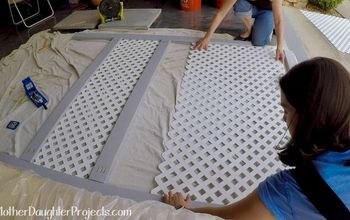
1. Gather and Prep Your Shoe Boxes
Before you build anything, customize the look of the boxes. This is where you can have fun!

Want a modern industrial vibe? Spray paint the whole unit matte black and add tiny metal label holders. Going for boho? Try jute rope handles and a soft linen wrap.
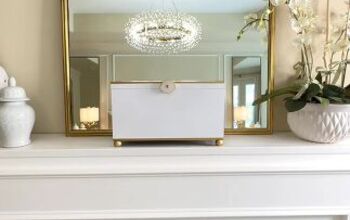
I chose to cover the boxes and lids with a gorgeous striped fabric for a timeless look.

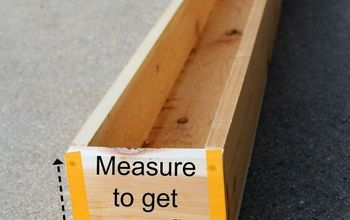
2. Create the Base: Flip and Slide
Take one shoe box lid and place it on a flat surface, inner side facing up. Then take the matching box, flip it on its side, and slide it into the lid so it’s standing tall like a cubby.

Repeat for each box and lid set.

🔨 Make it sturdy:
- Use hot glue or double-sided mounting tape to secure the box to the lid, especially on the sides and bottom.
- For extra stability, cut a piece of scrap cardboard to fit inside the lid underneath the box before gluing. This reinforces the base.
3. Stack 'Em Up (Safely!)
Use the largest or sturdiest boxes as your bottom layer.
Stack 2–3 boxes high, going taller than 3 could make the whole thing tip unless you anchor it (more on that in a sec!).


What if it tips over?
Solution:
- Use heavy-duty glue between layers to secure them in place. Let each layer dry fully before adding the next.
- Add a weighted base: Place a heavy tile, paver, or flat stone inside the bottom box.
- Place the unit against a wall or even use a removable wall anchor or Command strips for extra stability if you have kids or pets.

Will it hold up over time?
Absolutely—if you reinforce and protect it.
- Add clear acrylic spray sealer to painted boxes to resist scuffs.
- Line the inside of each box with shelf liner to catch dirt from shoes.
- Use cardboard or wood supports along the back wall inside each box for long-term durability.

DIY Stackable Shoe Boxes for the Win
This easy, budget-friendly DIY transformed my messy entryway into something I’m proud to show off. You just need some old boxes, a little creativity, and a few glue sticks!
And the best part? It's totally customizable to your space, your style, and your needs.
Try it out and let me know how it turns out!


Frequently asked questions
Have a question about this project?