How to Apply Peel-and-Stick Wallpaper So It Looks Seamless

By Alexa Erickson
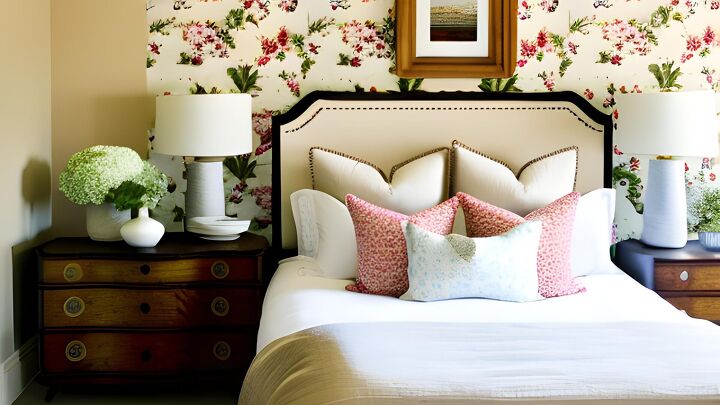
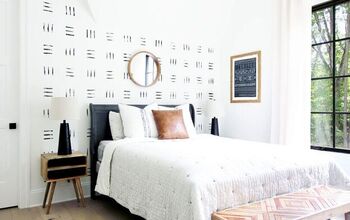
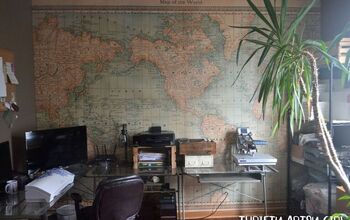
Peel-and-stick wallpaper is an easy way to transform a wall into something creative, inspiring, and ultimately, a piece of artwork that serves as a focal point for the room. Peel-and-stick wallpaper is especially useful if you live in a rental or otherwise want a temporary wallpaper solution.
The process of hanging traditional wallpaper involves pasting big sheets of the paper to the wall in sections and working out bubbles. Meanwhile, peel-and-stick wallpaper is essentially what it sounds like: It comes in a roll or on sheets, and you peel off the backing of the paper and adhere it to the wall like a sticker.
In this guide, you’ll learn how easy it is to apply peel-and-stick wallpaper to transform your space in no time. And, the beauty of peel-and-stick wallpaper is that it’s even easier to take off as it is to put on (unlike traditional wallpaper, which is notoriously laborious to remove). That way, if you change your mind about how you want to style a room, you can easily swap out your wallpaper for another print or color in no time.
Surfaces to Hang Peel-and-Stick Wallpaper On
Apply peel-and-stick wallpaper to clean, smooth surfaces primed and painted with semi-gloss, satin, or eggshell finishes, according to wallpaper retailer Tempaper.
It’s generally not recommended that peel-and-stick wallpaper be applied to textured surfaces, as it may have a tough time adhering to the wall. Too much air can get in the space between the paper and the wall and its raised texture points, which will prevent it from sticking properly.
For best results, stick with a simple, flat wall without obstructions like dormers or built-ins.
How to Figure Out How Much Wallpaper You Need
For a seamless installation process, the first and most important step is to make sure you have the proper amount of peel-and-stick wallpaper for the area you want to cover. The last thing you want is to get halfway done with your peel-and-stick wallpaper job only to realize that you don’t have enough paper to finish.
To figure out how much wallpaper you need follow these steps:
- Measure the width and height of each wall you plan to cover.
- Multiply the heights and widths together to acquire the total square footage.
- Add together the square footage of each wall you're covering. This will give you your total area of space being wallpapered.
- Measure the width and height of each window and/or door on the walls you plan to cover.
- Multiply the height and width of each window or door together to acquire the total square footage of negative space.
- Subtract that square footage from your total area of space being wallpapered count. This final square footage number will be the amount of wallpaper you need.
Round Up
How to Prep for Hanging Peel-and-Stick Wallpaper
Once you know how much wallpaper you’ll need, it’s time to prep the walls! Begin by wiping down your walls. Spray them with a mild all-purpose cleaner, then wipe them down with a clean cloth. Allow the walls to fully dry (about half a day). Then, lay out your first piece of peel-and-stick wallpaper.
You may then want to test that the peel-and-stick wallpaper will properly adhere to the wall. Cut off a small swatch of the wallpaper and apply it to an obscure area of the wall, making sure it lays nice and flat. If it adheres properly, you’re good to go!
How to Hang Peel-and-Stick Wallpaper
Your peel-and-stick wallpaper will either come in sheets based on your measurements, or in a roll. You may need to pre-cut the strips to wall height first; we'll show you how.
Tools and Materials Needed
- Tape measure
- Pencil
- Scissors
- Level
- Ruler
- Plastic smoother
- Utility knife
Step 1: Cut Sheets to Wall Height
If you're working with pre-cut wallpaper sheets, measure the height of each sheet. Cut each to fit your wall height, leaving a few inches just in case.
If you're working with a roll of peel-and-stick wallpaper, cut your own sheets to wall height plus a few inches.
Step 2: Measure and Mark the Wall
Measure the width of your first sheet. Number the strips on the back of each sheet if they aren’t already pre-numbered and lay them out in order starting with 1.
Beginning on the left side of the wall, use a tape measure to mark that measurement (the width of the wallpaper) from left to right, using a pencil to mark the right side of the measurement. Place your level on the pencil mark, then draw a straight, vertical line down the wall, using a ruler as a guide. Your first sheet of wallpaper will go in this marked-off space.
Step 3: Peel and Stick
Peel away about one or two feet of the backing from the top of the strip of wallpaper. Apply this sticky section to the wall, beginning at the top left of the wall where the wall meets the ceiling and smoothing to the top right of the section of the wall. Work your way down and across, peeling away more of the backing as you make your way down the wall.
Step 4: Smooth Out the Section
Use a plastic smoother to work out any air pockets in the freshly laid section of wallpaper. Work the pockets out, beginning at the center of the sheet and moving outward to the edges.
Step 5: Cut Around Outlets and Switches
Once you run into any outlets or light switches, push the wallpaper as closely as you can around the edges of the plate. Then, use a utility knife to carefully cut around the edges to reveal the plate. Press the wallpaper firmly against the edges again for a seamless fit.
Step 6: Cut Around Windows and Door Frames
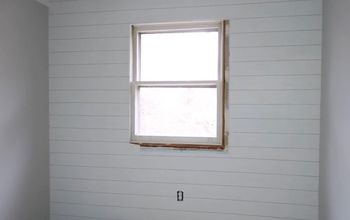
Let the wallpaper strip overhang over the window frame or door frame and then carefully trim off excess using a utility knife. Use small scissors to cut diagonal snips where you need to carefully trim and tuck under the wallpaper, such as around the window apron and ledge.
Step 7: Apply Wallpaper to Inside Corners
If you are wallpapering adjacent walls, never overwrap wallpaper to fit inside corners. Cut strips of wallpaper to fit into the corners, but with the slightest overhang of excess paper. Here’s what to do:
- Measure the inside corner and trim a strip to fit the space but add ⅛ of an inch to the width of the strip.
- Hang the paper so the ⅛ inch turns the corner onto the adjacent wall.
- Handle the adjacent wall as you would other walls—by starting in the middle of the wall.
- Leave the corner bare until you have to cover it.
- When the time comes to finish the adjacent corner, measure and cut a strip for the adjoining wall that will tightly butt up to that overlapped seam.
Step 8: Trim Excess Wallpaper
You will likely have a small amount of excess material at the ceiling and baseboard. Carefully trim the excess wallpaper with a utility knife.
Repeat these steps for each strip of wallpaper until the entire wall or room desired is covered.
How to Remove Peel-and-Stick Wallpaper
Whether you’re moving from your rental or your taste has changed, the beauty of removing peel-and-stick wallpaper is that it’s easy peasy! All you have to do is start at the top corners of each sheet and firmly but carefully peel downward, working parallel to the wall.
Have you ever installed peel-and-stick wallpaper? What pattern did you choose?








Frequently asked questions
Have a question about this project?