DIY Faux Brick Accent Wall Tutorial - With Whitewash!
This accent wall would be perfect in your living room, dining room, kitchen, bedroom - the possibilities are endless!
To purchase the materials to make this wall REAL brick was going to be around $800. That’s a lot for an accent wall, considering we made a board and batten wall for basically no cost.
Because I didn’t want to spend $800, and I wanted the option to be able to remove whatever we put up, I decided faux brick was the way to go.
What to know the best part?
It only cost $75!
(The panels were $75, we had all of the other materials.)
MATERIALS:
- Faux brick panels
- Drywall mud
- Drywall scraper
- Paint / water
- Nail gun
- Circular saw
- Jigsaw
HOW TO: Faux Brick Wall
STEP ONE
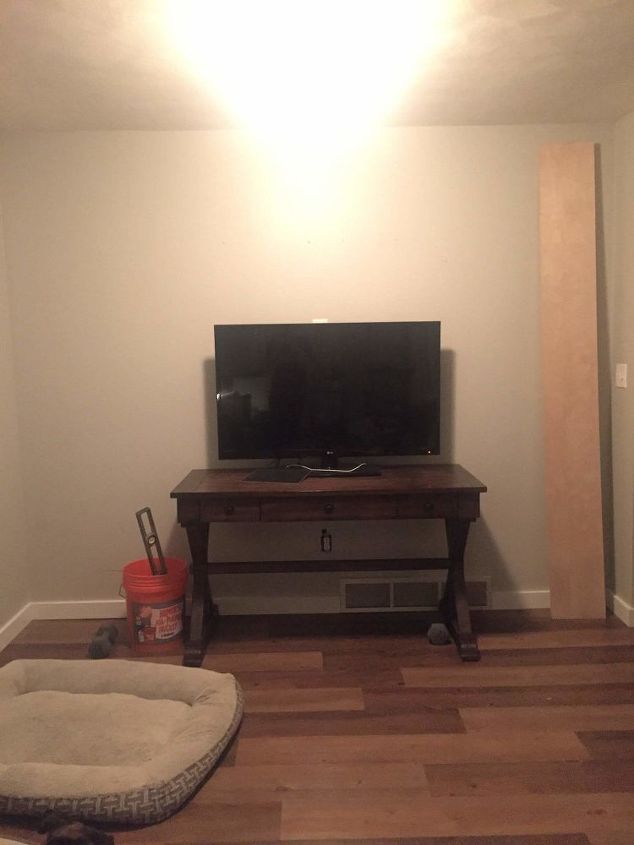
Measure your space and cut your panels to size. We were able to make one small cut for the first piece. The second piece had a few more obstacles - the outlets and the vent. Be sure to measure TWICE and cut ONCE. We used the jigsaw to cut out the holes.
Also, be sure if you have more than one piece that the bricks line up on the wall (there are full and half bricks).
STEP TWO
Nail the panels to the wall using the nail gun. Also, be sure your panels are level. In most homes, the walls and floors aren’t exactly perfect, so be sure your panel is level on the wall or your bricks may appear tilted.
We have 8ft ceilings, so they fit perfectly without much cutting on the top/bottom.
STEP THREE
Use your drywall mud and scraper to apply the mud to the wall. Imagine you’re applying grout to tile. Move your scraper up, down and diagonal. Be sure the mud fills the grout lines. I intentionally made the drywall mud a bit ‘messy’ because I wanted the brick to look more organic.
Total time: 4 hours
Dry time: 2 days
You can apply as much or little as you want! It's kind of like a big art project!
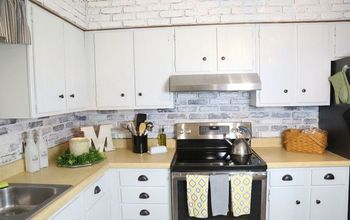
Isn’t it beautiful!? We had people come over to our house and ask when we put put the brick - it really does look REAL!
If you're going to be touching this wall or just want to add a layer of protection over it, here's how.
HOW TO: Top Coat
STEP ONE
Once your mud is dry, you can then apply a sealer. You can use a polycrylic (clear coat) or you can use paint. I used white paint and mixed 25% paint and 75% water. This allows it to seal the mud, but not turn the wall entirely white.
Total time: 1 hour
Dry time: 1 day
That’s it! With the right tools and materials, this project can transform your house in just a few days. But, that’s not the end of the story for this wall - stay tuned for the total transformation!
Follow me on Instagram (greywoodmama) and check out my stories for behind the scenes information on what’s happening! Or, you can click here to find more information on my blog!
Here’s a sneak peek…
Enjoyed the project?
Resources for this project:
See all materialsComments
Join the conversation
-
 Kimberly Urban
on Jan 15, 2019
I love it!...I had this brick paneling in my garage and hated it....wish I would have thought of this before pulling it all out and drywalling!
-
-
 Elizabeth R Krogsdale
on Nov 14, 2020
Great job!
-













Frequently asked questions
Have a question about this project?
Where did you buy thepaneling and did you mix the splacking with anything
Can I see you board and batten project?
I live in Massachusetts and we have all four seasons. I'm wondering if this product could be used outside a head to a foundation wall or the risers on my stairs? Thank you in advance. Your project was great