How to Decorate a Ceramic Vase

Have you seen this trend popping up on TikTok? Basically, you take a vase and add clay to it to create a completely unique décor piece. So, if you are interested in learning how to decorate a ceramic vase, then continue reading!
This post was transcribed by a member of the Hometalk editorial team from the original HometalkTV episode.
Hometalk Recommends!
1. Find a vase
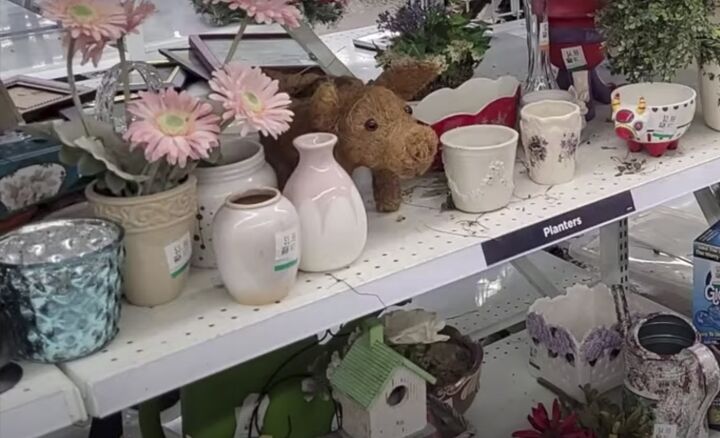
Go to your local thrift store or search your home for the perfect vase.
2. Knead your clay
Since I am going to create pastel colors, I decided to use white polymer clay. I started by kneading the clay for a few seconds to get it soft and warmed up.
3. Color the clay
In order to color your clay, grab some chalk pastels in a variety of colors.
Use a knife to scrape a generous pile of chalk. Be sure to scrape lightly to avoid large chunks from coming off.
When the chalk pile is about the size of a quarter, add your clay to it and then work it until it absorbs all of the chalk.
In order to avoid color mixing, repeat the process for each of the pastel colors going from lightest to darkest.
4. Create swirls
In order to decorate the smaller ceramic vase I had picked up, I wanted to make swirls of clay.
To make the swirls, pinch off a small amount of three of the colors and roll each out to be about 6 inches long.
Next, lightly press the strands together. Be careful not to squish them together too hard.
Now, bend the pieces at one end and then loop them around to form a swirl. You want to make each swirl about an inch long and half an inch wide.
Once they are in a swirl shape, cut the end off to use for another piece. Be sure to smooth out the cut end.
For the next swirl, I folded the clay in the opposite direction so that a different color was on the outside.
Repeat this process until you have about 12 swirls.
5. Roll out balls
The remaining colors of clay should be used to roll out balls with one flat side and a rounded top. Make about 100 balls in various sizes.
6. Bake clay pieces
Next, I baked my clay pieces. Depending on your clay, the heat and time may vary.
7. Glue the baked and cooled pieces onto your vases
After the clay is baked and cooled, you can start gluing the pieces onto your vases. I chose to glue the swirls onto my smaller vase.
For best results, hold your pieces for at least five seconds each while you glue them down.
I used the balls on my second vase. Starting at the bottom, I glued the larger pieces and slowly moved up, gluing the smaller pieces further up.
8. Finish with a coat of gloss
Once the glue had dried on both vases, I finished them off by using triple thick as a glossy finish. Using gloss will add some protection to your vase so be sure to cover the entire piece.
How to decorate a ceramic vase
My new polymer clay vases are perfect for flowers any time of the year and I loved that I could upcycle some thrift store finds.
I hope you enjoyed this polymer clay vase idea as much as I did and try it out yourself. Please share your creations in the comments section below!
Enjoyed the project?
Comments
Join the conversation
-
 Mary Coakley
on Nov 18, 2021
Love 💘 your vases.you can make different ones
-
-









Frequently asked questions
Have a question about this project?