Homemade Pressed Flower Candles

Are you looking for a fairly easy handmade gift for that special lady in your life? She may be a friend, your mother, your fiancé, your wife or your sister. In this tutorial I will show you how to press real flowers and use them to decorate glass teacups to make homemade candles. This idea can be used for any occasion, for example birthdays, Mother's Day or weddings. I created this gift specifically in mind for a special bride to be in my life.
To press the flowers:
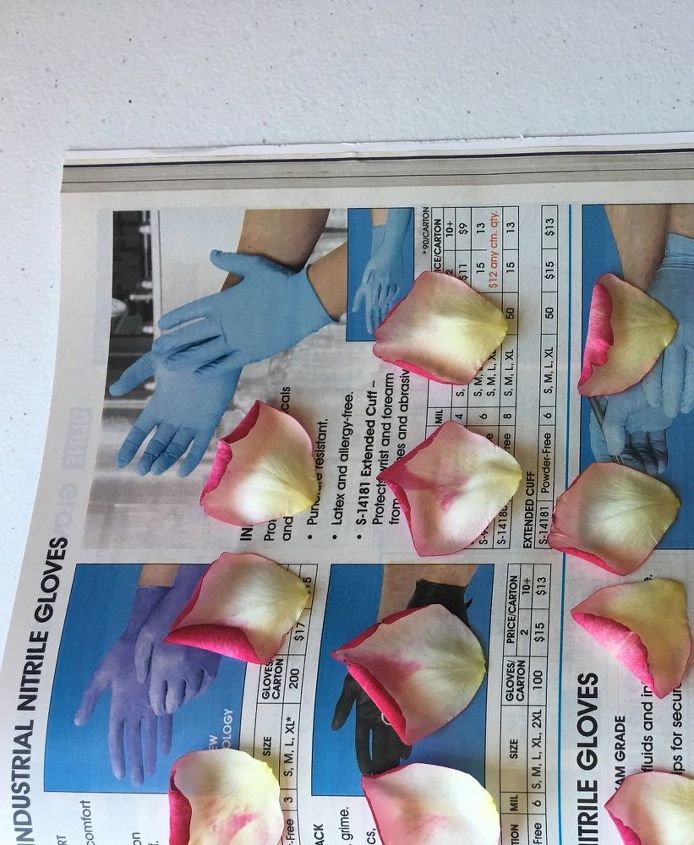
I gathered my roses from my garden and placed them top side down in my phone book/catalog. I put some heavy books and a box with a bunch of stuff in it on top of my phone book and left it for a couple of days.
The container:
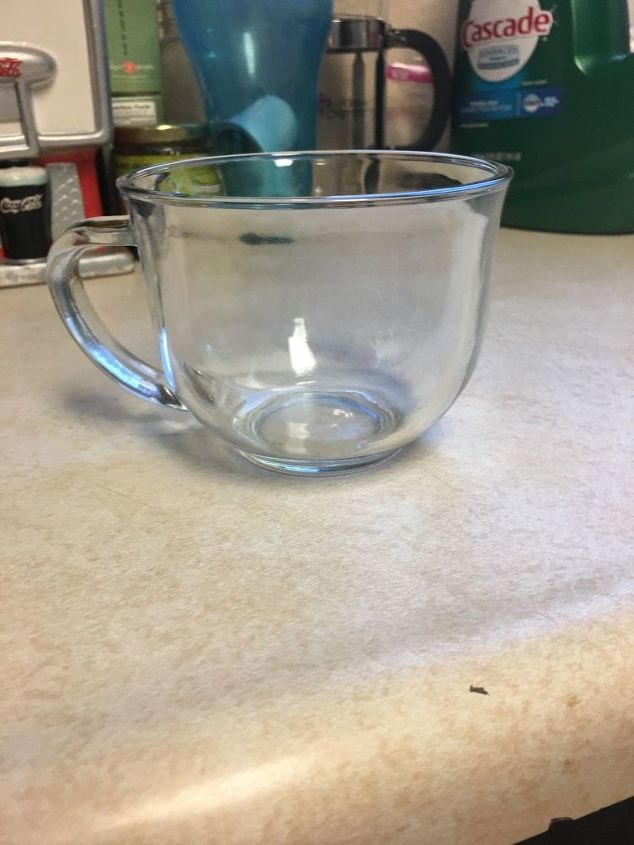
I found these adorable, large sized coffee/tea cups at the dollar store. You'll want to clean the inside of the cup with windex and some paper towels just to make sure there isn't any unwanted particles inside.
Once I gathered all my pressed rose petals and daisies, I played around with a design and got to work. With a small paint brush and some Mod Podge I painted the top side of the rose petal with a very light, paper thin coat of Mod Podge. I placed one petal on the bottom and five at the base as shown above. You'll repeat the gluing steps for the daisies as well. Just remember, you'll want to put the glue on the side of the daisy that is facing outwards through the glass. I did a layered effect with the petals, covering all empty spaces of glass. I used the top part of the handle to guide me as to how far up I should place the petals.
Dry Time:
After the petals and flowers are glued on, I let them dry overnight.
Wick Placement, Following Day:
The next day, I placed the wicks. I took a sharpie marker and a medium sized paint brush to wrap and hold my wick in place. I taped the brush and marker in place. I also taped the wrapped part of the wick. When you pour your wax the wick will move and can come unraveled a bit, so by taping it down it prevents this from happening.
Following Day Continued:
I took a medium sized pot and filled it with hot water a quarter of the way full. I turned the heat on high to make the water boil. I placed two tin cans full of wax chips within the pot. As the wax melted I added more wax until the cans were about three quarters of the way full. To make sure the wax was melting efficiently, I stirred the wax with a wooden dowel. I also added one fragrant wax melt per can to add a slight fragrance. This is completely optional. When the cans were full I removed them with an oven mitt and slowly poured the wax into the cups. By pouring the wax in slowly, the wicks moved less from where I placed them in the center. I poured the wax to cover the top of my petals.
Rose Petal Placement (Optional):
After I poured the wax, I waited about 5-10 minutes and placed rose petals on top of the candle and away from the wick. Placing the petals away from the wick prevents the petals from catching fire while the candle is lit.
Wait Time:
It takes about 3-4 hours for the wax to completely set.
Wick Cutting:
Once the wax was set, I removed my paint brush and unraveled my wick. I cut the wick to about an inch sticking out from the candle.
Congratulations on successfully making a homemade candle that will make a great gift for any occasion! These candles are one of a kind and no two will be alike. I hope you are as much in love with these candles as I am! Happy Crafting!
More Mother's Day Ideas
Enjoyed the project?
Comments
Join the conversation
-
 Pat Brisbois-McCord
on Feb 13, 2022
Beautiful. I am going to try this with my granddaughter.
-
-
 PaperCutPlace
on Apr 26, 2024
Beautiful! I love it!
-














Frequently asked questions
Have a question about this project?
So beautiful! When the candle burns down, has anyone noticed a problem related to the mod podge affecting the burn? Does it just melt into the wax? Obviously I will use a small amount but I’d like to give these away and want to be sure the added mod podge doesn’t flame up, for example.
How many candles did the 2 pounds of soy wax make? Just the two candles?
Hi, I make soap and candles. No matter how hard you try when dried flowers get wet they eventually turn black. I know cornflowers and marigold dried do not. I’m afraid to try the rose petals. Has anyone tried these an they stayed true to color?